Some restaurants become part of your routine for a reason.
You might try them once because they're convenient, but you keep coming back because they consistently get the little things right. That's exactly how Salsarita's Fresh Mexican Grill in Rock Hill became one of my favorite lunch spots.
I've been eating here since they first opened, and while I've enjoyed plenty of meals at other Mexican restaurant chains over the years, Salsarita's Rock Hill, SC has remained my personal favorite. I recently stopped by during my lunch break and decided it was finally time to share why this place continues to earn my business.
From the friendly staff to the fresh ingredients and some of the best chips around, Salsarita's has built a loyal customer in me.
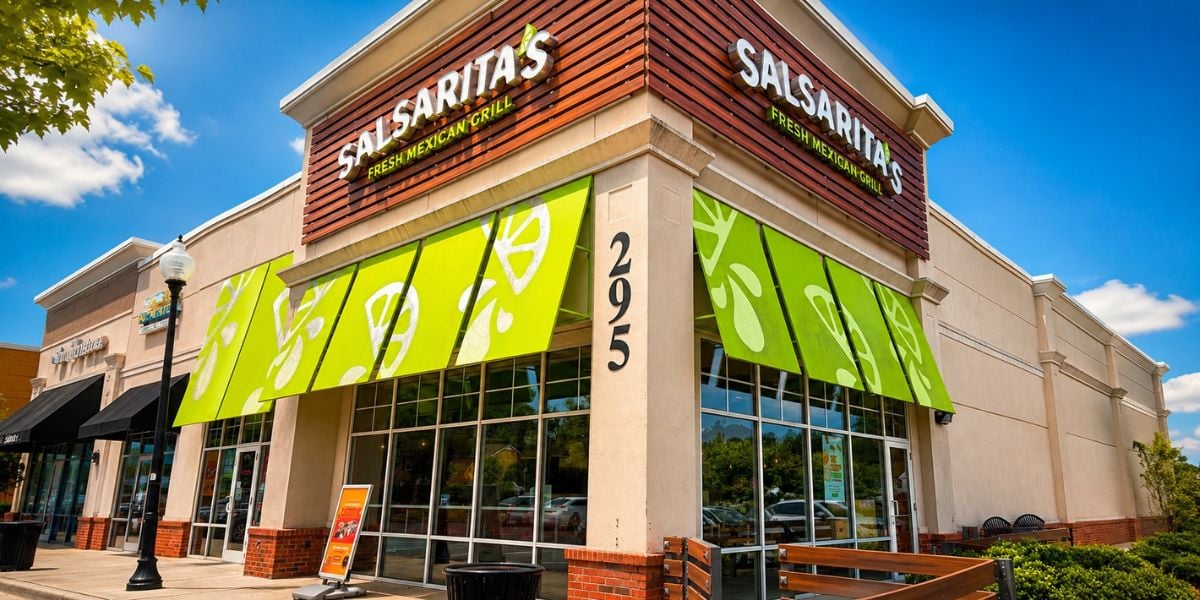
Where Is Salsarita's Fresh Mexican Grill in Rock Hill, SC?
The Rock Hill location is conveniently located on Herlong Avenue right down from Piedmont Medical Hospital, making it an easy stop whether you're grabbing lunch during the workday or looking for a quick and flavorful meal.
Salsarita's Fresh Mexican Grill
295 Herlong Ave, Suite 404
Rock Hill, SC 29732
For current menu items, hours, catering information, and online ordering, visit the official Salsarita's Fresh Mexican Grill website.
If you're exploring more places to eat in the area, check out my reviews of the Shrimp Boat and Captain Steve's Family Seafood.
Why I've Been Eating at Salsarita's for Years
There are plenty of fast-casual Mexican restaurants these days, and I've eaten at most of them.
Salsarita's Fresh Mexican Grill is a Charlotte-based restaurant chain that has grown to dozens of locations across the United States. While the company has expanded beyond the Carolinas, it still feels like a regional favorite, especially here in the Charlotte metro area.
Places like Moe's, Chipotle, and QDOBA all offer customizable meals where you can build burritos, tacos, quesadillas, nachos, or burrito bowls just the way you like them. While I enjoy those restaurants too, Salsarita's has always been the one I find myself returning to most often.
I do realize that food is subjective, and everyone has their own preferences. What I enjoy may not be what someone else enjoys. For me, though, Salsarita's consistently delivers a meal that tastes fresh, fills me up, and leaves me looking forward to my next visit.
The Friendly Service Sets This Location Apart
One thing I've always appreciated about the Rock Hill location is the people.
As soon as you walk through the door, you're usually greeted with a smile and a friendly welcome. The employees often strike up a little conversation while moving customers through the line, which creates a more personal experience than what you find at many fast-casual restaurants today.
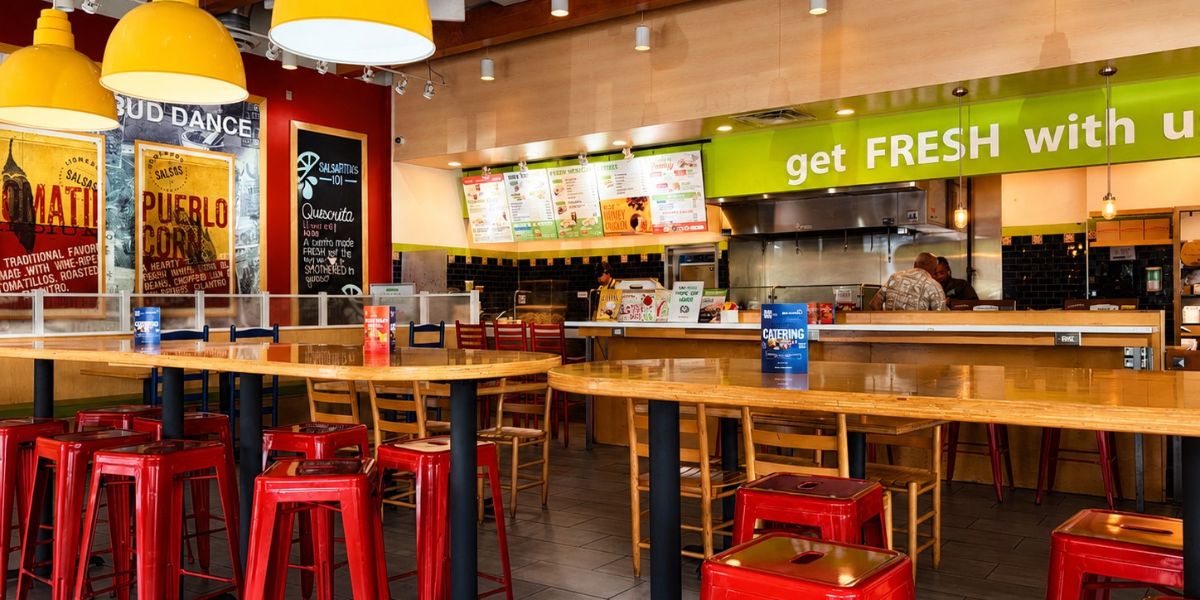
Good customer service doesn't always get the attention it deserves, but it's one of the reasons I enjoy stopping here.
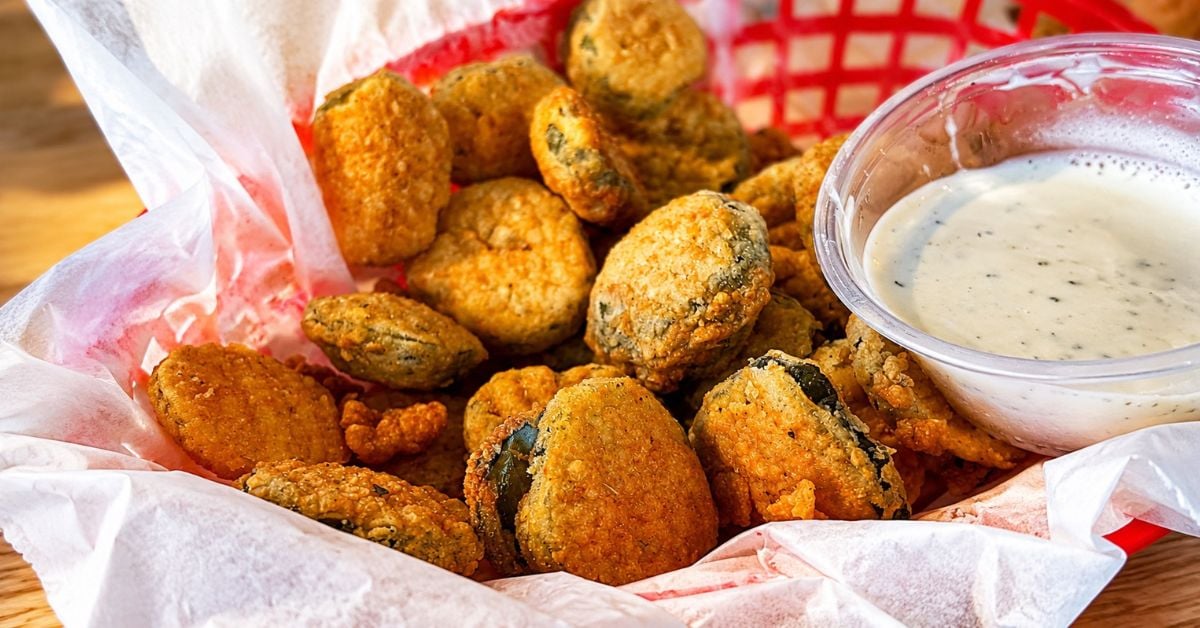
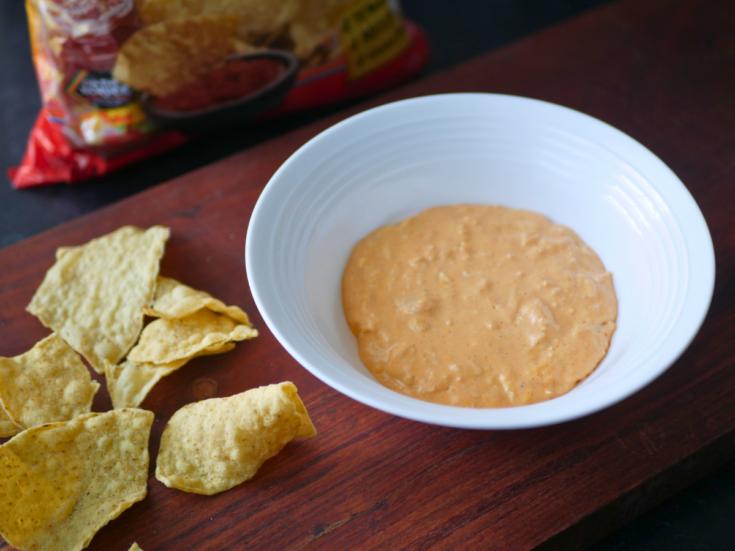
Why I Think Salsarita's Has the Best Chips
If you've eaten at Salsarita's before, you probably know exactly what I'm talking about.
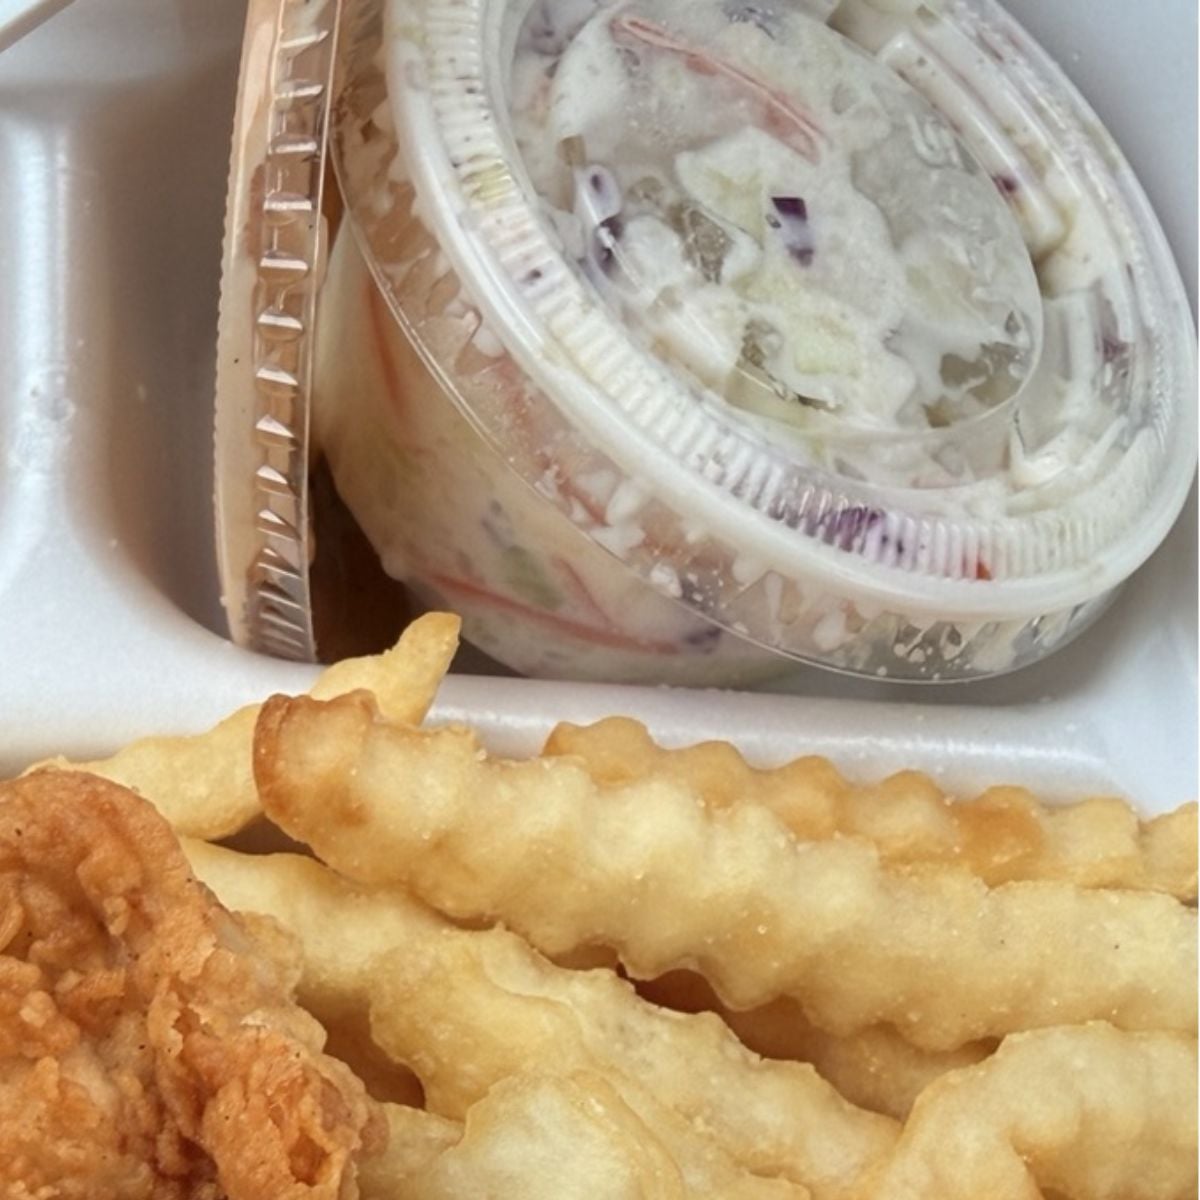
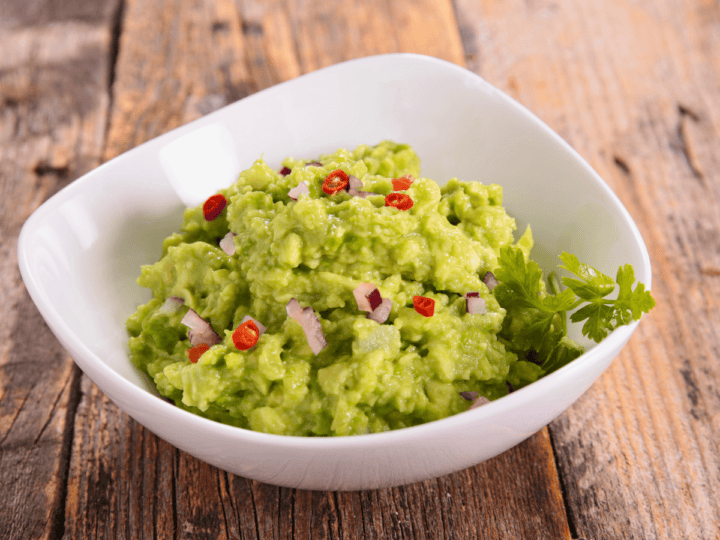
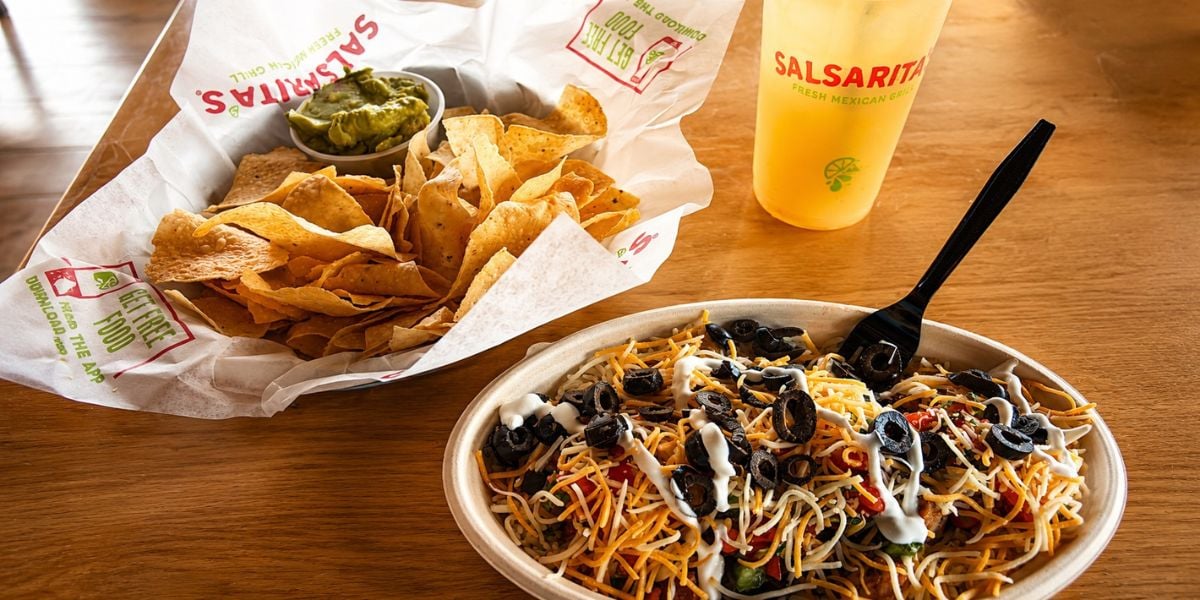
Their chips are one of my favorite things on the menu.

They're crispy, well-seasoned, and packed with flavor. The seasoning blend gives them a taste that stands out from other Mexican restaurant chains. Whether you're pairing them with salsa, queso, or guacamole, they're hard to stop eating once you get started.
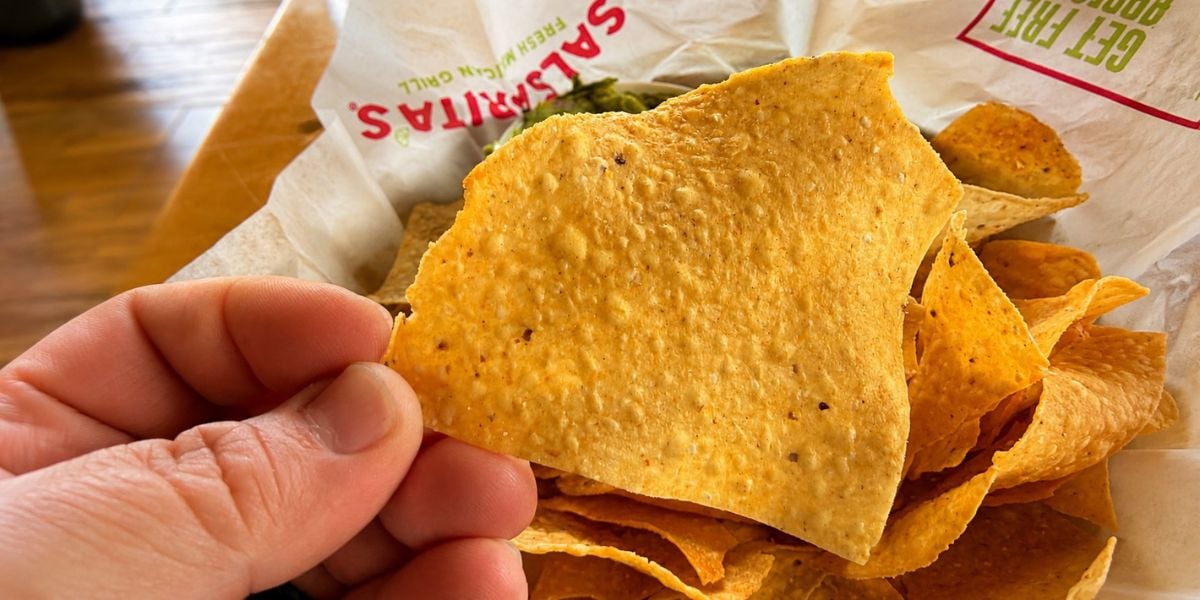
Honestly, I'd be happy with a basket of chips and queso alone.
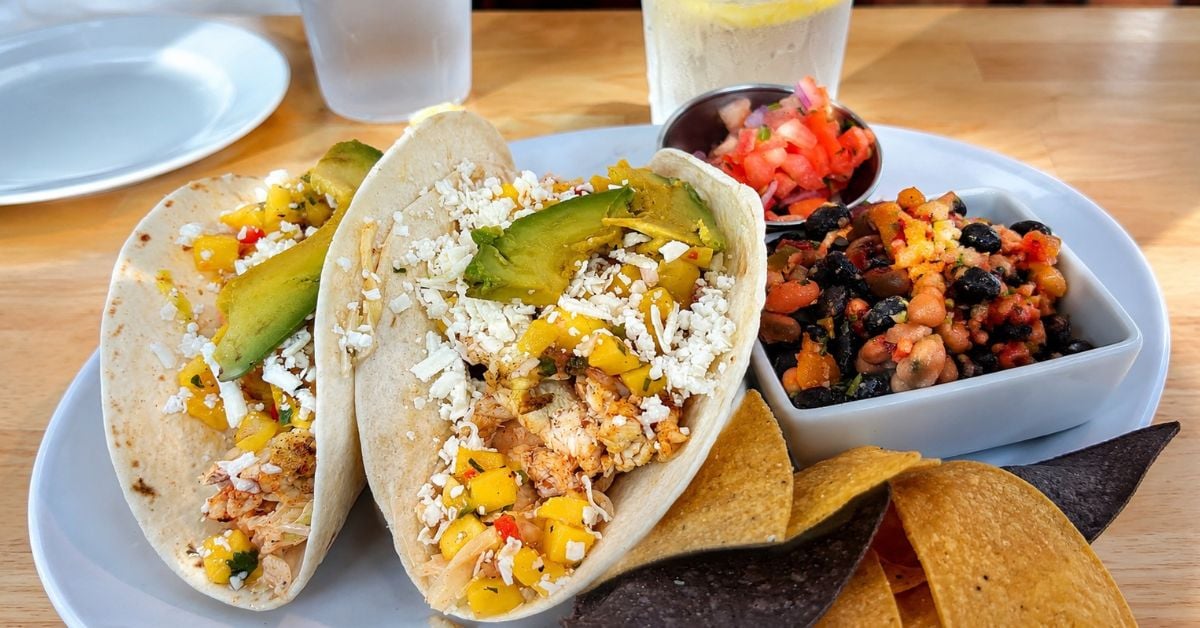
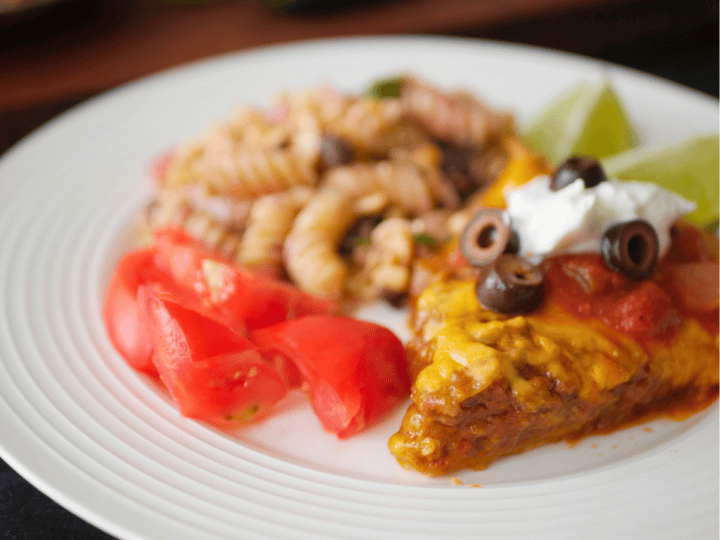
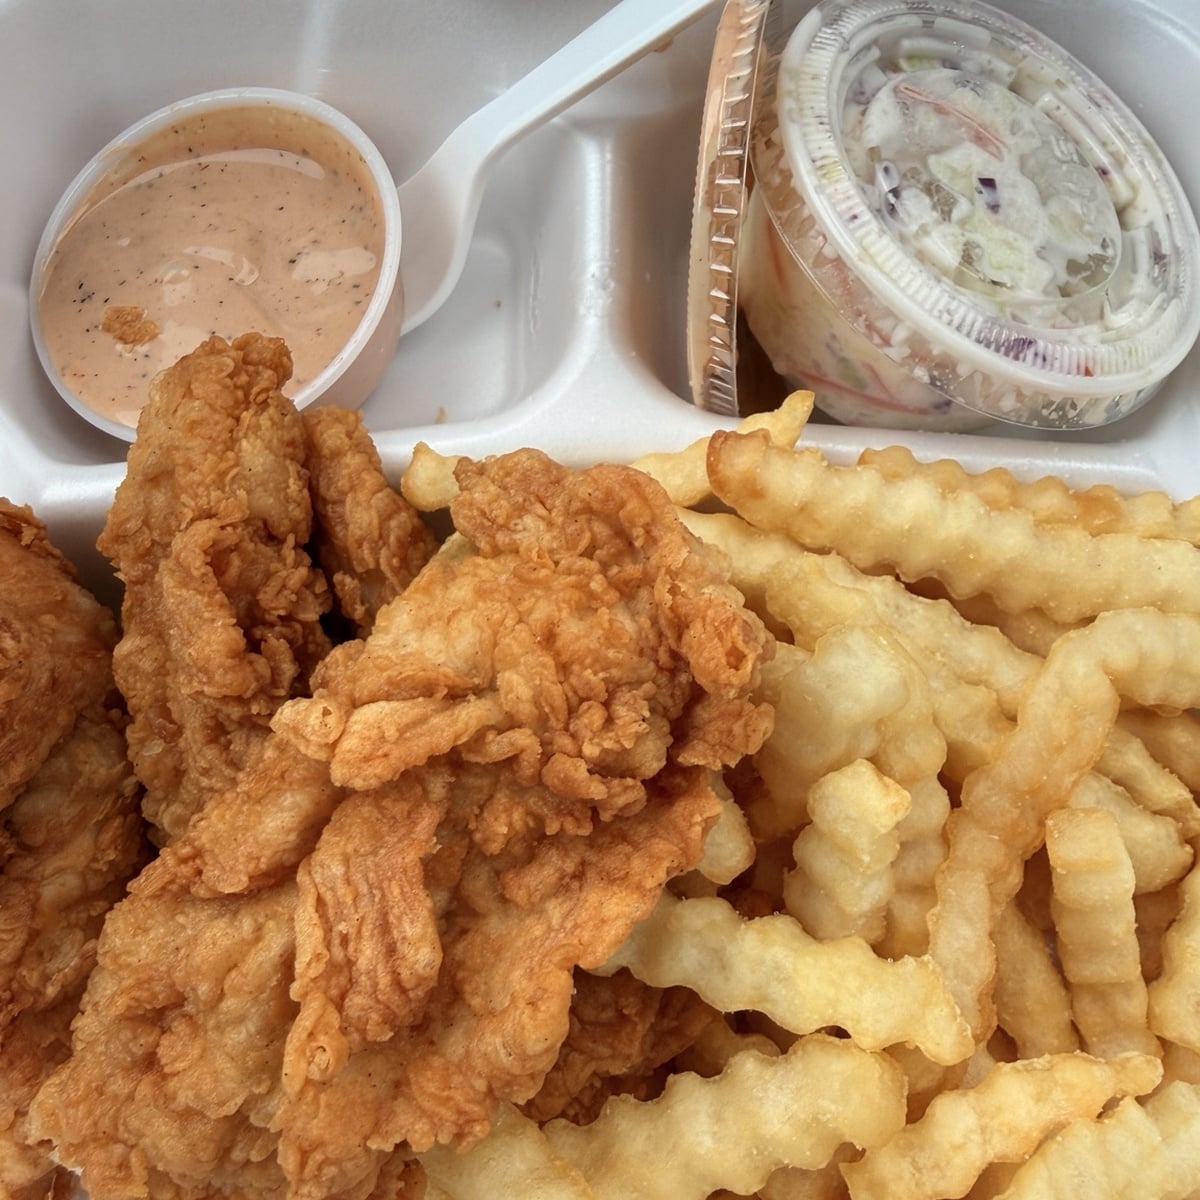
What I Ordered During My Latest Visit
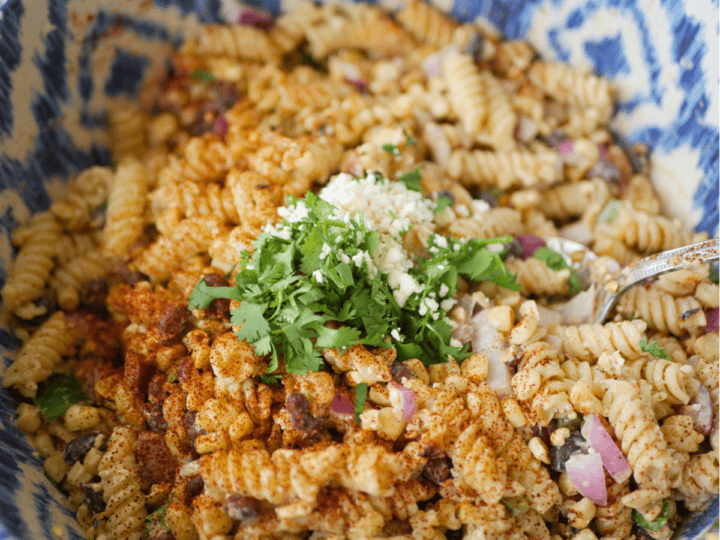
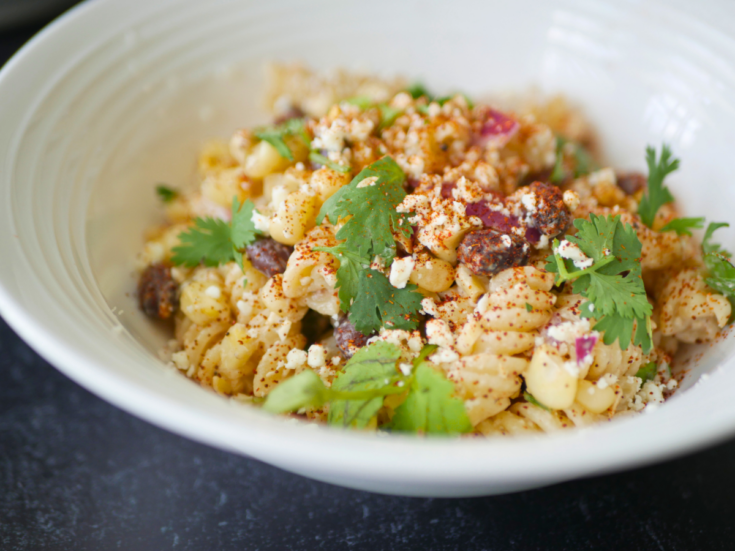
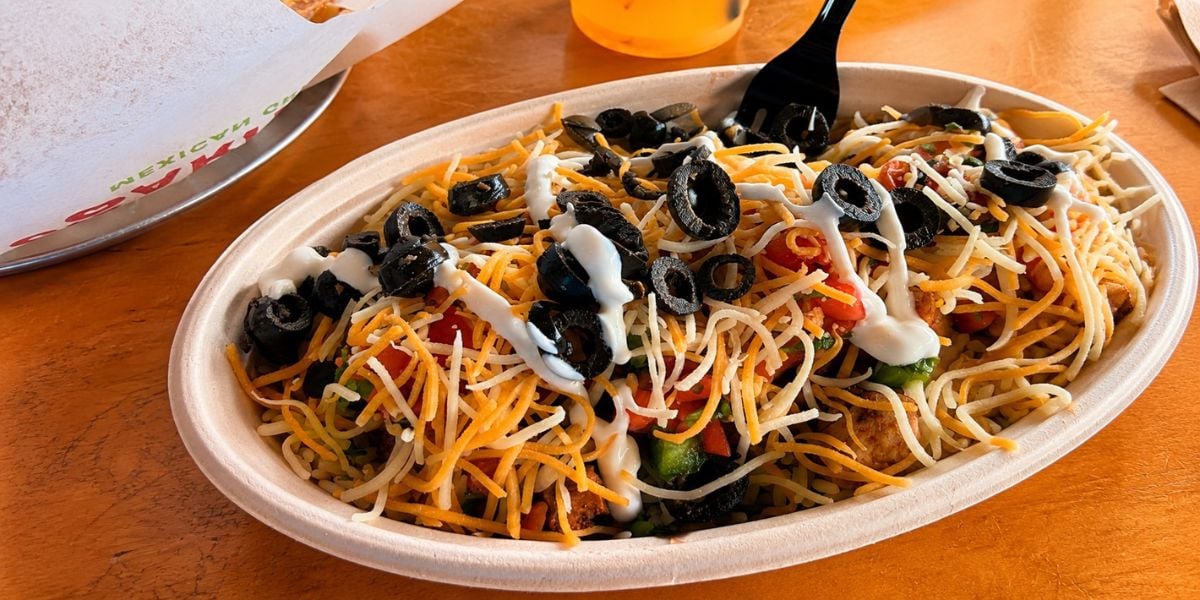
On this visit, I decided to go with a burrito bowl.
One thing I like about Salsarita's is the number of ways you can customize your meal. I started with cilantro rice and black beans before adding chicken and several fresh toppings.
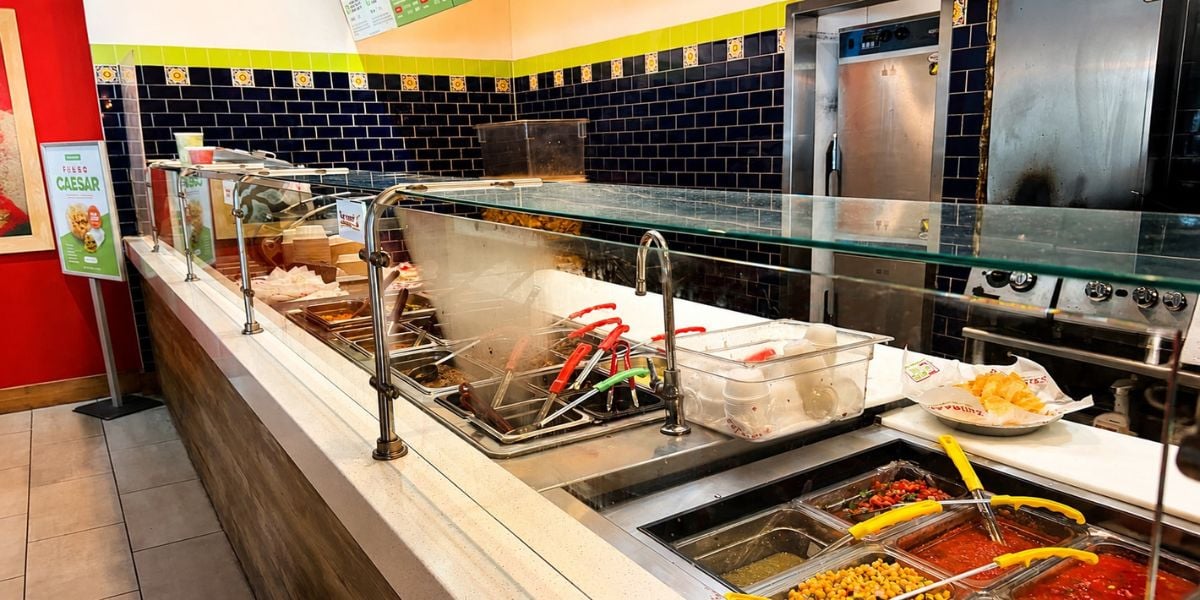
Whether you prefer tacos, burritos, quesadillas, nachos, or bowls, there are plenty of options to make your meal exactly the way you want it.
That's one of the reasons Salsarita's works so well for families and groups. Everyone can order something a little different while still enjoying the same meal together.
How Salsarita's Compares to Other Mexican Restaurant Chains
Whenever I mention Salsarita's, someone inevitably asks how it compares to Moe's or Chipotle.
The truth is, I enjoy all of them.
But if I'm choosing where to grab lunch in Rock Hill, Salsarita's is usually my first choice. The combination of friendly service, fresh ingredients, customizable meals, and those seasoned chips keeps me coming back.
That's not a knock on the others. It's simply a reflection of what I personally enjoy most.
What You Should Order On Your First Visit
Then recommend:
- Burrito Bowl
- Chips & Queso
- Tacos
- Quesadilla
Final Thoughts on Salsarita's Rock Hill SC
After eating here for years, Salsarita's remains one of my favorite places to grab lunch in Rock Hill.
The food is fresh, the employees are friendly, and the menu offers plenty of options whether you're craving a burrito, tacos, quesadilla, or burrito bowl.
If you're in the Charlotte metro area and happen to be near Rock Hill, I think Salsarita's Fresh Mexican Grill is worth checking out. It has become one of my go-to lunch spots, and I have a feeling it might become one of yours too.

Frequently Asked Questions About Salsarita's Rock Hill, SC
Yes. Salsarita's offers catering options for meetings, parties, and special events. Check their website for current catering menus and ordering information.
Yes. Customers can place orders online for pickup through the Salsarita's website or participating delivery services.
Yes. Guests can customize burritos, bowls, tacos, and salads with rice, beans, vegetables, cheese, and other toppings to create a vegetarian meal.
Absolutely. Since meals are prepared as you move through the line, it's a great option when you're short on time but still want a fresh meal.