Strawberry season is here, and I can't wait to make this easy homemade strawberry jam. With just a few simple ingredients, this recipe brings out the natural flavor of the strawberries. Join me as I share this simple recipe and show you different ways to use your jam.
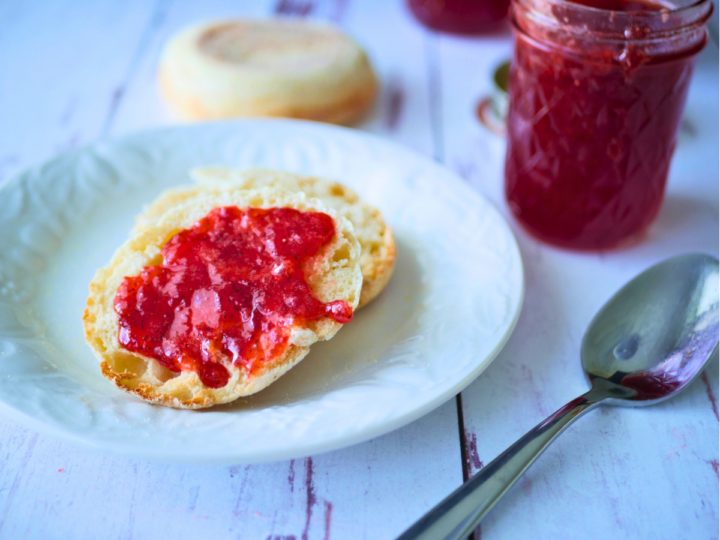
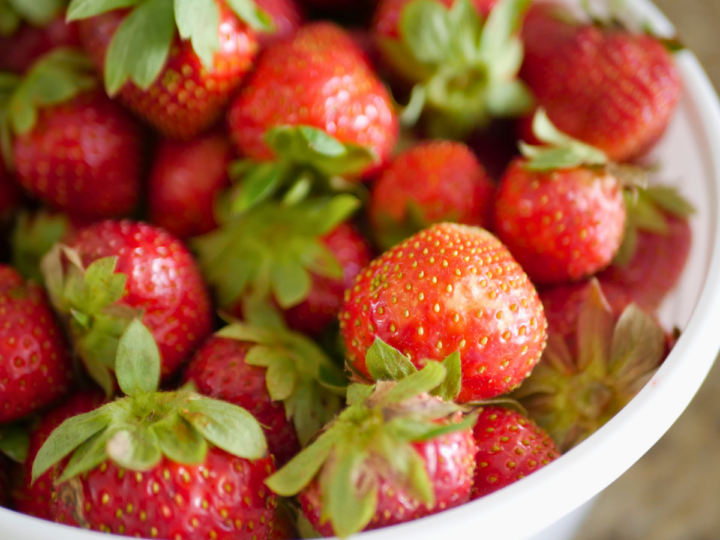
Once April and May get here in the early summer of South Carolina, our family loves going to pick Fresh Strawberries. It is a fun family outing, and the kids just love it. I grow a lot of fruit on my property,y but at the moment, Strawberries are not a fruit that I currently grow, but I plan to grow them in the future. So we like to visit a small local Strawberry farm and pick ripe berries to make this small batch of strawberry jam.
Growing up in the South, my mom made lots of jams, jellies, and preserves. There is nothing better or more fulfilling than making your own. I can still remember Mom standing over that old Ball Granite Ware water bath canner, dipping jars of her jelly or Jams in it.
Hearing the lids pop had to be the most exciting and rewarding sound while I was sitting in the living room. I knew it wouldn't be long before I could spread some on my PB&J sandwich.
Why You'll Love This Homemade Jam Recipe
- Simple Ingredients: Creating something delicious with just a few basic ingredients is always satisfying. Strawberries, sugar, fruit pectin, and lemon juice are simple yet effective components that combine to make something wonderful.
- Freshness: Using fresh strawberries gives the jam a vibrant flavor and color that you just can't get from store-bought varieties. There's something special about knowing exactly where your ingredients come from and tasting the freshness in the final product.
- Pride in Making: There's a sense of pride and accomplishment that comes from making something from scratch. Whether you're an experienced cook or new to the kitchen, successfully creating your jam can be a rewarding experience.
- Versatility: This homemade jam recipe isn't just for spreading on toast! It can be used in various recipes, from filling cakes and pastries to topping yogurt or ice cream. Having a jar of homemade jam on hand opens up a world of culinary possibilities.

What Does this Recipe Taste Like?
The strawberry jam tastes sweet and fruity, with a strong, natural strawberry flavor. It has a balance of sweetness and a slight tartness, reminiscent of fresh strawberries. The texture is smooth with small bits of strawberry, making it a bit chunky but still spreadable. Overall, it's like eating a sweetened, concentrated version of ripe strawberries.

If you love making homemade jams and Jellies, you have got to try this Southern Muscadine Jelly Recipe!
Where to Find Strawberries for this recipe
Finding the strawberries is probably the most important step in this recipe. Once late spring or early summer is here in South Carolina, there are many U-Pick farms to visit to get ripe strawberries. If you do not have this option where you live, you can buy the strawberries from the grocery store or even frozen strawberries. I would let store-bought frozen strawberries be your last resort, though.
I plan to buy roughly one gallon of strawberries from a local U-pick farm. I will use 2 ½ pounds for this strawberry Jam recipe, and then this fall,l when the figs are ripe in my orchard, I will make a strawberry fig jam with the remaining strawberries.
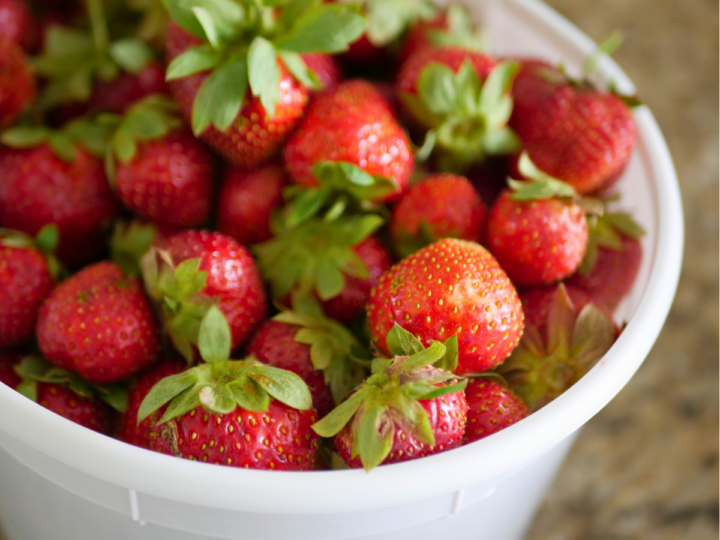
The extra berries that I buy now, I will dehull, then quarter them. After that, I will place them in an airtight container or zip-lock freezer bag and then freeze them until I need them. Buying Strawberries fresh from a farm and then freezing them will result in a better-tasting recipe than buying frozen strawberries from the grocery store.
This is a tip that you can use in case you want to make additional strawberry jam later in the year or if you want to make this awesome Homemade Strawberry Ice Cream Recipe!
What You Need To Make This Recipe
This easy strawberry jam recipe only requires a few simple ingredients. We are going to cover the ingredients here, but the amounts will be listed below in the recipe card.
Ingredients for Homemade Strawberry Jam
- Strawberries (Organic strawberries if you can find them)
- Bottled Lemon Juice
- Butter
- Sure Jell (yellow box) or Ball Real Fruit Natural Pectin
- Granulated white sugar (Cane Sugar)
See the recipe card at the end of the post for quantities
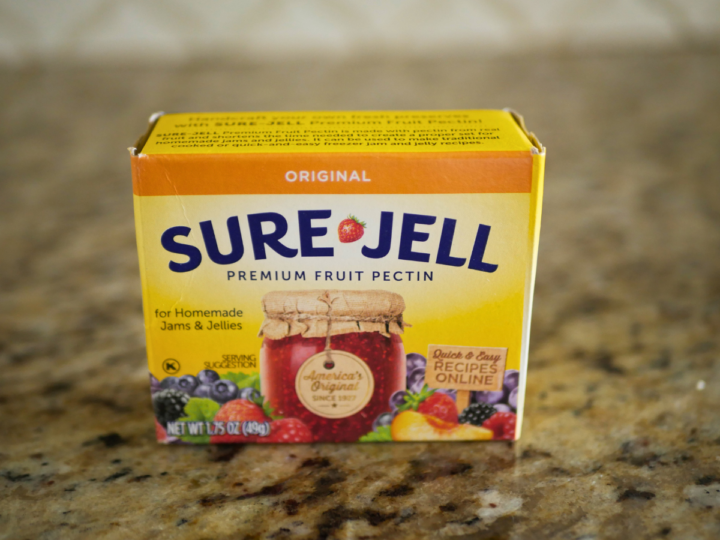
Note: It is important to use this ratio of sugar to the right balance of fruit for the Jam to jell. I know it seems like a lot of sugar, but it is needed to make this recipe work so don't skimp on it.
Equipment Needed
- Heavy-bottomed Saucepan or stock pot
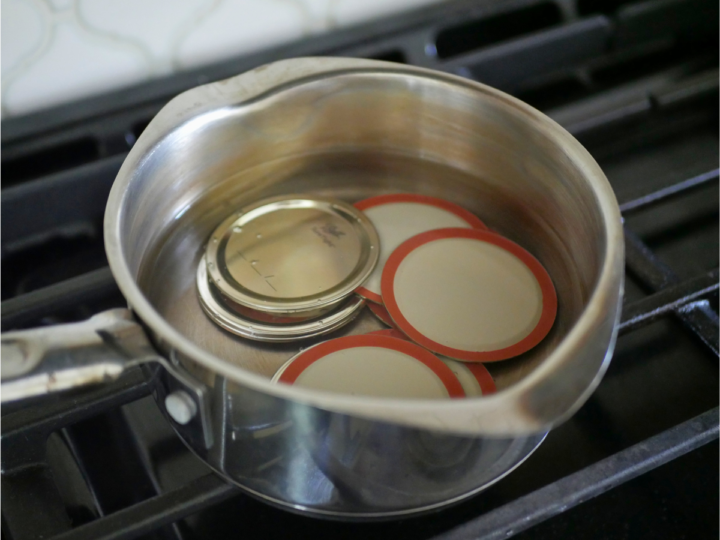
- A small saucepan for sterilizing canning lids
- Wooden spoon or metal spoon
- Instant Read thermometer or candy thermometer
- 8 half-pint glass canning jars (Mason Jars or Ball Jars)
- 8 canning lids and 8 rings (get the name-brand lids)
- Water bath canner
- Potato Masher, Mix and chop, food processor, or something to mash or break up the strawberries
- Canning Utensil kit (funnel, jar lifter, bubble remover, headspace tool, magnetic lid lifter).
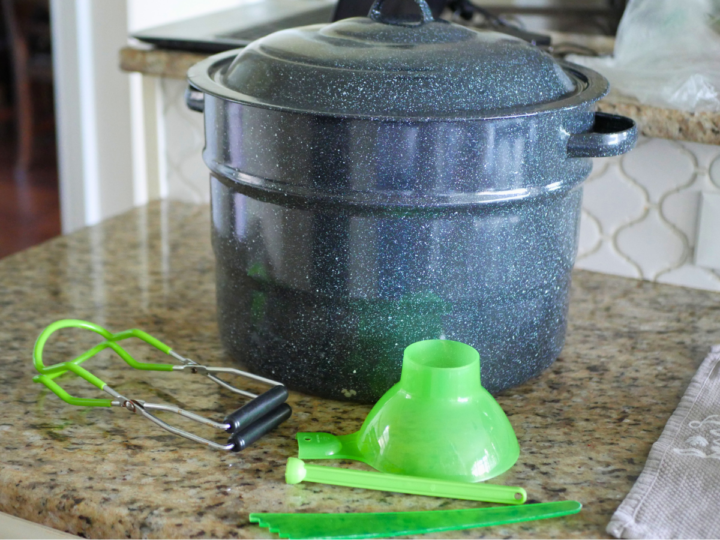
For items that I recommend buying, see my Canning and Preserving Essentials guide and Best Kitchen Essentials guide.
How to Make Delicious Strawberry Jam
Step-by-step instructions
Preparing the Water bath canner, Jars, and lids for canning
Step 1
Wash the jars, lids, and rings with soapy water, then dry them off. Prepare the water bath canner by placing 8 half-pint jars on the rack of the canner, then proceed to fill the water bath canner with water until it reaches 1 inch over the top of the jars.
Turn the stove on to high heat to bring water up to a boil. Once the water has come to a boil, boil jars for 10 minutes. (Add 1 minute to this time for every 1000 feet above sea level you are.) Once it reaches a boil, start your timer. After the time is up, turn the burner down to low to keep the water warm until you are ready for the jars to pour your jam into.
Note: I prefer to place my jars in the canner and then fill them up with water. This is a great way to be sure you do not overfill your canner. One note, though, this method makes the canner heavy. If this is an issue, just fill the canner about half full of water, then place the jars in it while it is on the stove. You can use a pitcher of water to adjust the water level at that point.

Step 2
Fill up the small saucepan about halfway with water and set it on a back burner. Turn the burner on medium-low. Add in the canning lids. This will sterilize them and keep them warm for when you are ready. I leave the lids in this saucepan the whole time I am making the jam or jelly until I am ready to use them.
Making the Strawberry Jam
Step 1
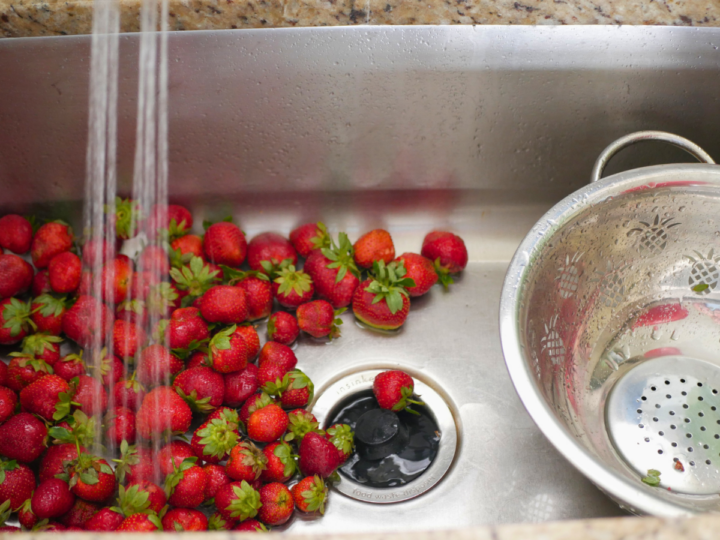
Dehull (remove the green stem on top) and then wash all of your strawberries.
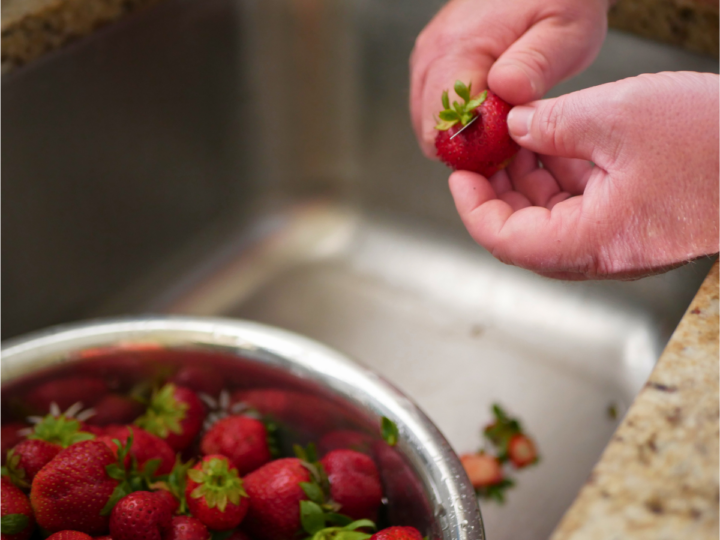
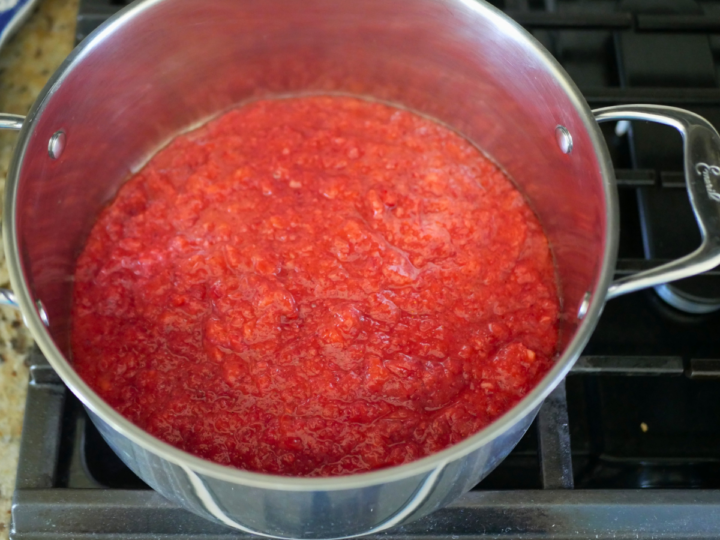
Crush the berries using a mix-and-chop, or potato masher, or you could even use a food processor. You want them to have a rough texture.


Place the crushed-up strawberries in a Large Saucepan or stock pot over medium-high heat.
Step 2
Next, add in the Sure Jell or Ball Real Fruit pectin, butter, and lemon juice and boil for 1 minute.
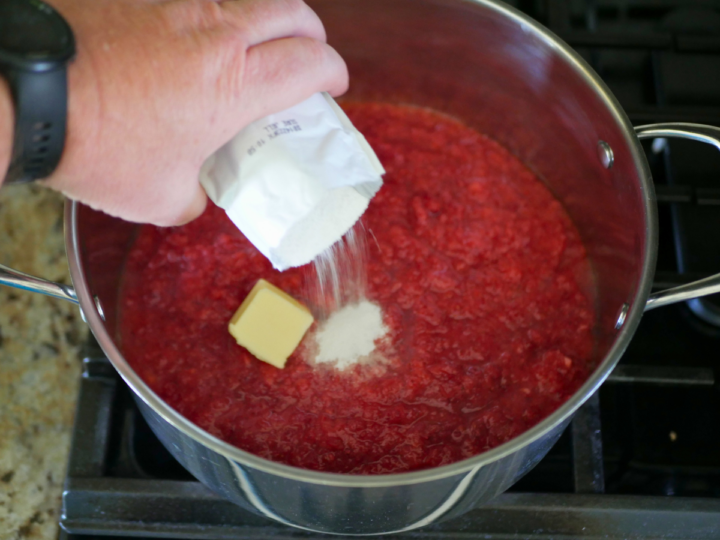
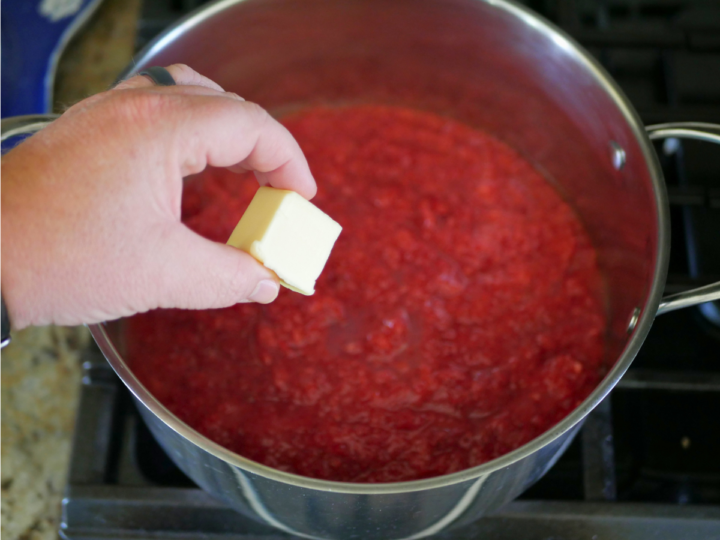
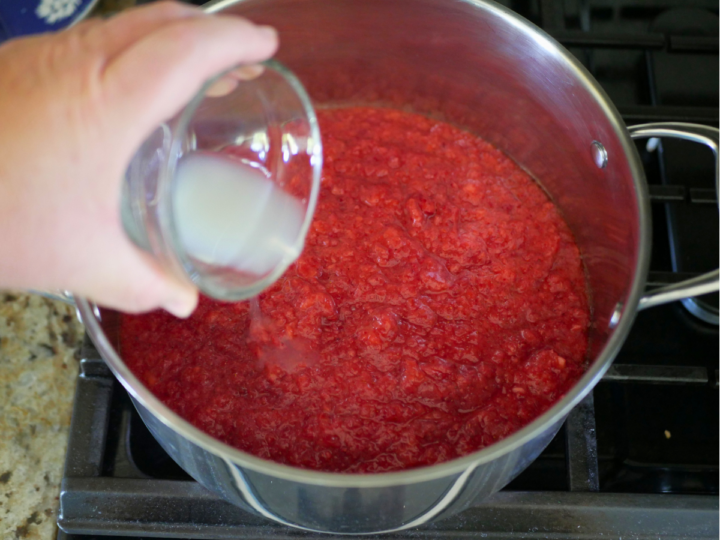
Note: Using butter will help reduce the foam that will be produced when boiling the mixture.
Step 3
Add the granulated sugar to the pot and stir quickly until it has dissolved. Bring the mixture back up to a full boil. Skim off any foam that may appear.
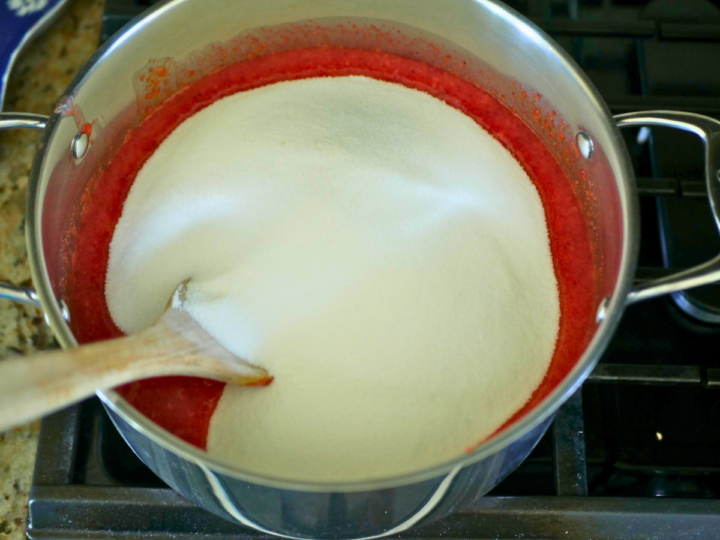
Step 4
Boil for 1 minute or until the mixture reaches a temperature of 220 degrees Fahrenheit (104 degrees Celsius).

Plate Test: Test the jam mixture by using the plate test. Place a small plate in the freezer for 15 minutes. Place a spoonful of jam on the plate. Use your finger to push through the jam and it should look wrinkled and not fill the gap where you pushed through it. If this doesn't happen, boil for an extra minute or two.
Canning the Homemade Strawberry Jam
Step 1
Remove the hot jars from the water bath canner and set the glass jars on a tea towel.
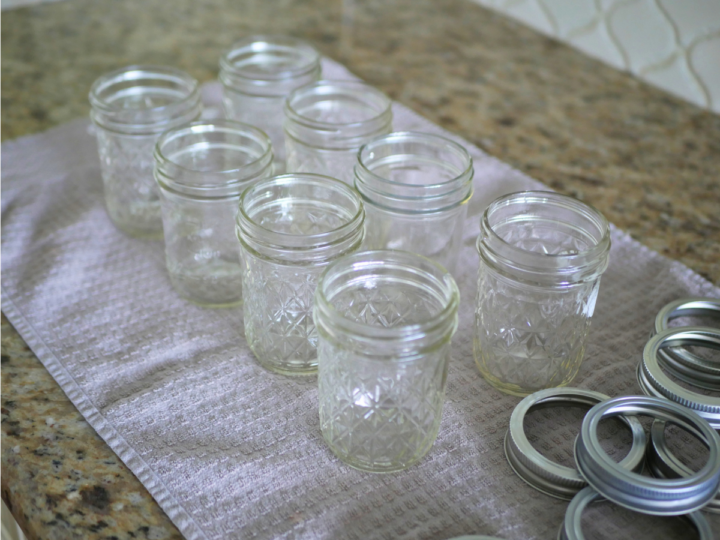
Step 2
Fill the jars up using a ladle until there is ¼ inch headspace. Use the headspace measuring tool to measure this.

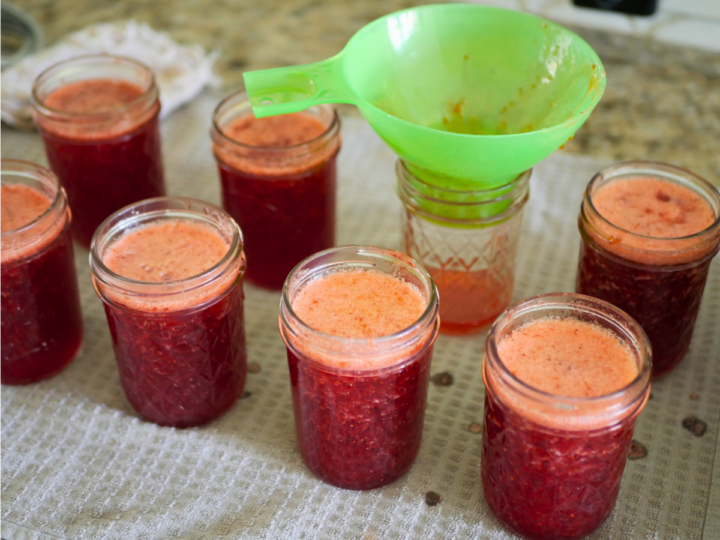
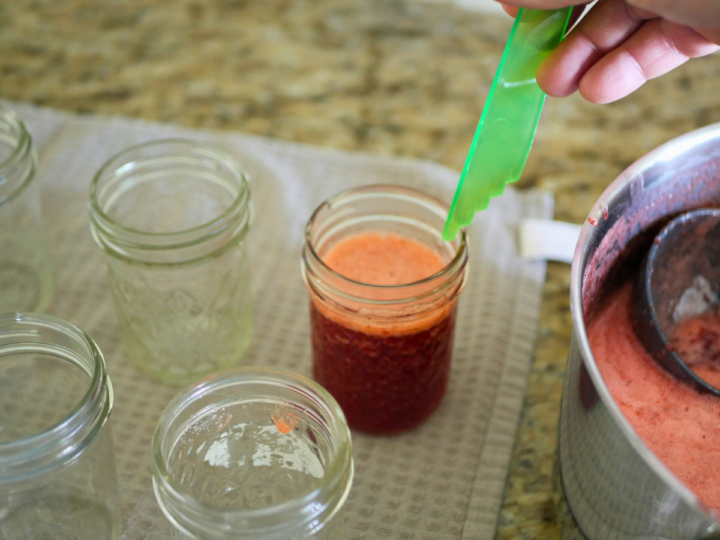
Using the other end of the tool, stick it into the jars of jam and remove excess air bubbles. Wipe off the rim of the glass jars with a clean tea towel.
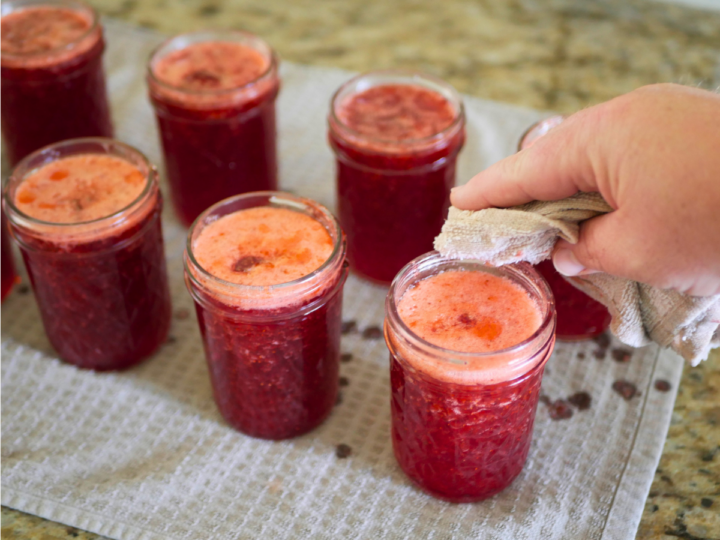
Using the lid lifter, grab a lid from the small saucepan on the stove and place the lid on the tops of the jars. Apply the screw-on band to the fingertip tight.


Step 3
Place each jar on the elevated canning rack and make the jars even.

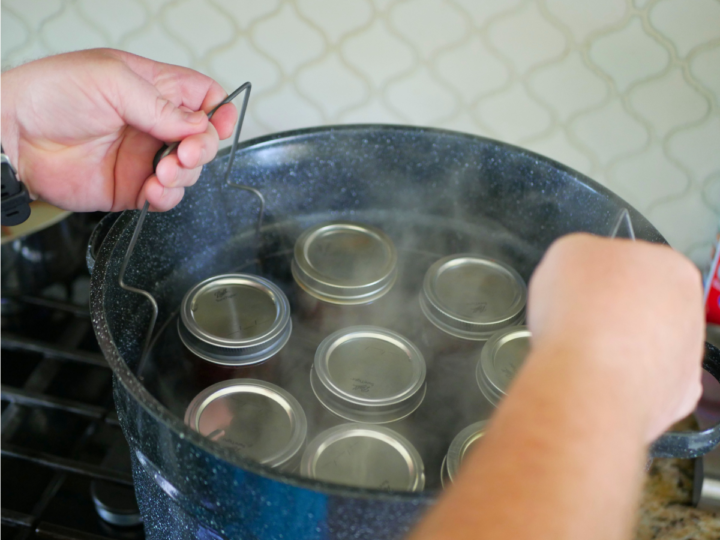
Lower the canning rack into the hot water in the canner and make sure the water covers the jars by at least an inch. Turn the heat back up on the stove to high heat, put the lid on the canner, and bring the water to a full boil again.
Step 4
Process the jars of jam for 10 minutes. Make sure to adjust for higher elevation levels.
Step 5
Remove the jars from the water bath canner using a jar lifter. Place the hot glass jars back on the tea towel and let them cool to room temperature.
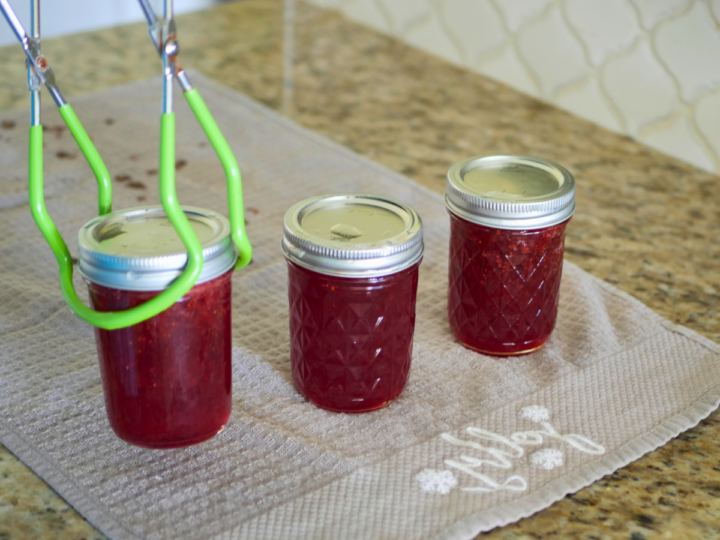
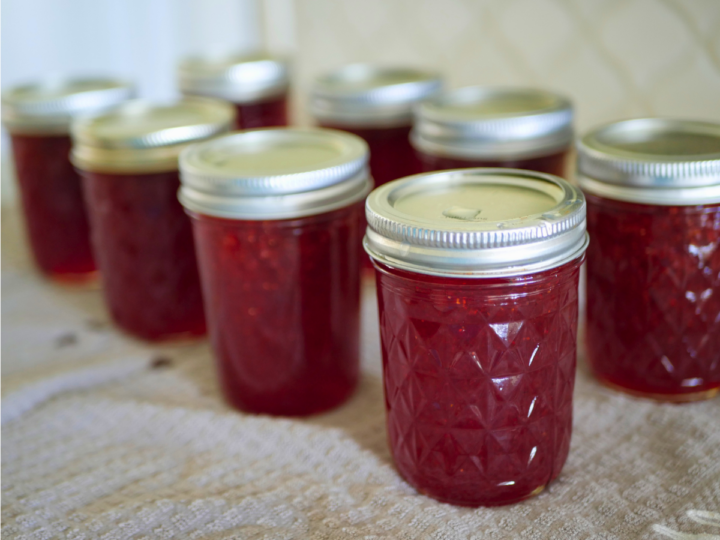
In the next 30 minutes, as the Jars cool, you should start to hear the lids popping. Let cool for 12 to 24 hours. Check the lids to see if they have been sealed by pressing them in the center of the lid. If the center of the lid flexes, the lid did not seal. Use these jars of jam first by placing them in the refrigerator.
Unique Ways To Serve Homemade Strawberry Jam
- Serve it on top of Homemade Vanilla Ice Cream or this Homemade Strawberry Ice Cream
- Homemade Strawberry Jam is great on our Homemade Biscuits
- Strawberry Jam goes great on top of Old Fashioned Pancakes, French Toast, or Waffles.
- One of the most traditional ways to serve it is on the good old-fashioned Peanut Butter and Jam sandwich.
- Use it as a topping on Yogurt or Oatmeal
- It can be used as a Pastry Filling, such as homemade pop-tarts.
- Strawberry Jam is great on top of Plain Cheesecake.
- You can use Strawberry Jam as a cake filling as well.
- Blend Strawberry Jam into a delicious smoothie.
- Spread this homemade jam on toast.
- Top a bagel with cream cheese and this Homemade Strawberry Jam.
FAQ's
If properly canned, Strawberry Jam can last up to 1 year if stored in a cool, dark place.
Yes, Homemade Strawberry Jam will thicken as it cools if you follow the recipe right.
Yes, if you use Sure Jell (Yellow Box) pectin, you do not have to use the lemon juice. The reason is that Sure Jell contains citric acid. I like to add in the extra lemon juice for good measure. I use Sure Jell, and it is said to help the fruit keep its color.
Easy Homemade Strawberry Jam Recipe
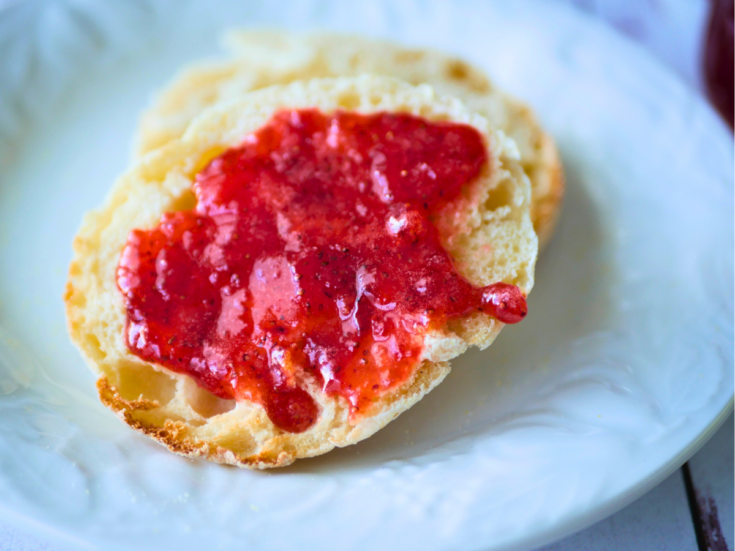
Capture the sweet taste of summer with this simple homemade strawberry jam. With just fresh strawberries, sugar, fruit pectin, and lemon juice, and pectin, this easy recipe creates a delicious spread perfect for toast, pastries, or desserts.
Ingredients
- 5 cups of fresh strawberries (approximately 2 ½ pounds of fresh strawberries)
- 1 teaspoon of butter
- 1 box of Sure Jell (Yellow Box) or 6 Tablespoons of Ball Real Fruit Pectin.
- 2 tablespoons of Bottled Lemon Juice
- 7 cups of granulated white sugar (cane sugar)
Instructions
Prepare Glass Jars and Water Bath Canner:
- Wash the jars, lids, and rings with soapy water then dry them off. Prepare the water bath canner by placing 8 half-pint jars on the rack of the canner then proceed to fill the water bath canner with water until it reaches 1 inch over top of the jars. Turn the stove on to high heat to bring water up to a boil. Once the water has come up to a boil, boil jars for 10 minutes. (Add 1 minute to this time for every 1000 feet above sea level you are). Once it reaches a boil, start your timer. After the time is up turn the burner down to low to keep the water warm until you are ready for the jars to pour your jam into them.
- Fill up the small saucepan about halfway with water and set it on a back burner. Turn the burner on medium-low. Add in the canning lids. This will sterilize them and keep them warm for when you are ready. I leave the lids in this saucepan the whole time I am making the jam or jelly until I am ready to use them.
Making the Strawberry Jam
- Dehull (remove the green stem on top) and then wash all of your strawberries. Crush the berries using a mix-and-chop, or potato masher, or you could even use a food processor. You want them to have a rough texture. Place the crushed-up strawberries in a Large Saucepan or stock pot over medium-high heat.
- Next add in the Sure Jell or Ball Real Fruit pectin, butter, and lemon juice.
- Add the granulated sugar to the pot and stir quickly until it has dissolved. Bring the mixture back up to a full boil. Skim off any foam that may appear.
- Boil for 1 minute or until the mixture reaches a temperature of 220 degrees Fahrenheit (104 degrees Celsius) then remove from heat.
Canning the Homemade Strawberry Jam
- Remove the hot jars from the water bath canner and set the glass jars on a tea towel.
- Fill the jars up using a ladle until there is ¼ inch head space. Use the headspace measuring tool to measure this. Using the other end of the tool, stick into the jars of jam and remove excess air bubbles. Wipe off the rim of the glass jars with a clean tea towel. Using the lid lifter, grab a lid from the small saucepan on the stove and place the lid on the tops of the jars. Apply the screw-on band to fingertip tight.
- Place each jar on the elevated canning rack and arrange jars so that they are even. Lower the canning rack into the hot water in the canner and make sure the water covers the jars by at least an inch. Turn the heat back up on the stove to high heat and bring the water to a full boil again.
- Process the jars of jam for 10 minutes. Make sure to adjust for higher elevation levels.
- Remove the jars from the water bath canner using a jar lifter. Place the hot glass jars back on the tea towel and let cool to room temperature. In the next 30 minutes as the Jars cool, you should start to hear the lids popping. Let cool for 12 to 24 hours. Check the lids to see if they have sealed by pressing in the center of the lid. If the center of the lid flexes, the lid did not seal. Use these jars of jam first by placing them in the refrigerator.
Notes
- For this recipe, it is formulated to use bottled Lemon Juice as it has a consistent Acdicity level.
- The butter helps reduce foaming when boiling.
- Don't over boil it. Longer does not equal better in this case. If you boil too long you will cause the Jam not to set.


Leave a Reply