
Crunchy, tangy, and oh-so-satisfying! These homemade dill pickles are the perfect combination of fresh cucumbers, aromatic dill, and zesty spices. Whether you enjoy them as a snack or as a condiment to your favorite sandwiches, these homemade dill pickles are a crowd-pleaser that will leave your taste buds singing. Try this easy recipe and impress your friends and family with your homemade pickle-making skills!
Homemade Dill Pickles are A Solution For An Abundance of Cucumbers
Recently, my father-in-law planted a garden. You know, the usual, tomatoes, squash, and cucumbers. In South Carolina, once you get into July, you have an abundance of all of those vegetables. The big question is, what to do with them all?
One of our favorite ways to preserve veggies, especially cucumbers is by pickling them. I just love making homemade dill pickles by using this homemade crispy dill pickles canning recipe.
Homemade Dill Pickles Taste Better
According to Cision, 86% of Americans enjoy this salty, crunchy snack. But why do they like it so much? Well just as people crave sugar, they crave salt as well. Pickles or pickled food can also be good for you.
Making your own pickles not only tastes better, but it is very rewarding as well. They will taste way better than any pickle you have had from the grocery store. Canning pickles can be so easy and simple, you just need a quick and easy canning recipe. I really like this Homemade Crispy Dill Pickles Canning Recipe. To me, it is the best crisp dill pickle recipe.
History of Pickles
Pickles have been around for a long time. When something is pickled, it is soaked in vinegar and salt brine to preserve it. So making pickles was a way of preserving veggies so they would last longer. It is said that pickles have been around as far back as 2040 BC when cucumbers were pickled in the Tigris Valley.
What Exactly Makes a Dill Pickle?
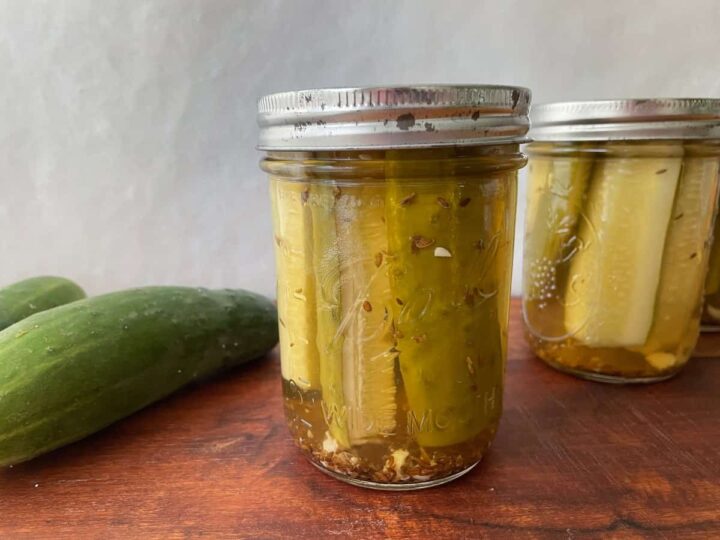
Crisp Dill Pickles are made by packing Cucumbers in a jar and then submerging them in vinegar and salt brine solution. Fresh Dill or Dill seeds are added for flavoring as well as garlic cloves. The homemade dill pickles are canned in a water bath canner and let sit for a few weeks before they are enjoyed. Making homemade dill pickles is easy if you have the right canning recipe!
How To Make Homemade Crispy Dill Pickles
Tools You Will Need
Water Bath Canner and Canning rack
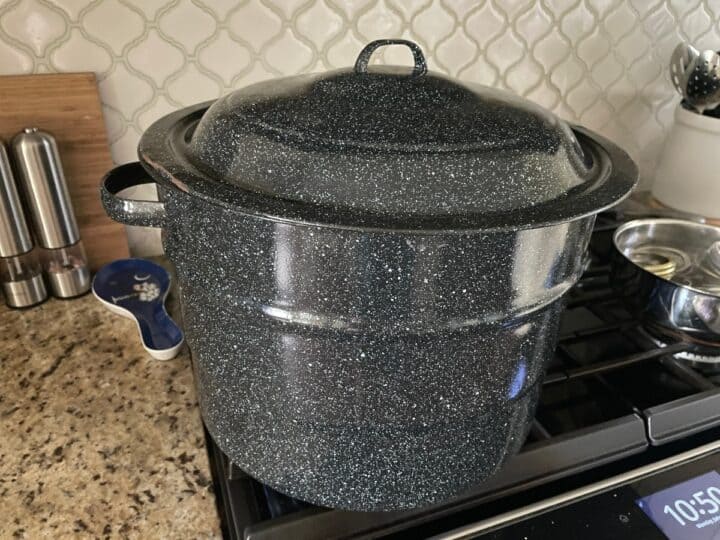
To make the Crispy Dill Pickles canning recipe, you will need a water bath canner. Once all the ingredients are placed into the canning jars, the brine is added, and the lids are placed on them, you will need to put them in the water bath canner. Do not fret, this is different than a pressure cooker. You do not have to worry about exploding jars. This is just hot boiling water. This helps the jars to seal.
The tools in this canning tool kit will make life so much easier. The jar lifter will help you get the jar into and out of the boiling water bath canner. The jar funnel in this kit allows you to pour the hot brine into the jars when filling them up. The headspace tool and bubble remover help you measure the right amount of liquid that is in the jars and get the bubbles out.
I prefer Ball Glass Jars. You will need 2-pint size jars for this recipe. If you want to can more, simply double or triple the recipe. This simple recipe is great, especially for when you are just getting a few cucumbers off the vine.
As with the Ball jars, I prefer the ball-brand lids too. There are some cheaper brands, but they sometimes fail. It is best to bite the bullet and buy the name brand when it comes to food safety in my opinion.
Ingredients-makes 2 Pint Jars
Cucumbers
The first thing you will need is fresh cucumbers. To start with you need freshly picked, small cucumbers. Certain types of cucumbers are bred to be pickled. What makes a great cucumber is a small firm cucumber. If you do not have that variety or cannot find them, your normal cucumber will do. Try to buy from a farmers market though as the store-bought ones are sometimes coated in wax to help preserve them and make them look shiny.
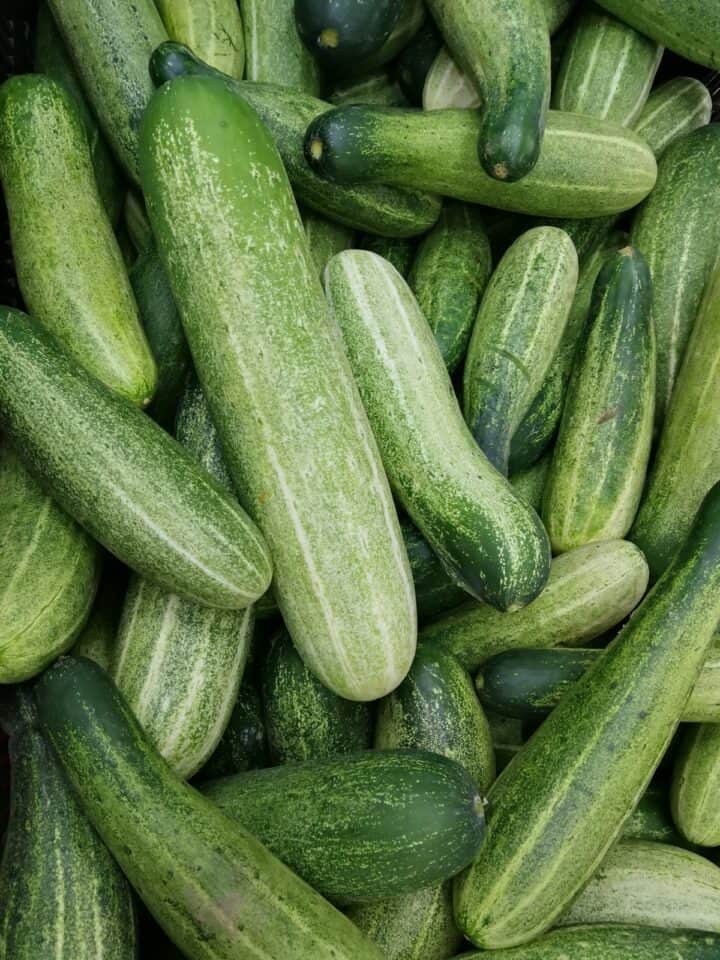
A few varieties to use are Kirby, Boston Pickling, Busy, Parisian, Burpee Pickler, and Fresh Pickles. You can use pretty much any variety if you have them, they may not be quite as crisp though.
Pickling Brine
The pickling brine is made from water, vinegar, and salt for this dill pickles canning recipe. If you can find canning salt, that is best to use. If not, try to find Kosher salt. Do not use Iodine salt. Use white or apple cider vinegar. I find that the apple cider vinegar has a nice fruity, mellow taste versus the sharp neutral flavor of white distilled vinegar.
Apple cider vinegar will alter the color of the veggies you are pickling whereas white vinegar will not. They can be used interchangeably though. We will mix equal parts of water and vinegar to make our brine solution. You will need 1 cup of water and 1 cup of apple cider vinegar.
Herbs and Seasonings
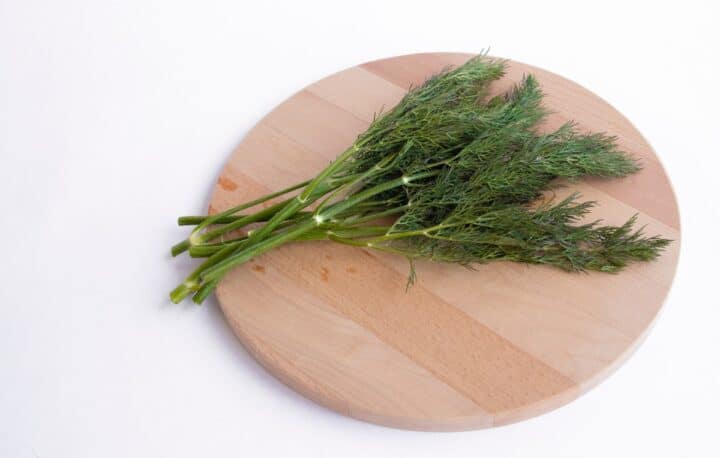
Dill
What is a dill pickle recipe without dill? If you can find fresh dill, that is best to use in my opinion. I dehydrated all of mine that I grew so I am using dill seed for this recipe. Feel free to add in both.
Garlic
We are using whole garlic cloves for this recipe. Peel the garlic cloves and leave them whole. You can smash them a little if you want to open up the flavor more. I recommend using 2 to 3 cloves per pint jar.
Optional Spices
You can play around with different spices. Some extra that you might want to consider are celery seeds, mustard seeds, Black Peppercorns, and red chili flakes. You could also get a pickling spice that includes many of these spices in the blend.
Making The Easy Homemade Crispy Dill Pickles
Prepare the Jars, lids, and Rings
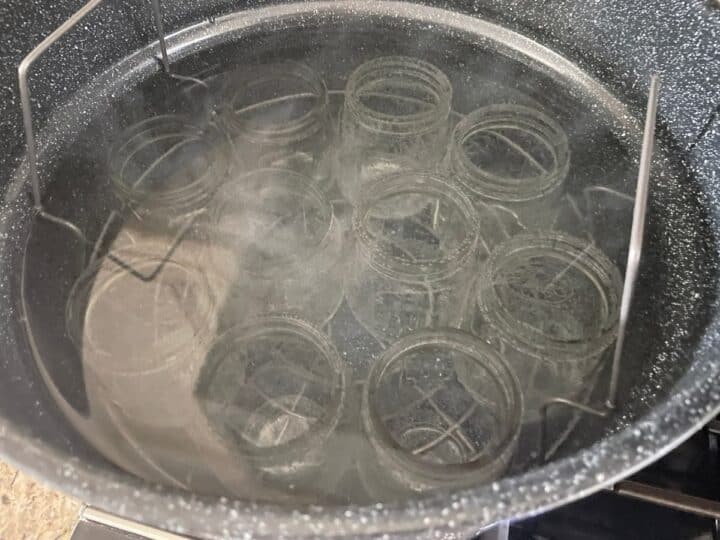
- Step 1: Fill your water bath canner or large pot with water, making sure to keep the rack inside the canner.
- Step 2: Add in jars and turn the stove on high heat to bring water up to a rolling boil.
- Step 3: While the water bath canner is going, get a saucepan or medium-sized pot and fill it up with water.
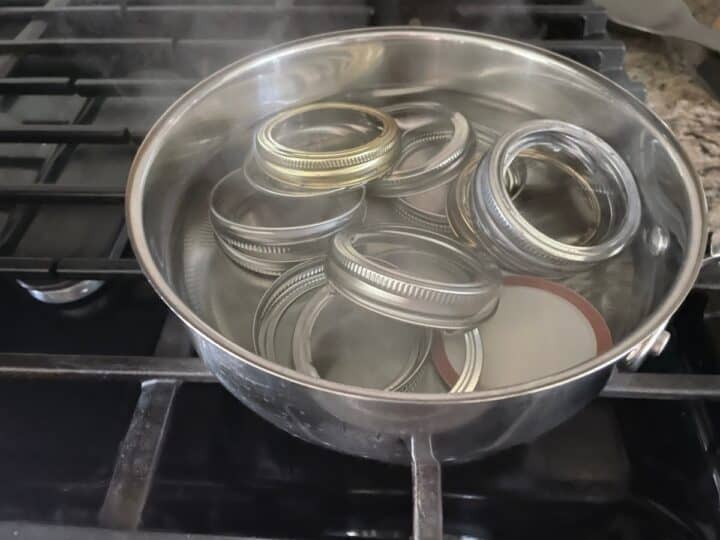
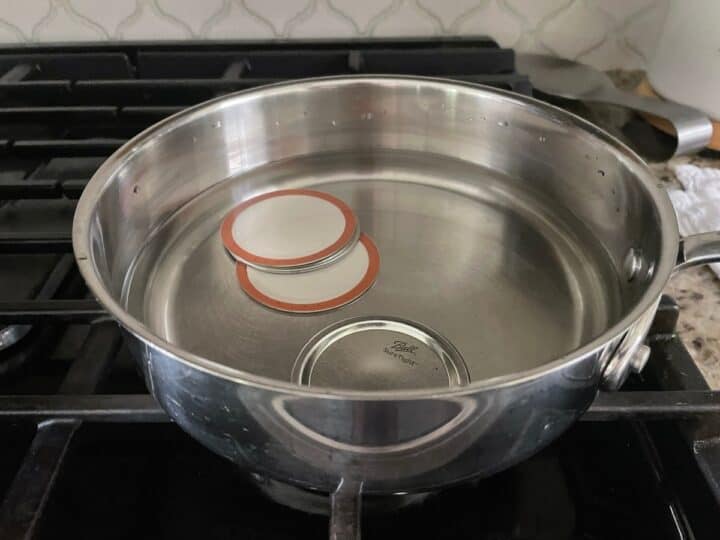
- Step 4: Add in the lids and rings. Bring water to a boil. Once this starts to boil, you can turn the heat down to low and leave it on the stove for the entire time you are canning.
- Step 5: Once the water bath canner has started to boil, the jars are ready to use. Remove them from the water bath canner and place them on a tea towel, dish cloth, or some other covering to protect your countertops.
Preparing the Brine
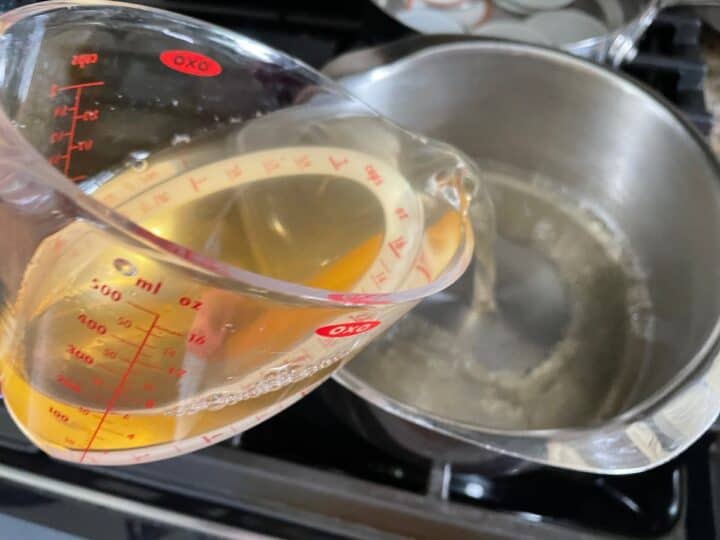
- Step 1: In a medium pot or saucepan, add 1 cup of Apple Cider Vinegar, 1 cup of water, and 1 ½ tablespoons of pickling salt or Kosher salt. Turn the burner on to medium-high heat.
- Step 2: Bring to a boil. Once the brine has started boiling, it is ready to use.
Preparing the cucumbers and Spices
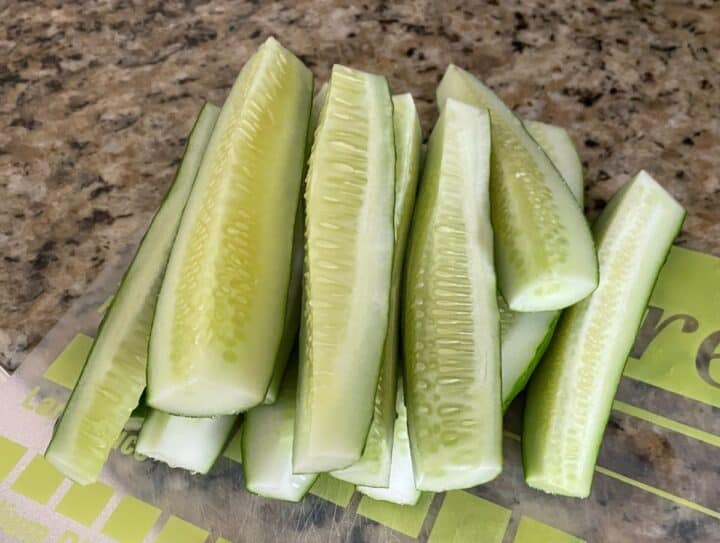
- Step 1: Wash and dry the cucumbers. Trim both ends off and cut the cucumbers into quarters (Spears). If you want dill chips, just slice them into ¼-inch pieces
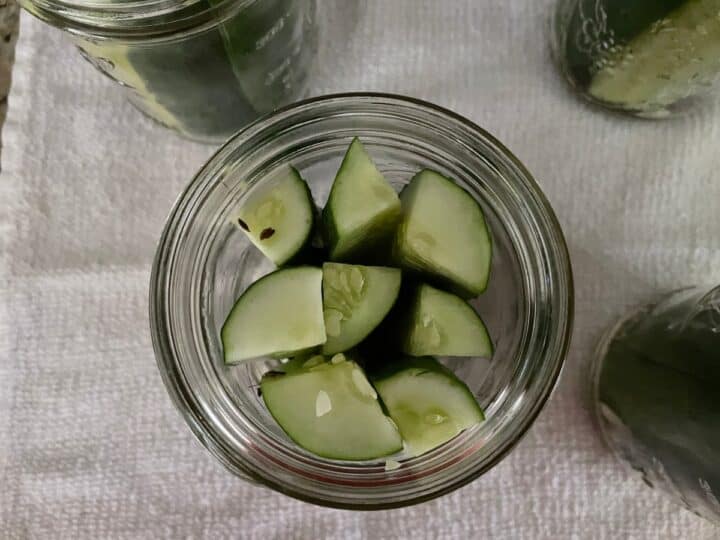
- Step 2: Add your spices to the bottom of the jar. You will add 2 cloves of garlic and 1 teaspoon of dill seed per pint jar.
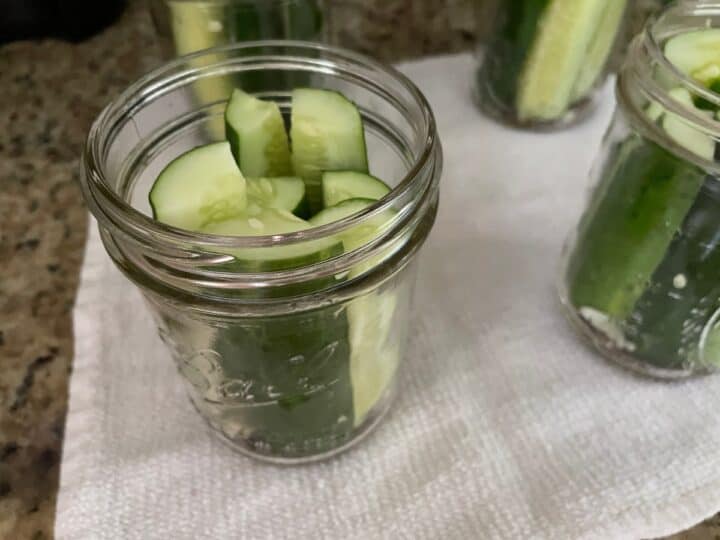
- Step 3: Pack the Cucumber Spears or Chips into the jars. Make sure they are not more than ½ below the top of the jar. If they are sticking up, trim them so they fit.
- Step 4: Next, Pour the pickling liquid or boiling brine into the jars leaving ¼ of headspace.
- Step 5: Using your bubble tool or a wooden dowel rod, move the cucumbers around in the jar to allow the bubbles to escape.
- Step 6: With a clean tea towel, wipe the rim of the jars clean.
- Step 7: Place a hot lid out of the warm water onto the top of the jar and add a ring. Hand tightens the ring.
- Step 8: Place jars into the water bath canner. Once the water has come back up to a boil, process them for 10 minutes.
- Step 9: Remove jars from the water bath canner after the allotted amount of time. Place them on a tea towel, drying rack, etc.
- Step 10: As the jars cool, the center of the lids should suck in. Some might make a popping sound.
For best results, store the pickles for at least one month before enjoying them. This will result in the best flavor.
Note: Double-check the Ball Safety Canning Guide before following any canning recipe! Altering the brine can result in a failed or unsafe product. Also, If the center does not sink in, you will need to place that jar in the refrigerator and eat them first. They will not be shelf stable if the lid does not sink.
Simple Tip: There are a few tricks to having crunchy Homemade Dill Pickles. One item that Ball makes is called Pickle Crisp. This is Calcium Chloride and is considered a firming agent. I highly recommend using this. A more natural alternative from some older recipes calls for adding in a couple of grape leaves. I have not tested this myself but supposedly the tannins in the grape leaf help keep the pickles crisp. I have also read about how using oak leaves works as well. All of these are said to keep from having mushy pickles.
FAQ’s
Can I Use Fresh Dill instead of Dill Seed?
Yes. Add a few sprigs of Dill in place of the 1 teaspoon of dill seed per jar. I prefer fresh dill myself.
Can I Add Onions?
Yes, you can add onions. I love adding them to myself. Put a few rings in each jar before packing the cucumbers in.
How Long Will Canned Pickles Last?
Canned pickles should be good for up to a year on the shelf.
How Long will open pickles be good for?
Once you open a jar of canned pickles, they should be good for up to 4 weeks in the refrigerator. If you decide not to can your jars, you can enjoy the refrigerator pickles after they sit a few days in the brine in the refrigerator.
Can This Recipe Be Used For Pickle Slices?
This can be used for pickle slices or Dill Chips. This recipe can also work for other veggies such as okra and green beans.
What Other Vegetables Can I Use This Recipe For?
You can use this recipe for okra, Jalapenos, and green beans among a few others.
Can I Add Hot Peppers to this recipe?
Yes, you can add in hot peppers. Adding in hot peppers is a great way to make spicy pickles.
How Many Jars of Pickles Will This Recipe Make?
This recipe will make 2 pint-size jars of pickles.

Thanks so much for stopping by Southern Food Junkie. We truly hope you enjoy this easy-to-make Homemade Crispy Dill Pickles Canning Recipe. If you made this consider leaving us a comment below to tell us about your experience. Until next time.
-Ronnie | Let's Get Food Junked

Homemade Crispy Dill Pickles (Canning Recipe)
Recently, my father-in-law planted a garden. You know, tomatoes, squash, Cucumbers. In South Carolina, once you get into July, you have an abundance of all of those vegetables. The big question is, what to do with them all? One of our favorite ways to preserve veggies, especially cucumbers is by making homemade dill pickles by using this easy homemade crispy dill pickles canning recipe.
Ingredients
- 1 ½ - 2 pounds Cucumber (Boston, Kirby)
- 2 teaspoons dill seed
- 1 cup apple cider vinegar
- 1 ½ tablespoon Canning or kosher salt
- 4 cloves garlic
Instructions
Prepare the Jars, Lids, and Rings
- Step 1: Fill your water bath canner or large pot up with water about halfway, making sure to keep the rack inside the canner.
- Step 2: Add in jars and turn the stove on high heat to bring water up to a rolling boil. Make sure that the water covers the jars by at least an inch.
- Step 3: While the water bath canner is going, get a saucepan or medium size pot and fill it up with water.
- Step 4: Add in the lids and rings. Bring water to a boil. Once this starts to boil, you can turn the heat down to low and leave it on the stove for the entire time you are canning.
- Step 5: Once the water bath canner has started to boil, the jars are ready to use. Remove them from the water bath canner and place them on a tea towel, dish cloth, or some other covering to protect your countertops.
Preparing the Brine
- Step 1: In a medium pot or saucepan, add 1 cup of Apple Cider Vinegar, 1 cup of water, and 1 ½ tablespoon of pickling salt or Kosher salt. Turn the burner on medium-high heat.
- Step 2: Bring to a boil. Once the brine has started boiling, it is ready to use.
Preparing the cucumbers and Spices
- Step 1: Wash and dry the cucumbers. Trim both ends off and cut the cucumbers into quarters (Spears). If you want dill chips, just slice them into ¼-inch pieces
- Step 2: Add your spices to the bottom of the jar. You will add 2 cloves of garlic and 1 teaspoon of dill seed per pint jar.
- Step 3: Pack the Cucumber Spears or Chips into the jars. Make sure they are not more than ½ below the top of the jar. If they are sticking up, trim them so they fit.
- Step 4: Pour the pickling liquid or boiling brine into the jars leaving ¼ of headspace.
- Step 5: Using your bubble tool or a wooden dowel rod, move the cucumbers around in the jar to allow the bubbles to escape.
- Step 6: Using a clean tea towel, wipe the rim of the jars clean.
- Step 7: Place a hot lid out of the warm water onto the top of the jar and add a ring. Hand tightens the ring.
- Step 8: Place jars into the water bath canner. Once the water has come back up to a boil, process them for 10 minutes.
- Step 9: Remove jars from the water bath canner after the allotted amount of time. Place them on a tea towel, drying rack, etc.
- Step 10: As the jars cool, the center of the lids should suck in. Some might make a popping sound.
- For best results, store the pickles for at least one month before enjoying them. This will result in the best flavor.
Notes
Note: Double-check the Ball Safety Canning Guide before following any canning recipe! Altering the brine can result in a failed or unsafe product. Also, If the center does not sink in, you will need to place that jar in the refrigerator and eat them first. They will not be shelf stable if the lid does not sink.
Simple Tip: There are a few tricks to having crunchy pickles. One item that Ball makes is called Pickle Crisp. This is Calcium Chloride and is considered a firming agent. I highly recommend using this. A more natural alternative from some older recipes calls for adding in a couple of grape leaves. I have not tested this myself but supposedly the tannins in the grape leaf help keep the pickles crisp. I have also read about using oak leaves as well. All of these are said to keep from having mushy pickles.
Recommended Products
As an Amazon Associate and member of other affiliate programs, I earn from qualifying purchases.


Nutrition Information:
Yield:
2Serving Size:
1 gramsAmount Per Serving: Unsaturated Fat: 0g
Check out these other recipes that I am sure you will love as well!


Leave a Reply