Nestled in the heart of the Great Smoky Mountains, Maggie Valley, North Carolina, is a hidden gem that beckons adventurers, nature enthusiasts, and those in search of a tranquil mountain retreat. This picturesque town is a paradise for anyone seeking an escape from the hustle and bustle of city life and yearning for a taste of Appalachian culture.
With its breathtaking landscapes, outdoor adventures, and a rich tapestry of history you are sure to love this town.
Maggie Valley offers a diverse array of activities and attractions that will leave you spellbound. In this comprehensive guide, we will take you on a journey through Maggie Valley, NC, unveiling the myriad experiences that await you.
Whether you're a seasoned hiker looking to conquer the trails of the Great Smokies or a history buff eager to explore the town's rich heritage, Maggie Valley has something for everyone. Join us as we uncover the top things to do in Maggie Valley, NC, each one promising an unforgettable experience in this charming corner of North Carolina.
Where Is Maggie Valley Located?
Maggie Valley is a small mountain town located in western North Carolina in Haywood County, about 35 miles west of Asheville and just minutes from the entrance to Great Smoky Mountains National Park. Nestled in the heart of the Smoky Mountains, Maggie Valley is known for its scenic mountain views, outdoor recreation, and small-town charm.
The town sits along US Highway 19, making it a popular destination for visitors exploring western North Carolina. Maggie Valley is also conveniently located near Waynesville, Cherokee, and the scenic Blue Ridge Parkway, making it an excellent home base for hiking, waterfalls, scenic drives, and family-friendly attractions.
Whether you're visiting for a weekend getaway, a family vacation, or an outdoor adventure in the Smoky Mountains, Maggie Valley offers easy access to some of the best attractions in western North Carolina.
Why I Love Maggie Valley, NC
Every year we make the trip up to Maggie Valley in the fall. It has become an annual tradition for our family. One of the main reasons we love going there is that the area is so low-key. Most of the businesses there are owned by locals.
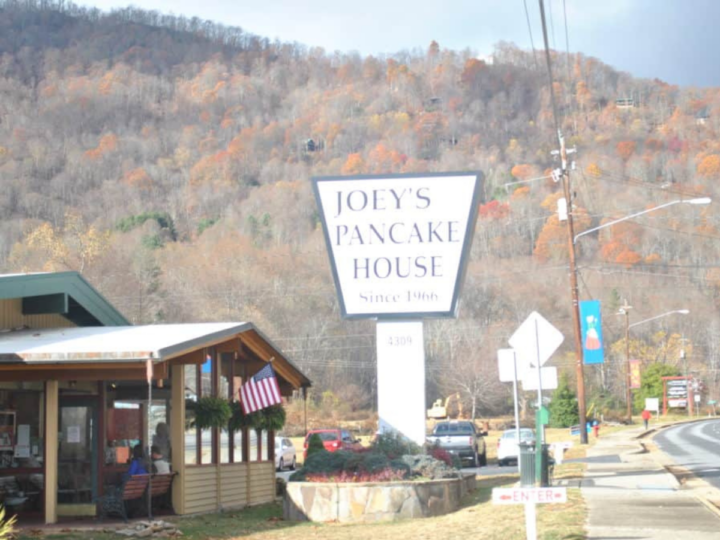
This includes most of all of the restaurants in town. There are tons of restaurants in Maggie Valley, NC but one of our favorites is Joey’s Pancake House.
I have fond memories of going to Maggie Valley, NC as a kid. My very first memories of any vacation were being in Maggie Valley. I fondly remember being at a motel carrying a stuffed animal bear that I had bought. I later found out that this motel is the newly renovated Route 19 motel, which we stayed at this past fall (2023).
Back then, people flooded the town to visit Ghost Town, a Western theme park that was built up on top of the mountain.

Now that the park has closed, the small quaint town doesn't pull in nearly as many visitors as nearby Pigeon Forge, TN, which mimics Myrtle Beach in the mountains.
But please, do not let that stop you from visiting Maggie Valley. Especially if you are an outdoor lover, and love a slower, less crowded pace.
It is still a great place to visit and make lasting memories in Western North Carolina. In this blog post, we will cover great activities in Maggie Valley (and the nearby surrounding area), shopping, and food. So, let's get to a few of the best things to do in Maggie Valley.
Things to do in Maggie Valley
Maggie Valley is home to many fun activities whether you want to play golf, fish, joy ride, hike, or shop. I am going to share with you a few of our favorite things to do while we visit Maggie Valley, North Carolina besides just the obvious (Eating at Joey’s Pancake House).
#1 Visit Cataloochee Valley
We love to visit Cataloochee Valley. The trip up to Cataloochee Valley can be quite rough as part of it is a dirt road, but once you get inside the Great Smoky Mountains National Park, it is so worth the ride.
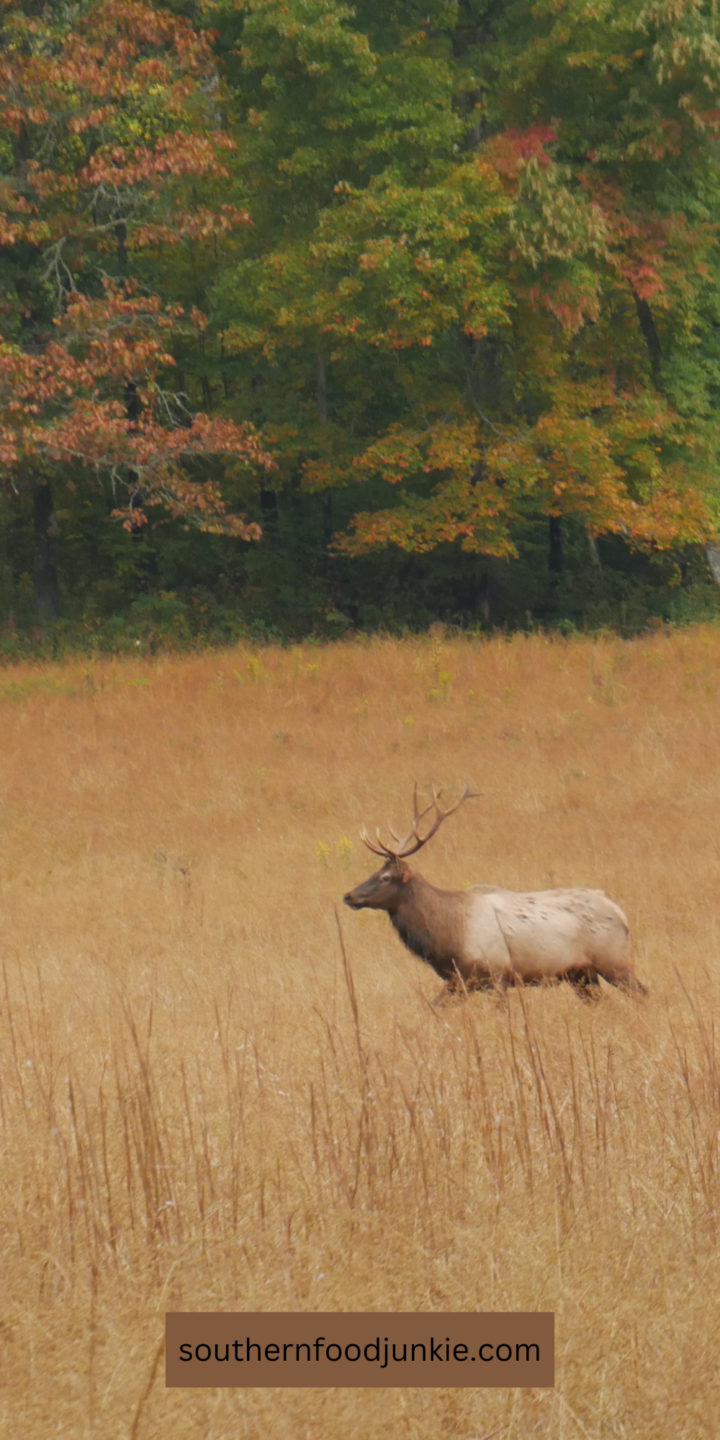
Cataloochee is home to the Elk that was reintroduced in the early 2000s and this is the main reason why we go here. We sometimes stop in town and buy a sandwich to take there and have a picnic.
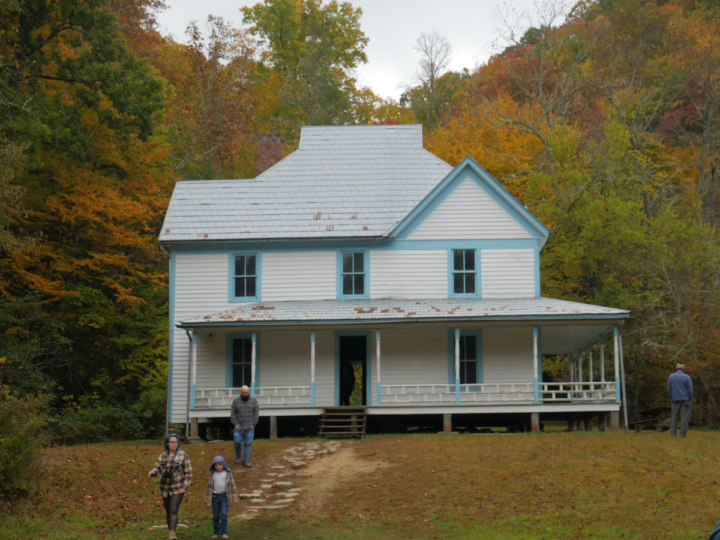
There are many old buildings and houses located here. It will take you back in time to a place when things were simpler but a harder way of living. It is best to go early in the morning or late in the evening to see the elk, bear, or turkeys.
Cataloochee Valley is a picturesque and historic area located within the Great Smoky Mountains National Park in North Carolina. This valley is known for its stunning natural beauty, rich history, and diverse wildlife.

Here are some key features and information about Cataloochee Valley:
- Location: Cataloochee Valley is situated in the southeastern part of the Great Smoky Mountains National Park, which straddles the border of North Carolina and Tennessee. It is closer to the North Carolina side of the park.
- History: The valley was settled by European-American pioneers in the 19th century, and several families established homesteads there. Some of the historic buildings from this era, including homes, barns, and churches, have been preserved and can still be visited today.
- Wildlife: Cataloochee Valley is renowned for its diverse wildlife population. It is a prime location for viewing elk, which were reintroduced to the area in 2001. Visitors often come to watch these majestic animals in their natural habitat. Other wildlife species such as deer, coyote, turkey, and black bear can also be spotted.
- Scenic Beauty: The valley offers stunning scenic views, especially during the fall when the foliage turns vibrant shades of red, orange, and yellow. There are numerous hiking trails and overlooks that provide excellent opportunities for taking in the natural beauty of the area.
- Access: Cataloochee Valley can be reached by car, but a portion of the road leading into the valley is a narrow, winding, and unpaved mountain road. It is recommended that visitors check the road conditions before attempting to visit, especially during the winter months as it may be closed.
- Historic Structures: As mentioned earlier, the valley is home to several well-preserved historic structures, including the Palmer House, the Caldwell House, and the Cataloochee Church. These buildings provide a glimpse into the lives of the early settlers in the area.
- Hiking: There are various hiking trails in Cataloochee Valley, ranging from easy to moderate in difficulty. The trails offer opportunities to explore the valley's natural beauty and observe wildlife.
- Camping: If you are looking for campgrounds in Maggie Valley, NC, I suggest Cataloochee Campground, which offers a rustic camping experience within the national park.

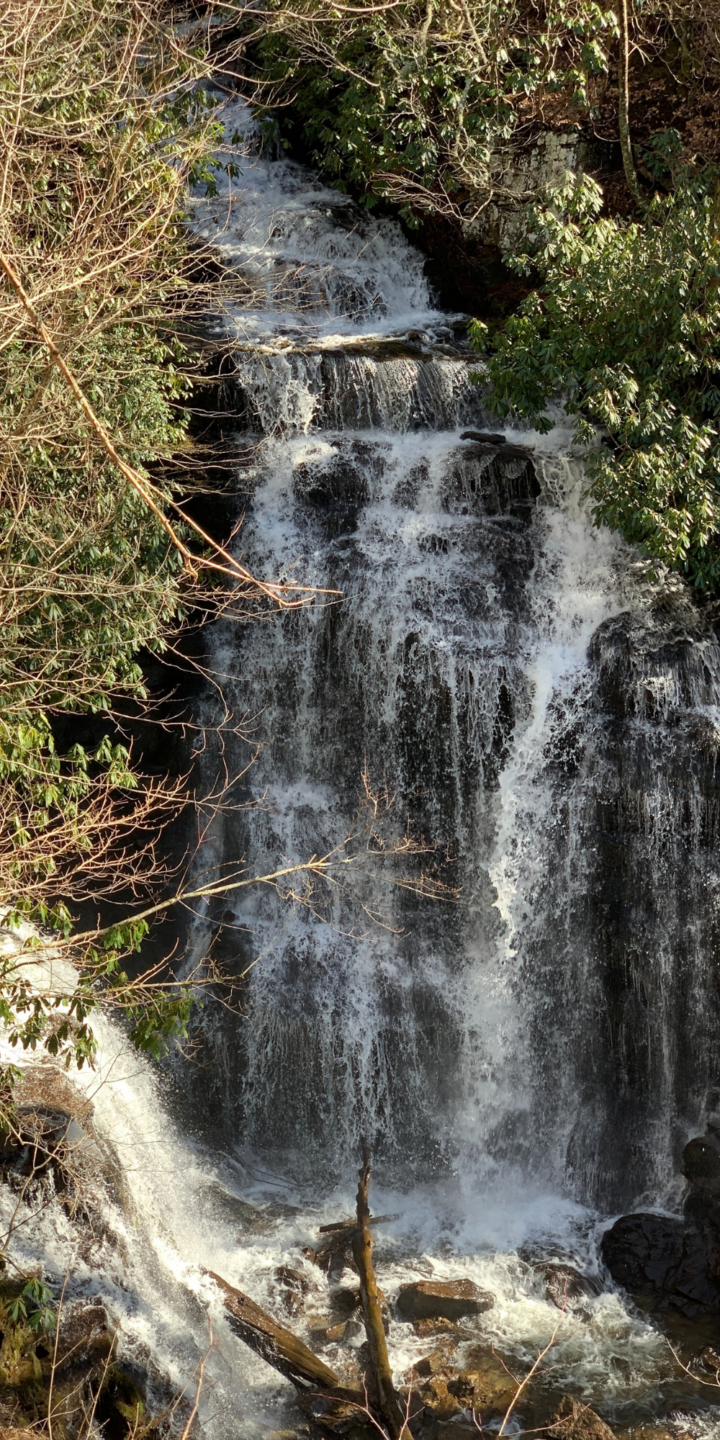
#2 Soco Falls
If you are looking for a waterfall near Maggie Valley, let me suggest Soco Falls. If you dive up Highway 19 (Soco Road), headed towards Cherokee, North Carolina there is a pull-off on the left-hand side of the road. Here is where you can visit Soco Falls.
Keep your eyes open, you will ride right past it. There is a little tiny sign that lets you know about it but it is hard to see. The parking is in a sharp curve on Soco rd and there isn’t much room for many cars.
The trail to the waterfall is a very short walk but also it is a very steep trail. Just take your time and you can do it. Be careful if you go in the wintertime as the overspray from the waterfall will make the rocks and observation deck icy and slick. Just ask me how I know haha.
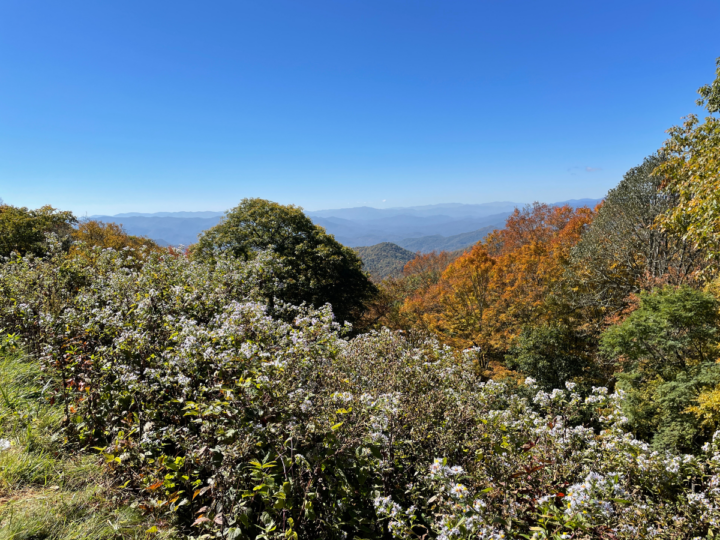
#3 Scenic Blue Ridge Parkway
Not far past Soco Falls is an entrance to the Blue Ridge Parkway. If you are looking for a scenic drive, this is the place to go. The Blue Ridge Parkway is noted for its scenic beauty and vast views of the mountains and valleys of the Smoky Mountains.

There are many pull-offs and overlooks. A few of our favorites are Bunches Bald Overlook, Lickstone Overlook, and Plott Balsam Overlook.

The Blue Ridge Parkway is a breathtakingly scenic drive that winds its way through the Appalachian Highlands, offering unparalleled views of the Blue Ridge Mountains. Known for its stunning vistas, hiking trails, and opportunities for wildlife viewing, it's often considered one of America's most beautiful drives.

Spanning 469 miles from Virginia to North Carolina, this iconic highway is a meandering ribbon of road that showcases the natural beauty of the region, making it a must-visit destination for nature lovers and road-trippers alike.
#4 Visit Nearby Waynesville, NC
When we visit Maggie Valley, we always have to visit nearby Waynesville, NC. Waynesville is only a short 18-minute drive from Maggie Valley, so getting there is pretty quick.

Waynesville has many unique shops. Not only do they have awesome shops but also the dining is epic too. I have compiled a list of my favorite 7 restaurants from the Waynesville area, make sure to check them out. Another must-visit shop is the Mast General Store. We stop in here every time we visit Waynesville.
#5 Golf
Maggie Valley is home to one of the prettiest golf courses I have ever seen. Although I have not played here yet, this is on my list of things to do one day. I have ridden around it and also stayed on it in the past and the course is so pretty.
It is an excellent golf course that combines challenging play with beautiful mountain scenery. The Maggie Valley Club & Resort features an 18-hole championship golf course set against the backdrop of the Great Smoky Mountains.

Golfers of all skill levels can enjoy this course, which offers well-manicured fairways, strategically placed bunkers, and stunning views of the surrounding peaks. It's not just a golfing experience; it's a nature and relaxation retreat. Whether you're a seasoned golfer or a beginner looking to learn, this course offers a delightful golfing experience in the heart of Maggie Valley.
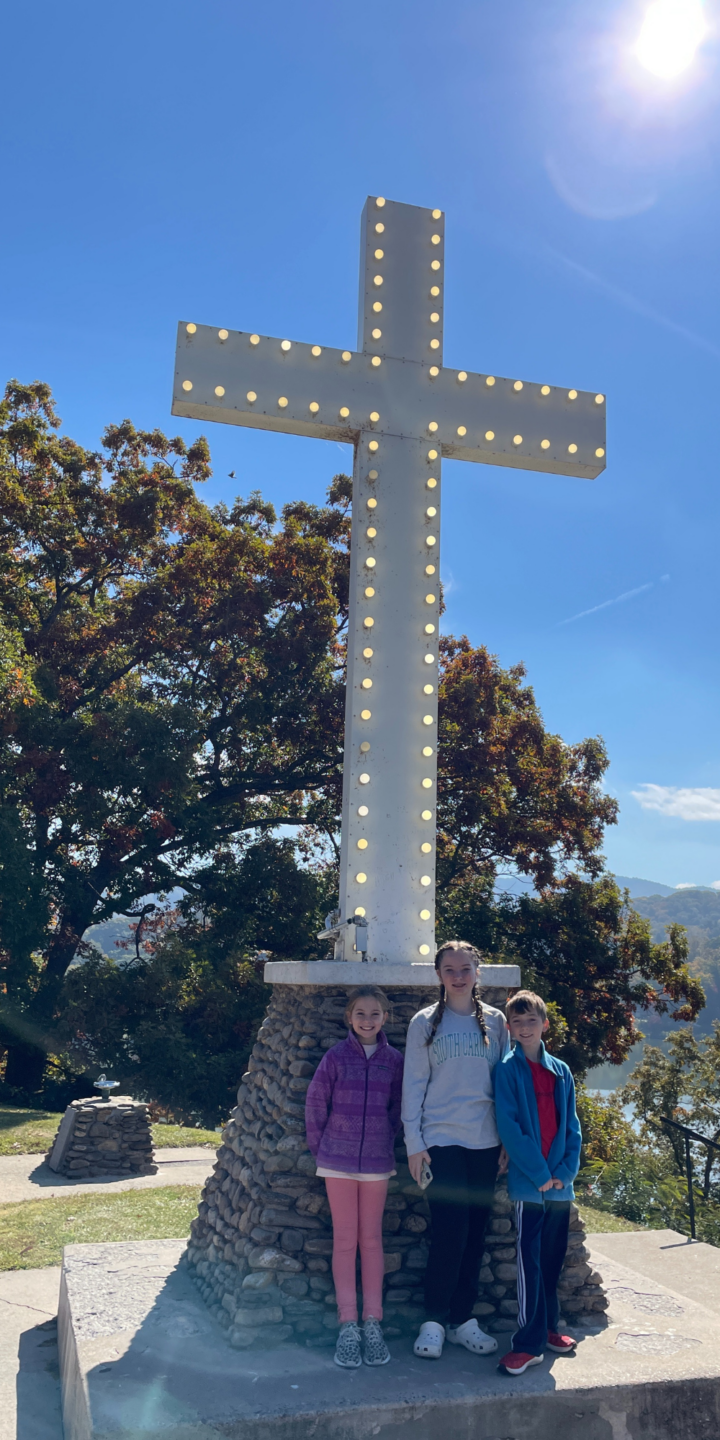
#6 Lake Junaluska
Lake Junaluska is a serene and picturesque destination nestled in the mountains of Western North Carolina, just a short drive from Maggie Valley.
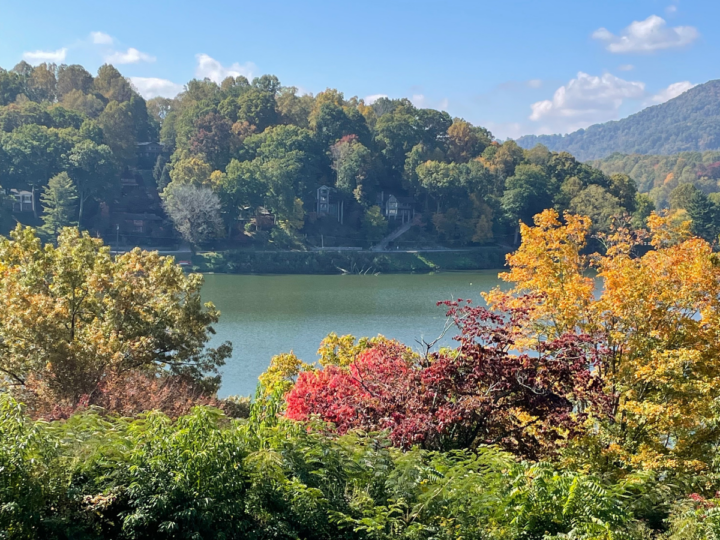
This stunning lake is surrounded by lush forests and rolling hills, creating a peaceful and natural retreat for visitors of all ages.
If you ride around the loop, about halfway through, there is a parking lot that overlooks the lake. There is a huge cross here and it is just so peaceful to get out of your vehicle and just sit and look.
#7 Visit Haywood Community College
You may be thinking why visit a community college in the first place? The first time I visited this place, it was to play disc golf. They have a challenging but beautiful course.
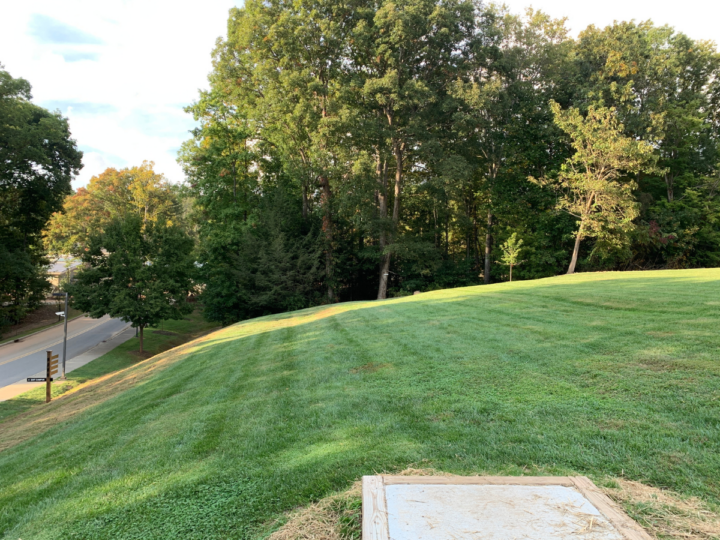
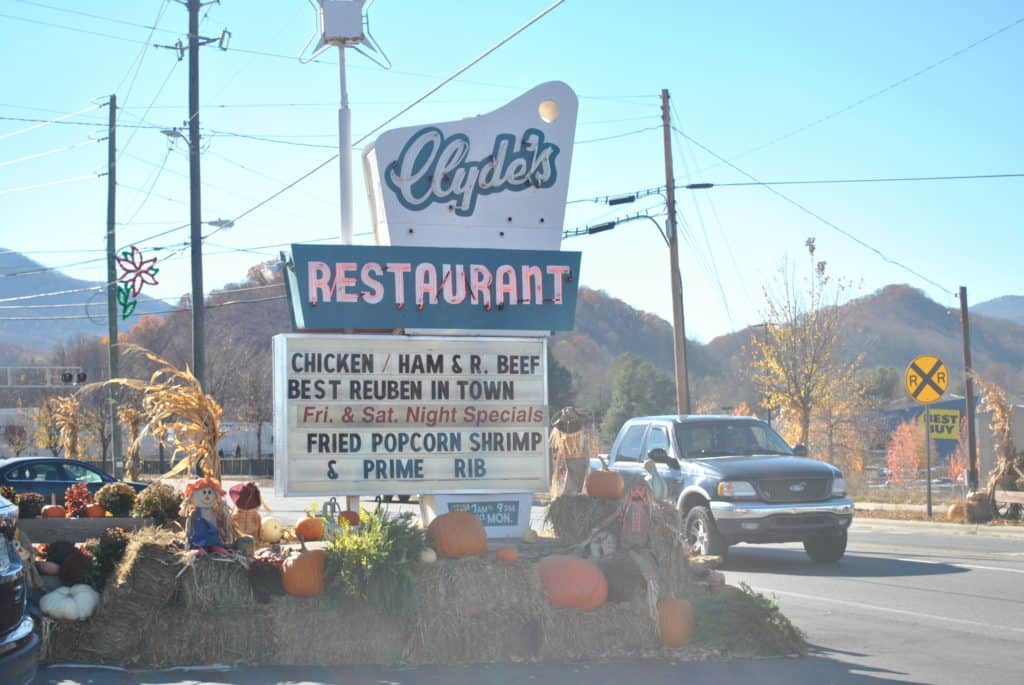
Haywood Community College, often abbreviated as HCC, is a vibrant educational institution located in Clyde, North Carolina, near Maggie Valley. Here's an overview of what you can expect to find at Haywood Community College.
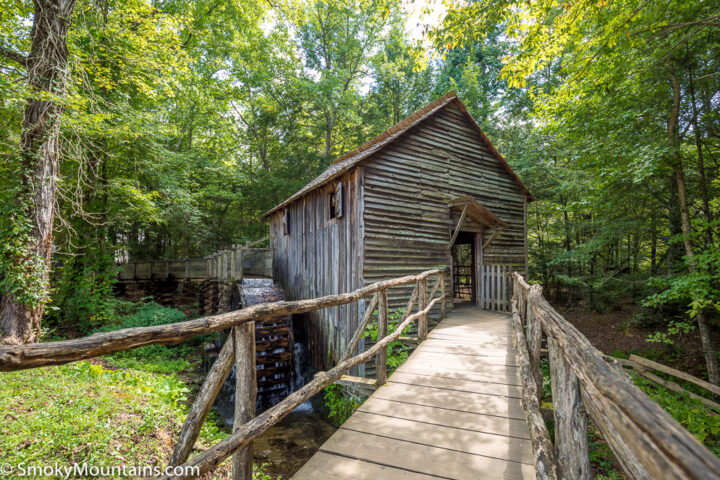
There is a grist mill that the college students helped to build that is on-site. The landscaping around the grist mill and campus is so beautiful.
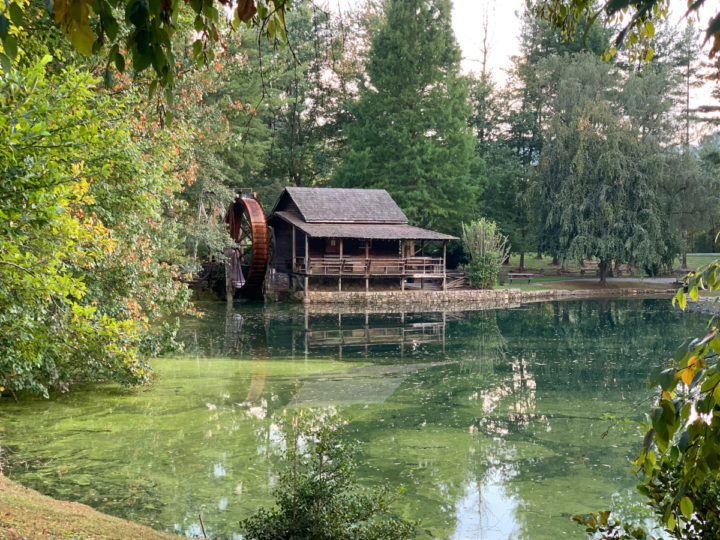
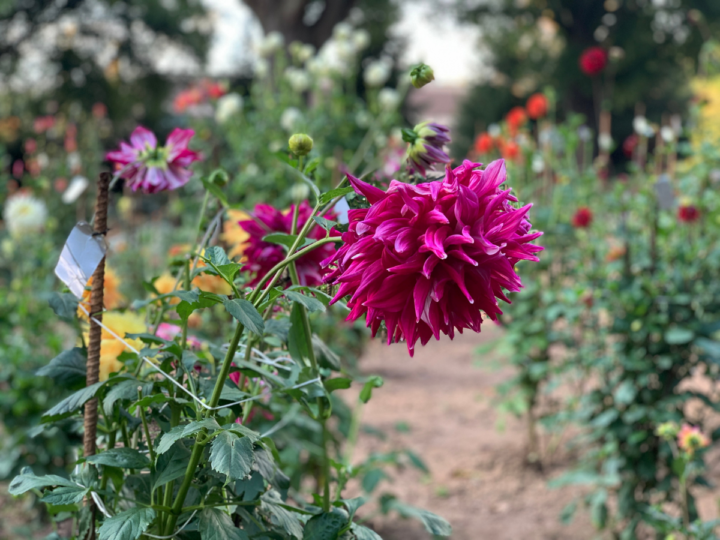
There is a nice walking trail that goes around the campus if you want to get out and walk without hiking up mountains. Make sure to check out the Dahlia gardens while you are there as well. I recommend this place.
#8 Play Disc Golf
Disc golf, also known as Frisbee golf, is a fun and challenging outdoor sport that combines elements of traditional golf with the use of flying discs, often referred to as "discs" or "frisbees." The objective of disc golf is to complete a course in as few throws as possible, similar to how golfers aim to complete a traditional golf course in as few strokes as possible.
Haywood Community College offers a beautiful Course. If you are into Disc Golf and the rest of your crew is not, they can meander around the walking trail at the college while you get in a round of 18 holes of disc golf.
#9 Maggie Valley Hiking
Maggie Valley is a great location to stay if you want to go hiking. There are tons of trails located nearby or just a short distance away. One of the more popular ones is the Waterrock Knob trail. It is located in the parking lot of the Waterrock Knob overlook.
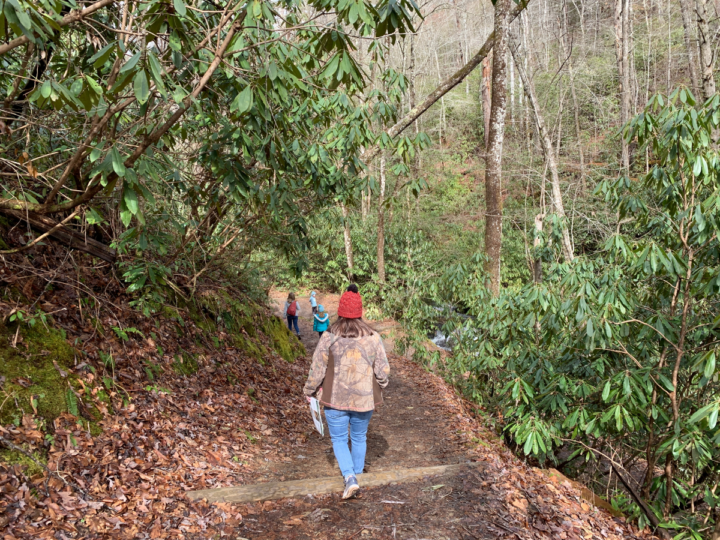
A few other popular hiking trails are Alum Cave Trail, Max Patch, Big Creek Trail, Black Balsam Knob, Deep Creek Loop Trail, and Juney Whank Falls Trail, among many others.
#10 Cataloochee Ski Area and Tube World
If you visit Maggie Valley in the wintertime, you can ski or tube! Tube World is located right across from Ghost Town in the sky, and Cataloohcee Ski Area is located up the road beside Ghost Town. You turn into the parking lot and follow the road up to the top of the hill.
Cataloochee Ski Area is a popular winter sports destination located in Maggie Valley, North Carolina, within the Great Smoky Mountains. Known for its beautiful mountain setting and reliable snow conditions, Cataloochee Ski Area offers a range of winter activities for both beginners and experienced skiers and snowboarders.
#11 Maggie Valley Festival Grounds
Maggie Valley is home to many festivals throughout the year that draw crowds from all over. From Mini truck rallies to Moonshine festivals to the Rally in the Valley motorcycle rallies. I even recently came across a Jeep Rally as well.
The Maggie Valley Festival Grounds is a popular outdoor venue located in Maggie Valley, North Carolina. This scenic venue hosts a variety of events, festivals, and activities throughout the year, making it a hub for community gatherings and entertainment.
Here's some information about the Maggie Valley Festival Grounds:
- Event Hosting: The Maggie Valley Festival Grounds hosts a diverse range of events, including music festivals, car shows, craft fairs, and more. It's a versatile space that accommodates both large and small gatherings.
- Scenic Location: The grounds are nestled in the picturesque Great Smoky Mountains, providing a beautiful natural backdrop for events. The surrounding mountain views add to the charm of the venue.
- Music Festivals: The venue is known for hosting music festivals featuring various genres, from bluegrass and country to rock and folk. These festivals often draw both local and nationally renowned artists and bands.
- Car Shows: Car enthusiasts will appreciate the classic car shows and automotive events that take place at the Maggie Valley Festival Grounds. These events showcase vintage cars, hot rods, and other unique vehicles.
- Craft Fairs and Art Shows: Craftsmen and artisans often display their creations at craft fairs and art shows held on the grounds. These events provide an opportunity to shop for handmade goods and unique gifts.
- Community Gatherings: The venue also hosts community events, gatherings, and fundraisers, fostering a strong sense of community in Maggie Valley.
- Food and Beverages: Depending on the event, you may find food vendors and concessions offering a variety of delicious treats and refreshments.
- Family-Friendly Atmosphere: Many events at the Maggie Valley Festival Grounds are family-friendly, making it a great place to bring the whole family for a day of fun and entertainment.
To attend an event at the Maggie Valley Festival Grounds or to learn more about upcoming events and activities, it's recommended to check their official website or contact the venue directly for the most current information.
#12 Horseback Riding
If you want to see the mountains differently, give horseback riding a try. There are a few companies that have horses you can ride and a guide to take you out on the trail.
One place that comes to mind that is located near Cataloochee Ski area is Cataloochee Ranch.
#13 Dining
Now eating is one of our favorite things to do (after all we are a food site) while we are out of town, and Maggie Valley and the surrounding areas have no shortage of great places to visit. I even compiled a list of my favorite 7 restaurants in nearby Waynesville.
If you are looking for breakfast, I love Joey's Pancake house. It is one of my favorite breakfast places.
Additionally, here are a couple more restaurants in Maggie Valley, NC that I recommend: If you're in the mood for BBQ, Butts on the Creek is excellent, especially if you prefer not to travel to Waynesville. For Italian cuisine, I always enjoy dining at Frankies Italian Trattoria.
There are many others to choose from in and around Maggie Valley as well.
#14 Visit Nearby Bryson City
Located about 40 minutes away is a town called Bryson City. This small town is home to the Great Smoky Mountain Railway.
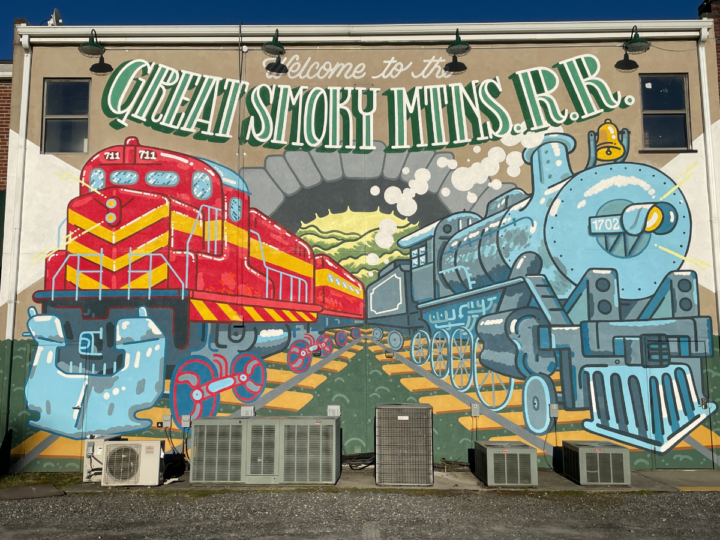
If you want to see the fall leaves changing color in a new and exciting way, take a ride through the mountains in an open-air train car. This is such a cool experience.
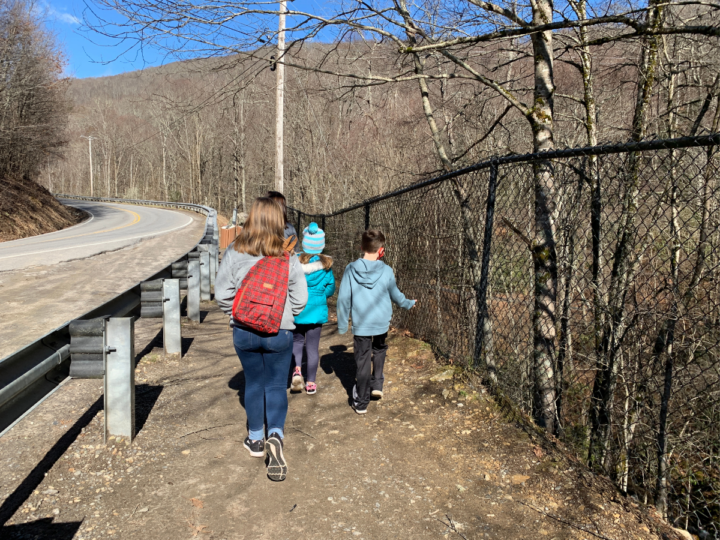
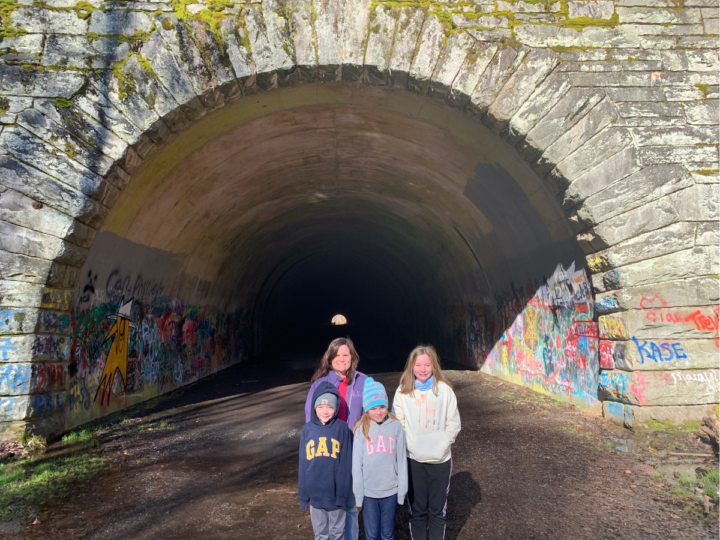
While in Bryson City, NC, visit the road to Nowhere, also known by its real name, Lakeview Drive. It is a road that was built back in the 1960s. The story goes that when Fontana Dam was being built, Fontana Lake was going to flood the town.

The government agreed to build this road to allow access to graveyards that were on the other side. The road was started but never finished after running into many issues, such as environmental issues and rising costs to complete the project.
You can now visit this area, which is located on the far eastern edge of the Great Smoky Mountains National Parkway. There is a parking lot, then you get out and can walk through the tunnel. It is pretty cool to see.
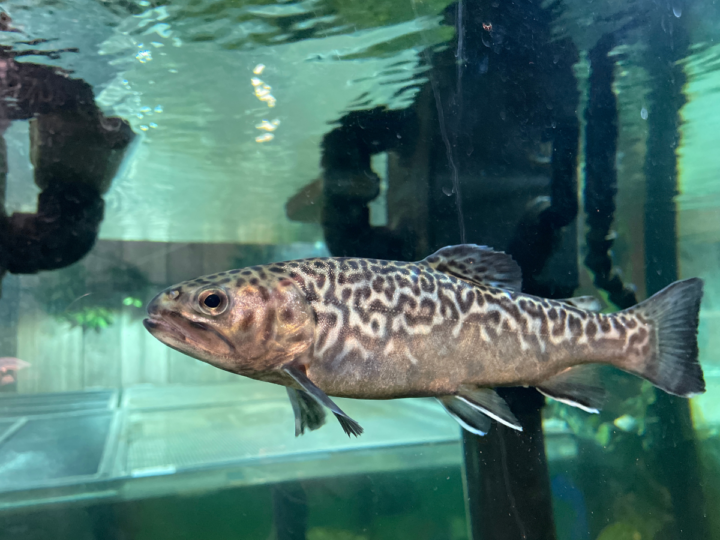
While in town, grab a bite to eat at Nate and Nicks Pizza, and try the Smoky Mountain BBQ Chicken Pizza there. It is so good. There is also a public aquarium in Bryson City, North Carolina that houses species of fish and amphibians that are native to the area which is pretty neat to see.
#15 Stompin' Ground
If you want to experience true Appalachian culture, live music, and clogging, head on down to Stompin' Grounds. This is a great option on Saturday nights.
Make sure to check their schedule for the best time to visit as they are not open every weekend or throughout the whole year. The group that dances travels to other areas for shows.
The Stompin' Grounds is the self-proclaimed Clogging capital of the world, while you are here, you can listen to bluegrass music, old country music, clogging, square dancing, and line dancing. It is a must-see.
#16 Wheels Through Time Museum
"Wheels Through Time" is a famous motorcycle museum located in Maggie Valley, North Carolina. Founded by Dale Walker, the museum is renowned for its extensive collection of vintage and rare motorcycles. It has also been featured on the History Channel hit show " American Pickers" many times.
Here's some information about Wheels Through Time:
- Motorcycle Collection: The museum boasts a remarkable collection of over 350 rare and historic motorcycles. These bikes span various eras, from the early 20th century to more recent decades. Visitors can see a wide range of brands, including Harley-Davidson, Indian, Excelsior, and many others.
- Interactive Experience: Wheels Through Time is not your typical museum; it offers an interactive and immersive experience. Many of the motorcycles on display are in running condition.
- Restoration Workshops: The museum has an on-site restoration shop where visitors can witness the meticulous process of bringing vintage motorcycles back to life. The restoration team often shares their expertise and knowledge with enthusiasts.
- Other Vintage Vehicles: In addition to motorcycles, Wheels Through Time also features a variety of vintage cars, memorabilia, and related artifacts that provide insights into the history of motorcycling in America.
- Special Exhibits: The museum frequently hosts special exhibits and events, highlighting specific aspects of motorcycle history or showcasing unique pieces from their collection. Check their website or social media for the latest updates on exhibits and events.
- Retail Shop: Visitors can shop for motorcycle-related merchandise and memorabilia at the museum's gift shop, including apparel, books, and collectibles.
Wheels Through Time is not just a museum for motorcycle enthusiasts; it's a place where history comes to life, offering a captivating journey through the evolution of American motorcycling. It's a must-visit destination for anyone interested in the history of motorcycles and the role they've played in American culture.
Please note that operating hours and admission fees may vary, so it's a good idea to check their official website for the most current information before planning your visit. Come check out Dale's Wheels!
#17 Great Smoky Mountain National Park
The Great Smoky Mountains National Park is a cherished and iconic national park located on the border of North Carolina and Tennessee in the Southeastern United States. It's renowned for its breathtaking natural beauty, diverse ecosystems, and rich cultural history. It is also the most visited National Park in the United States.
Here's an overview of what you can expect when visiting the Great Smoky Mountains National Park
- Scenic Beauty: The park is characterized by its stunning mountain landscapes, dense forests, cascading waterfalls, and misty valleys. It's known for its ethereal smoky mist that often hangs over the peaks, giving the park its name.
- Hiking Trails: The park offers a vast network of hiking trails, catering to all levels of hikers. Whether you're seeking a short, family-friendly hike or a challenging backcountry adventure, there are options for everyone. Some popular trails lead to scenic viewpoints, historic structures, or waterfalls.
- Wildlife Viewing: The Great Smokies are home to a diverse array of wildlife, including black bears, white-tailed deer, wild turkeys, elk, and a variety of bird species. Wildlife enthusiasts will find ample opportunities for observation and photography.
- Auto Tours: The park features several scenic drives, including the Cades Cove Loop Road and the Newfound Gap Road, which offer panoramic views and opportunities to spot wildlife. Fall foliage drives are particularly popular.
- Cultural Heritage: The park preserves a rich cultural history, with historic structures such as churches, cabins, and grist mills from the Appalachian pioneer era. The Oconaluftee Visitor Center and Mountain Farm Museum provide insights into the region's history. You may also see the Elk from Cataloochee Valley grazing in the fields of the Oconaluftee Visitor Center.
- Camping and Picnicking: The park offers a range of campgrounds and picnic areas for those looking to immerse themselves in the natural surroundings. Camping is available for both tents and RVs.
- Visitor Centers: Several visitor centers throughout the park provide information, maps, exhibits, and ranger-led programs to enhance your understanding of the park's natural and cultural resources.
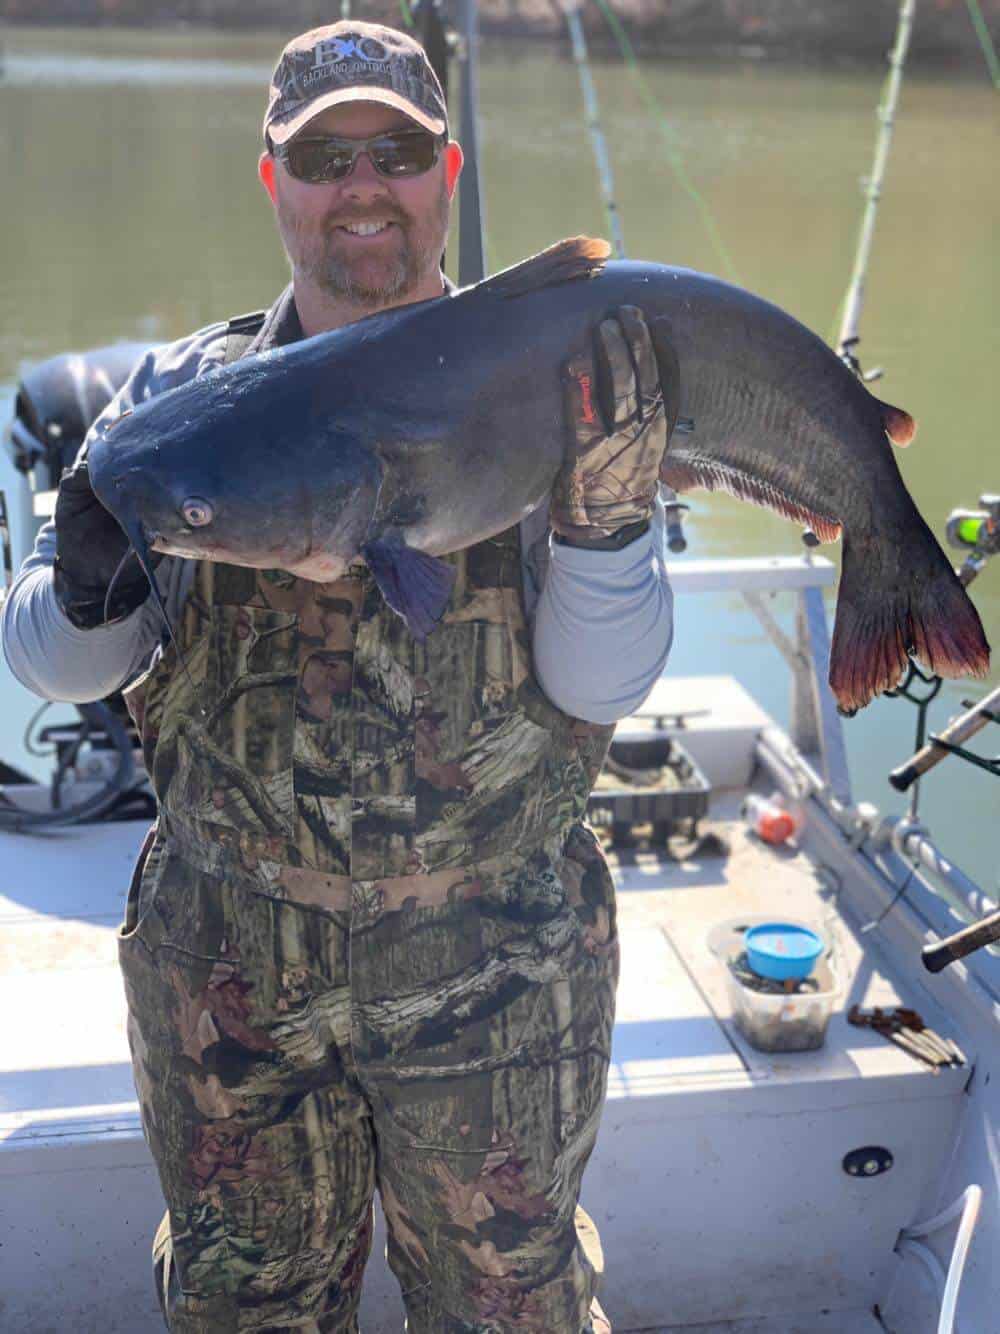
- Fishing: The park boasts numerous streams and rivers, making it a popular destination for fishing. Anglers can try their luck at catching trout and other native fish species.
- Seasonal Activities: Depending on the season, the park offers unique activities such as wildflower hikes in spring, synchronous firefly viewing in early summer, and snowshoeing in winter.

The Great Smoky Mountains National Park is also designated as a UNESCO World Heritage Site and International Biosphere Reserve due to its ecological significance.
It attracts millions of visitors each year who come to enjoy its natural wonders and recreational opportunities. Whether you're an outdoor adventurer, a nature enthusiast, or someone seeking a peaceful retreat, the Great Smoky Mountains National Park has something to offer everyone.
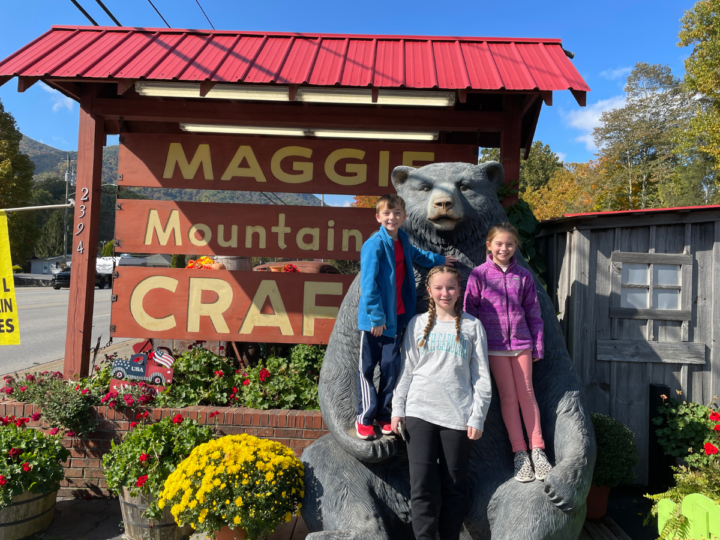
#18 Maggie Mountaineer Crafts
This store is one of our favorite places to shop when we are in Maggie Valley. We always stop here heading home and take our annual fall picture in front of the store. We also buy freshly picked mountain apples to bring home to our friends and family.
Maggie Mountaineer Crafts is one of those unique stores that you find in small towns like Maggie Valley.
They have the usual gifts you see at stores throughout Western NC such as Hillbilly gag gifts, Maggie Valley T-shirts, magnets, souvenirs, etc. In addition, they also sell fresh fudge, honey, jams, jellies, and other items along those lines.
#19 Mini Golf
Miniature golf, often referred to as mini golf or putt-putt, is a fun and family-friendly activity that can be enjoyed in Maggie Valley, North Carolina. You have the choice between two places to play mini golf in Maggie Valley. Furthermore, both are unique in their way and both have been in operation for many years.
- Fantasy Golf & Game Room: Located in Maggie Valley, Fantasy Golf & Game Room offers a classic mini-golf experience with 18 holes. It's a great place for families and groups to enjoy a round of miniature golf. They also have an arcade game room for additional entertainment.
- Maggie Valley Carpet Golf: This mini golf course is situated in the heart of Maggie Valley and offers 18 holes of miniature golf. It's designed to provide a fun and challenging experience for visitors of all ages. Per their Facebook Page, "Two 18-hole championship courses for lots of family fun!
Family Owned And Operated Since 1963."
Please verify the status and operating hours of these mini golf courses before planning your visit, as seasonal variations and maintenance schedules can affect their availability. Enjoy a round of mini golf as part of your recreational activities while exploring the beautiful Maggie Valley area.
Conclusion
In conclusion, Maggie Valley, North Carolina, is a hidden gem nestled in the heart of the Great Smoky Mountains, offering a diverse range of activities and attractions for visitors seeking natural beauty, outdoor adventures, and a taste of Appalachian culture. From the majestic landscapes of the Great Smoky Mountains National Park to the excitement of the Cataloochee Ski Area in winter, and the rich history at Wheels Through Time museum, Maggie Valley has something to offer every traveler.
Whether you're hiking through lush forests, exploring the scenic Blue Ridge Parkway, or enjoying the serenity of Lake Junaluska, the possibilities for adventure and relaxation are endless. And don't forget to savor the local cuisine, take in the charm of the Maggie Valley Festival Grounds, and immerse yourself in the cultural heritage of this welcoming mountain town.
Maggie Valley is more than just a destination; it's an invitation to reconnect with nature, create lasting memories, and experience the warm hospitality of a community steeped in tradition. So, whether you're seeking outdoor thrills or a tranquil escape, embark on your Maggie Valley adventure and discover the magic of this enchanting corner of North Carolina.
Thanks for stopping by Southern Food Junkie. It is our hope that you enjoy this recipe sharing it with friends, family, and coworkers. Make sure to take time to give thanks to the creator, God, by which all blessings flow.
-Ronnie | Let's Get Food Junked
John 6:35