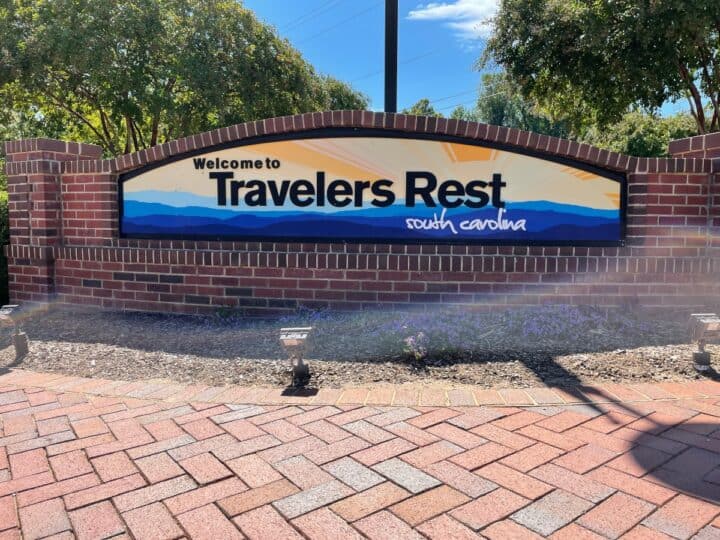
Nestled in the scenic town of Travelers Rest, SC, Core 450 Restaurant stands out as a premier dining destination, known for its innovative dishes and warm Southern hospitality. This culinary gem combines fresh, locally sourced ingredients with creative flair, offering a menu that caters to both adventurous foodies and lovers of golf. Whether you're enjoying a casual dinner or a meal after a round of golf, Core 450 promises a memorable dining experience. Join us as we explore what makes this restaurant a standout in the vibrant culinary scene of Travelers Rest.
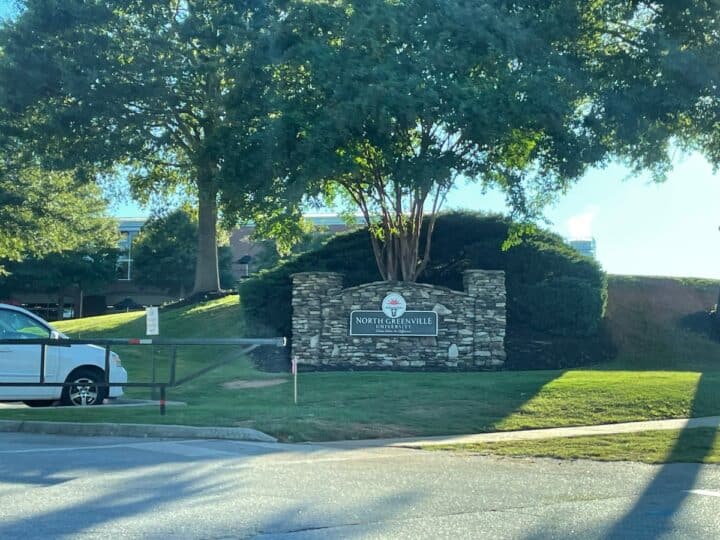
We were invited to check out Core 450 Restaurant in Travelers Rest, SC. If you are not familiar with this area, it is in the North Greenville Area of SC. Located in the beautiful foothills of the South Carolina Blueridge mountains. The Restaurant sits on a beautiful award-winning golf course that is just a half mile past North Greenville University.
What makes this restaurant so unique is the setting. As I mentioned, it is sitting on Cherokee Valley Golf Club but not only that, it is also in a community with nice houses around it and cottages that you can rent.

Where Is Core 450 Located?
Address:
450 Cherokee Valley Way
Travelers Rest, SC 29690
Core 450 is located in the scenic Tigerville area just north of Travelers Rest, South Carolina, within the Cherokee Valley community. The restaurant overlooks the Cherokee Valley golf course and offers stunning mountain views that make it one of the most unique dining destinations in the Upstate. Its location is a short drive from downtown Travelers Rest, Greenville, and the North Carolina state line, making it a popular spot for both locals and visitors exploring the foothills of the Blue Ridge Mountains.
Whether you're planning a special date night, celebrating a special occasion, or simply looking for a restaurant with incredible views, Core 450 combines upscale dining with one of the most picturesque settings in the Travelers Rest area.
Before you continue reading, take a quick look inside Core 450 and see why this Travelers Rest restaurant is known for its incredible mountain views, beautiful setting, and delicious food.

The Cottages at Core 450 (Cherokee Valley Golf Club)
They have a cottage section where you can rent a cottage, come play golf for the day on the beautiful course, and then eat a meal that night at Core 450 Restaurant. All of this at a very reasonable price too.
The cottages are huge! The one we stayed in had 4 bedrooms and each bedroom had two queen beds in it. If it is a large group of buddies, you could have 16 people stay in one cottage.
Each bedroom has a nice big bathroom. There is a large table enough for everyone to eat at and a large living room. A small kitchen with your main appliances and a nice big back porch that overlooks the golf course.
All of this is within walking distance of Core450 Restaurant and the Pro shop.
Now I know this video is more about the restaurant but I was so taken aback by the other amenities that I thought I would cover them first.
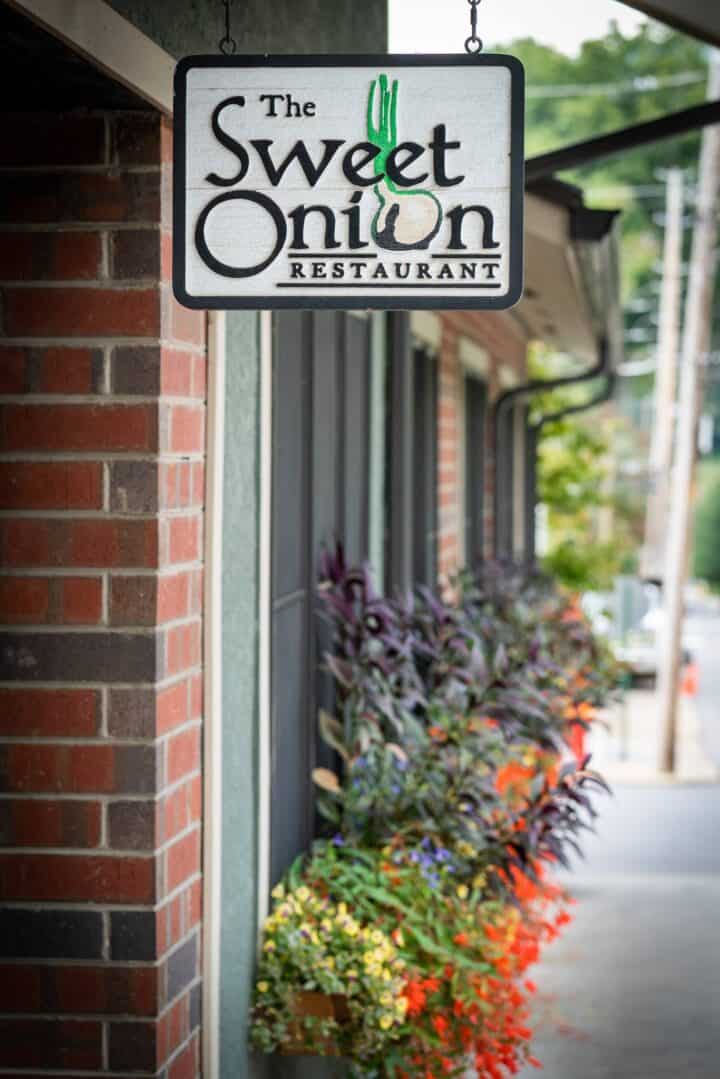
[After savoring the delights at Core 450, don't miss the opportunity to explore the 7 must-try restaurants in Waynesville, NC, each offering unique and unforgettable flavors.]
The Golf Course at Cherokee Valley Golf Club
The golf course was in great shape. They have top-of-the-line golf carts that have built-in GPS that tells you the distance to the green from the ball as well as the topography and undulation of the greens once you get close to the green.

The golf carts even have JBL Bluetooth speakers so you can listen to your favorite playlist. To top that off, you can order food right from your golf cart and have it delivered to your location.

The golf course offers lots of views of the mountains off in the distance and the greens are hard and fast. Be careful landing a long shot on the green or you may go right off the backside. All of this and the green fees are very reasonable.

Core 450 Restaurant at Cherokee Valley Golf Club
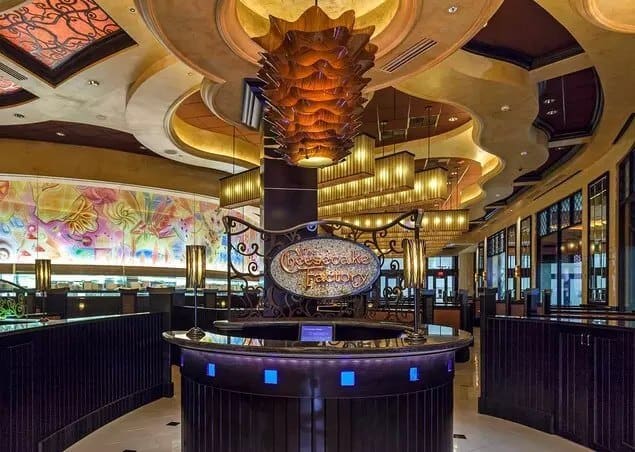
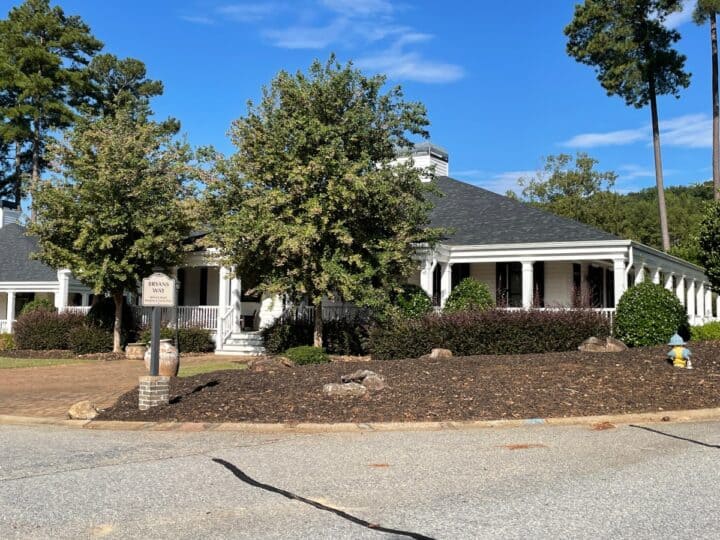
Now, I saved the best part for last, Core 450 Restaurant! The restaurant itself is beautiful, modern, and sleek. It is elevated to take in views of the golf course. There are big-picture windows that offer views of the golf course.
The open-air kitchen gives a peek at the kitchen staff that is preparing the meals. It is almost like they are preparing them in front of you.

We were seated on high-top seats facing the kitchen. Talking with one of the chefs, Matt, who I later found out was the owner of the restaurant and the golf course. Talk about sweat equity.
Matt was right there at us and would hear us talking about the amazing dishes that were coming out of the kitchen. I loved being able to watch it all unfold.
My wife even mentioned how well everyone seemed to get along even though the place was crowded and the food was non-stop coming out of the kitchen.

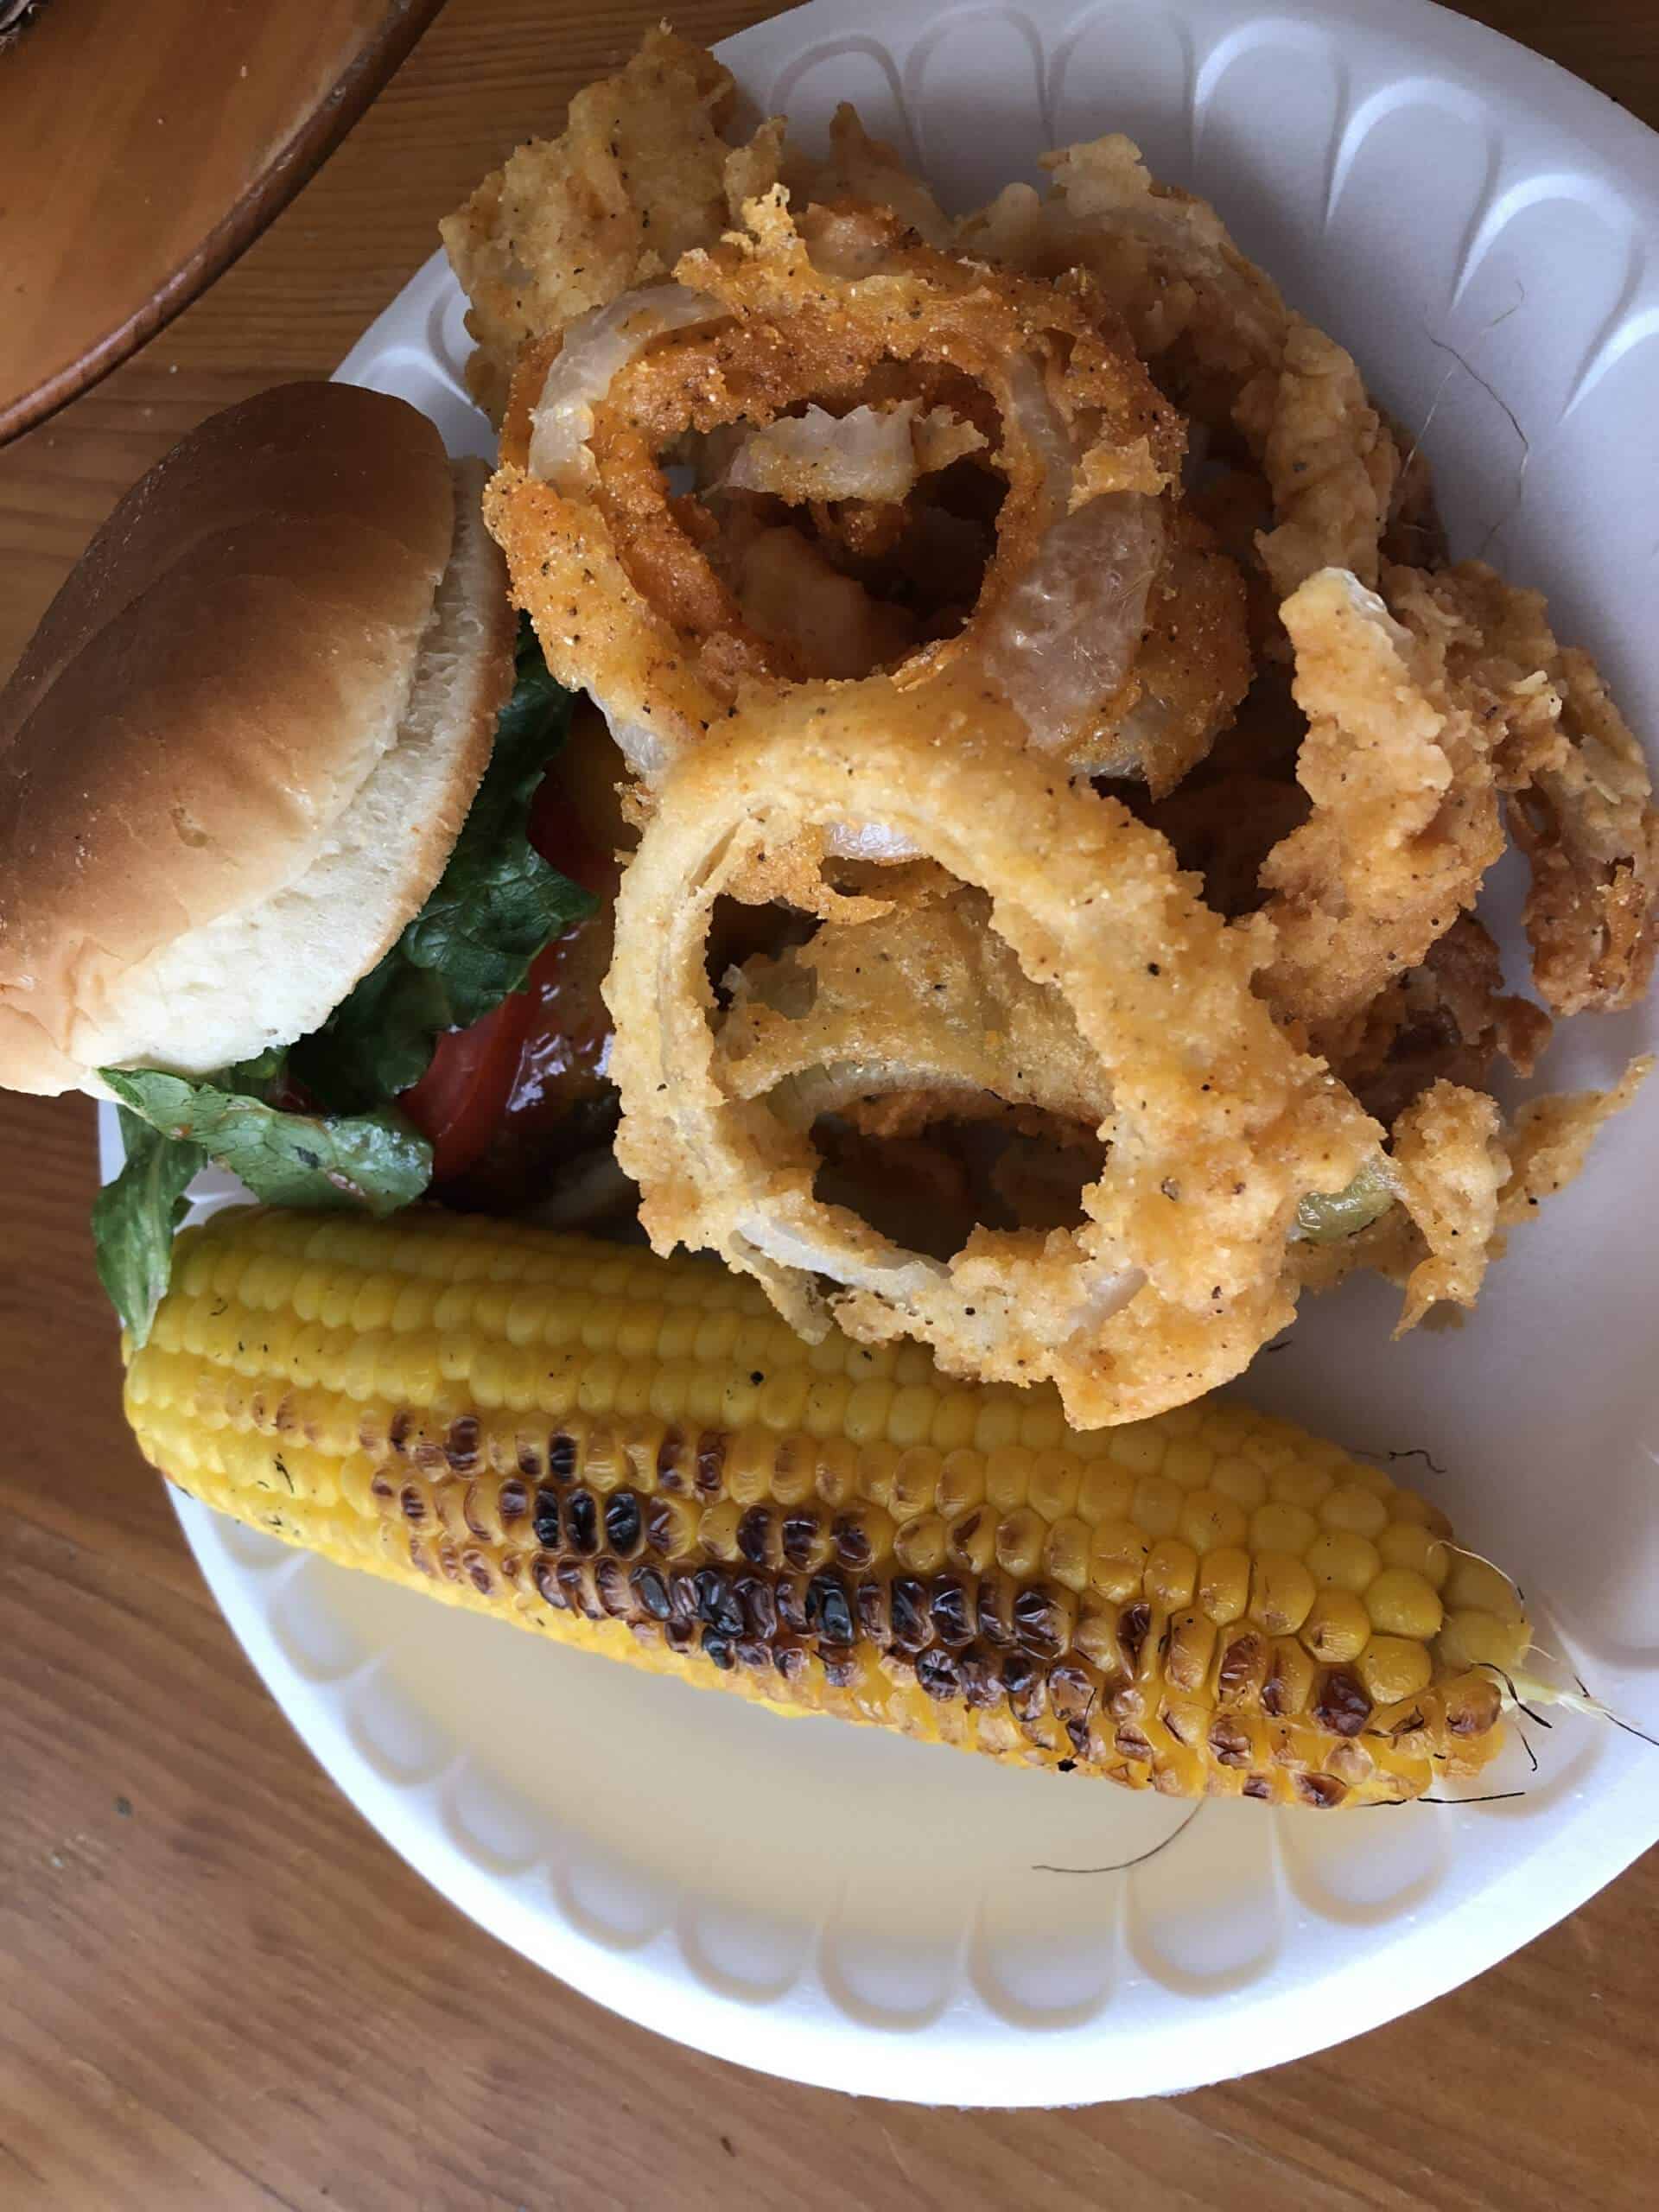
Let's talk about the food. Wow, So to start with, We ordered fried okra with a spicy cream cheese dip. So good.
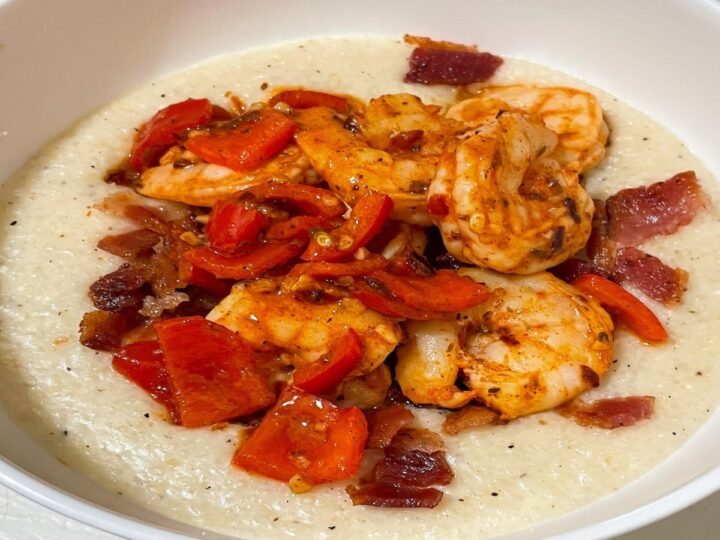
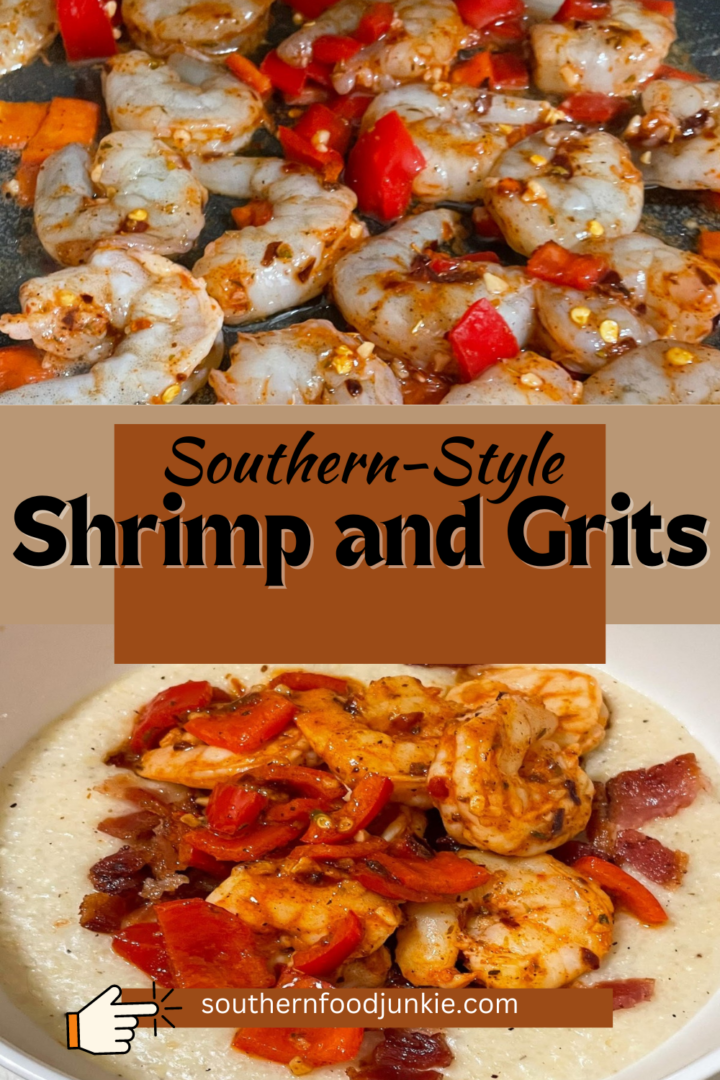
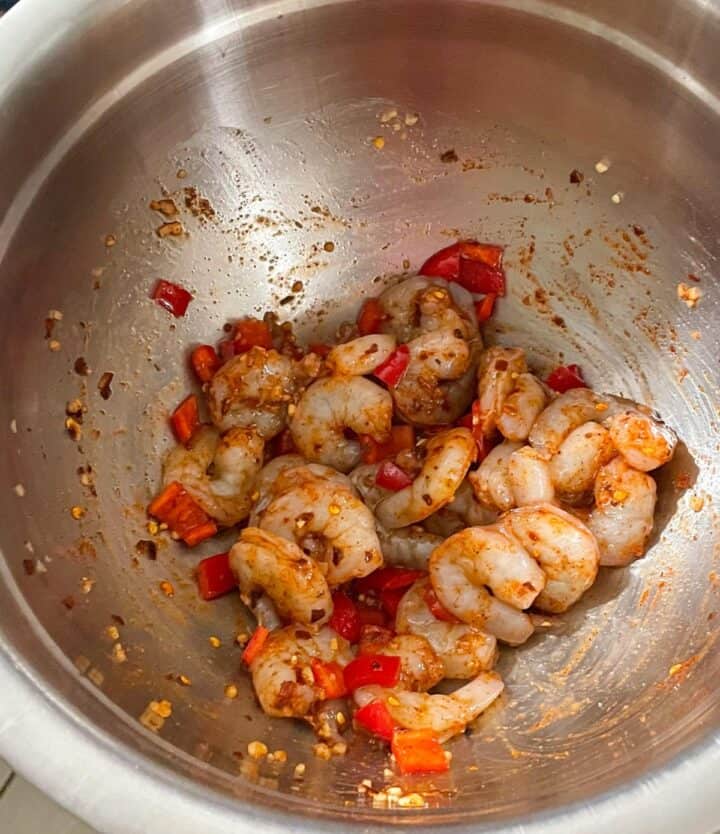
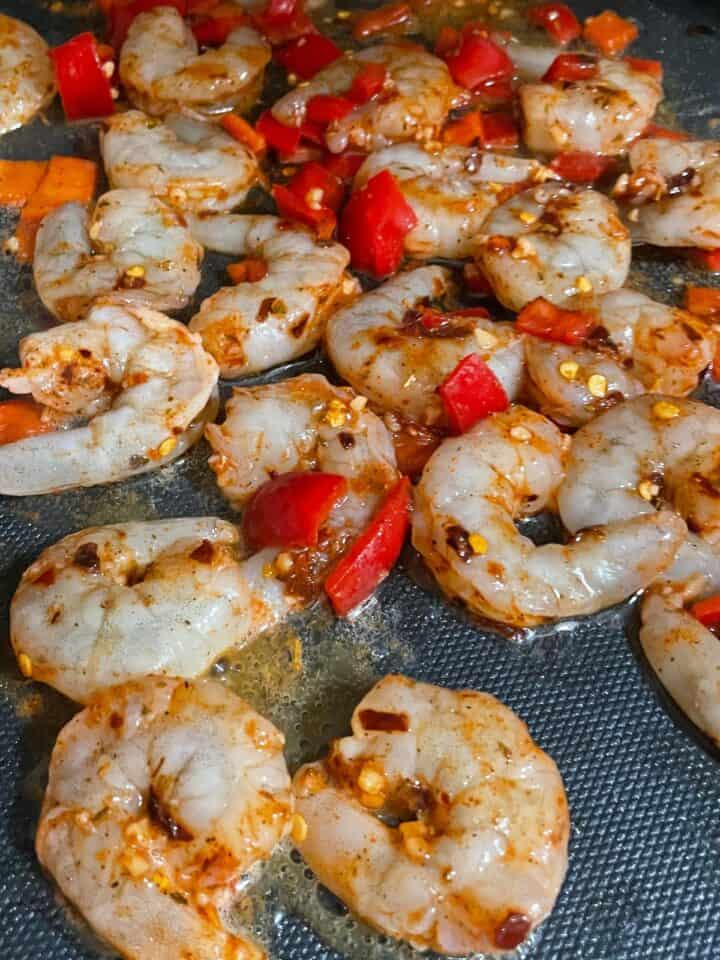
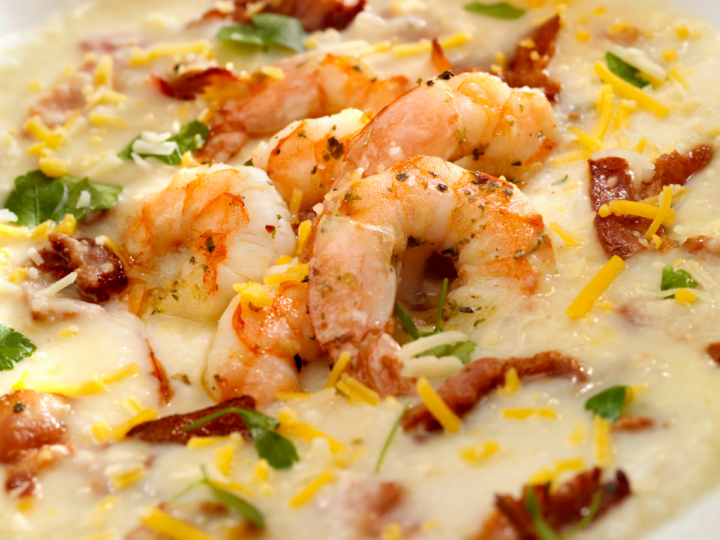
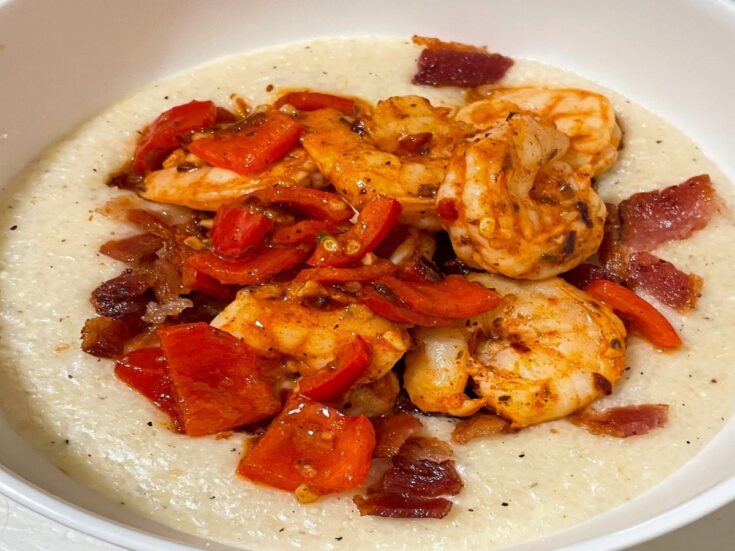
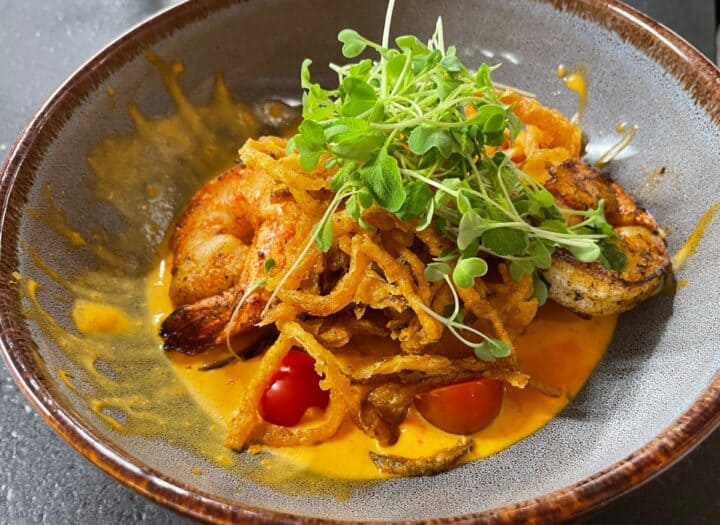
Next for dinner, my wife ordered the shrimp and grits. This was a very unique take on shrimp and grits. The grits part is what impressed me. It was a round panko-crusted deep-fried grit cake.
I've never had anything like it. It was amazing. It was crunchy but the grits were still gooey on the inside. My wife said her favorite part of the dish was the sauce that was in the dish. It was a beautiful dish and tasted great.
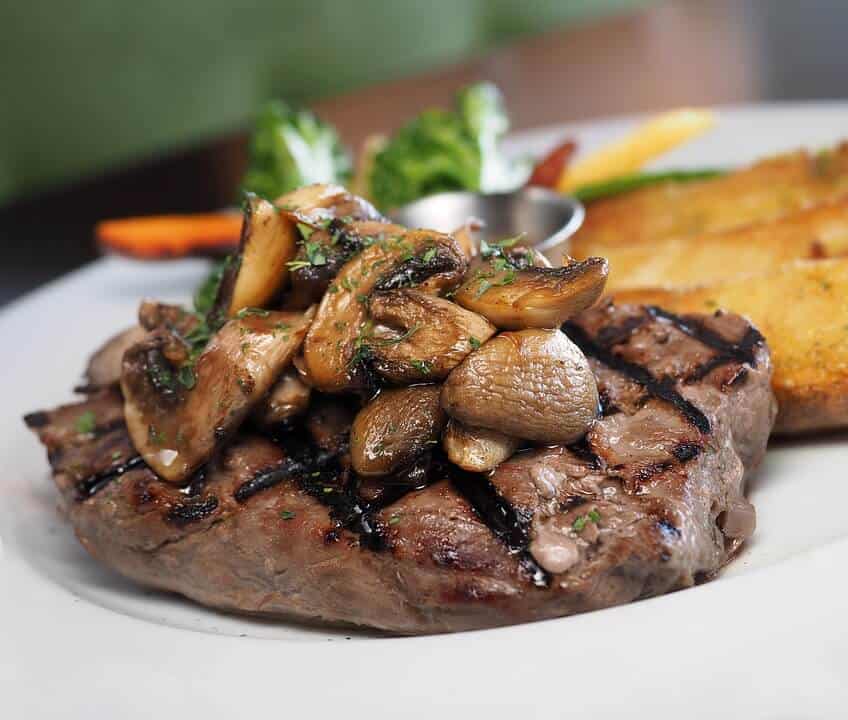
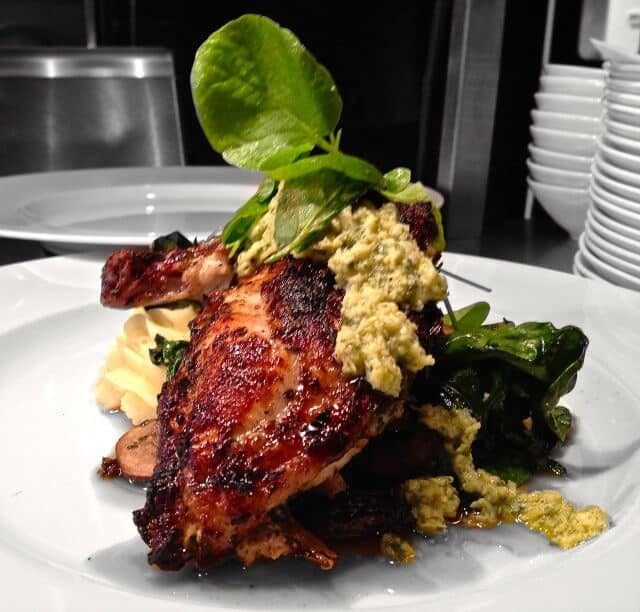
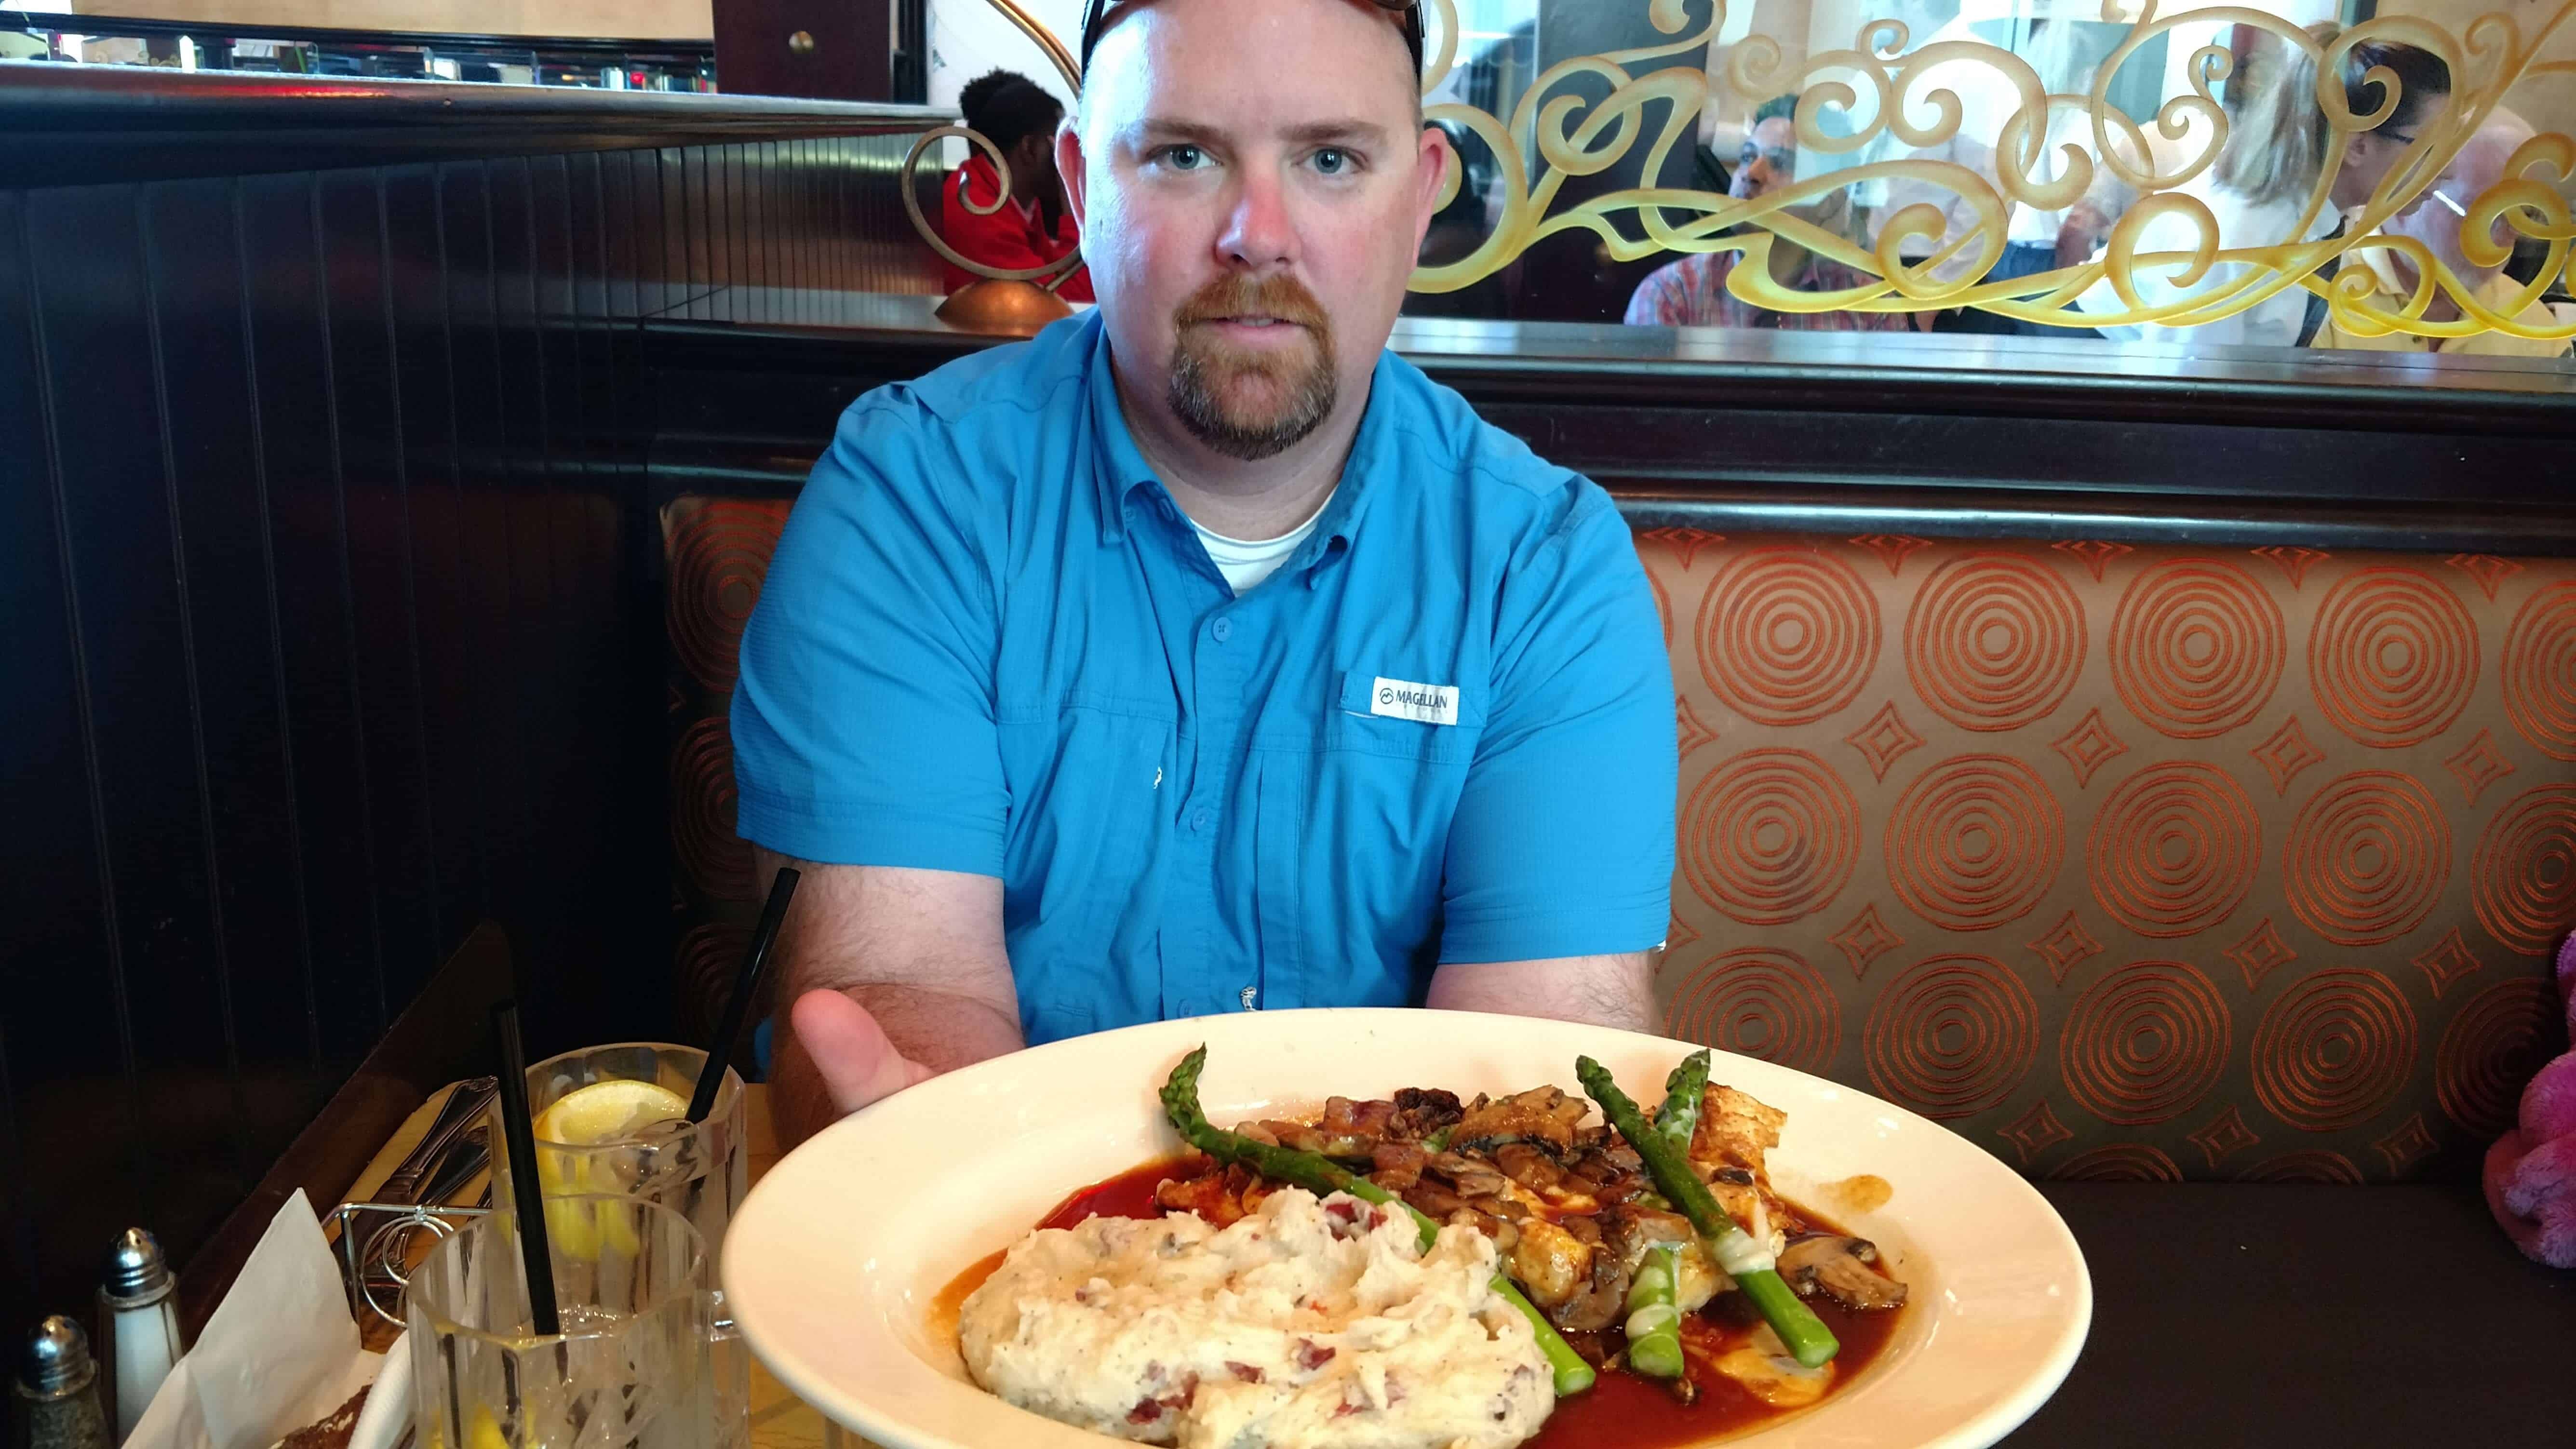
I chose the maple grilled salmon with mixed veggies and the same fried grit cake as my wife had.
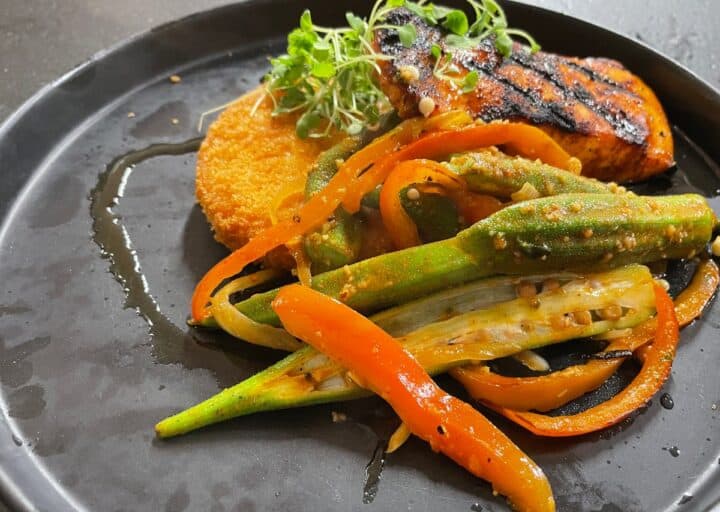
Matt, the owner, told me that all of the veggies came from their garden that was right here on location. When I asked who tended the garden, he said some of the restaurant workers, maintenance people, as well as the community that lives on the golf course.
I just love this. The community supports the golf course and restaurant.
Executive Chef Gene Magliaro knows how to cook food. All of the food was excellent and worth the drive to come here and eat.
As we move outside the restaurant, you can see they have a huge outdoor patio with a walk-up bar. There was a stage built at the bottom of the hill and a live band was playing. You can sit out here and watch the band, play corn hole, or just chat with your friends as you watch the sun fade behind the trees off in the distance.
Things to do in Travelers Rest, South Carolina
All in all, we enjoyed this mini vacation. Not only did we eat, stay here, and play a little golf with the PGA Professional on staff here, but we took in Downtown Traveler's rest as well. The weather for Travelers Rest South Carolina.

Downtown travelers rest is known as an outdoor city. Lots of people are on bikes and walking. The swamp rabbit trail comes through here and heads to Downtown Greenville, SC so people ride back and forth between the towns.
There are tons of hotels in Travelers Rest, SC, to choose from if you would rather stay close to town, then drive to Core 450 for an evening meal. As you plan your visit, consider staying at one of these charming accommodations to fully immerse yourself in the area's vibrant culinary scene and natural beauty.
So, I recommend checking this area out. Come stay at Cherokee Valley Golf Club, Play a round of golf, and eat at Core450 while you are here. Then plan to check out downtown Travelers Rest or catch a football game at North Greenville University.
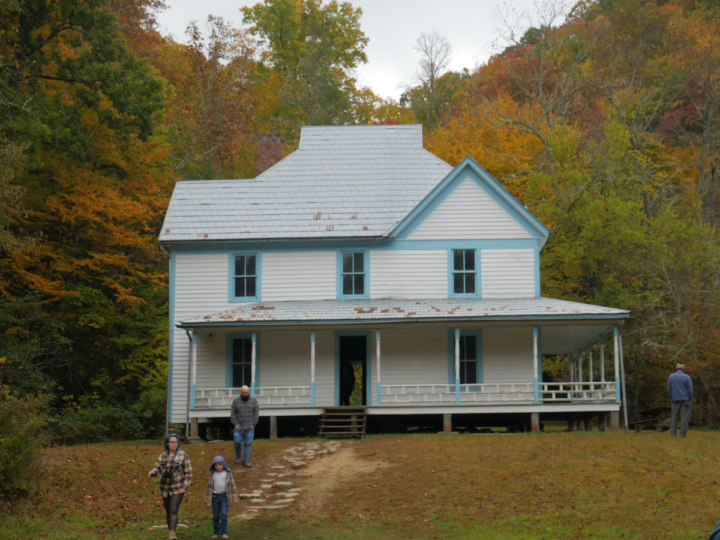
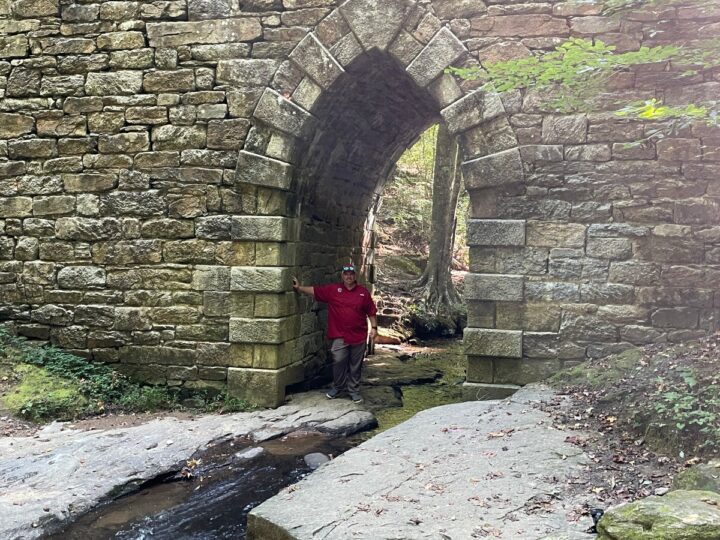
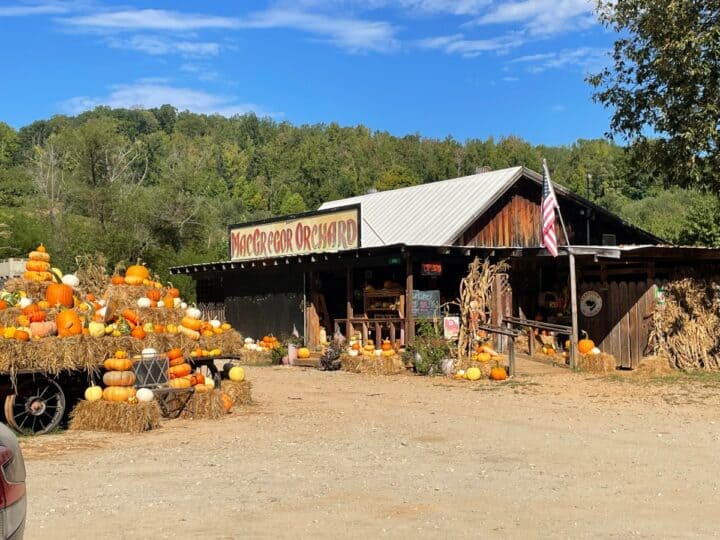
There are many cool things to see in the area like Poinsett Bridge, Campbells Covered Bridge, and even orchards such as MacGregor Orchards. You can’t go wrong with a weekend here!
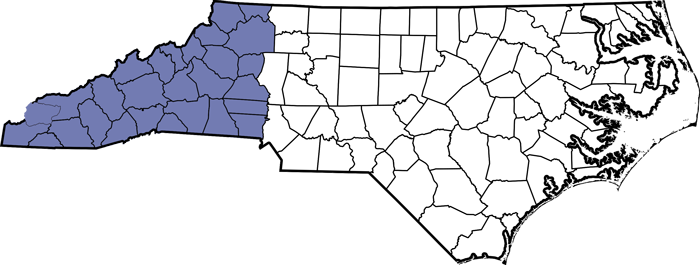
Travelers Rest, South Carolina is also fairly close to Western, North Carolina. Both of these areas are close to my heart as we love to visit both. If you find yourself in Western North Carolina, swing by the town of Waynesville and check out some of their restaurants as well.
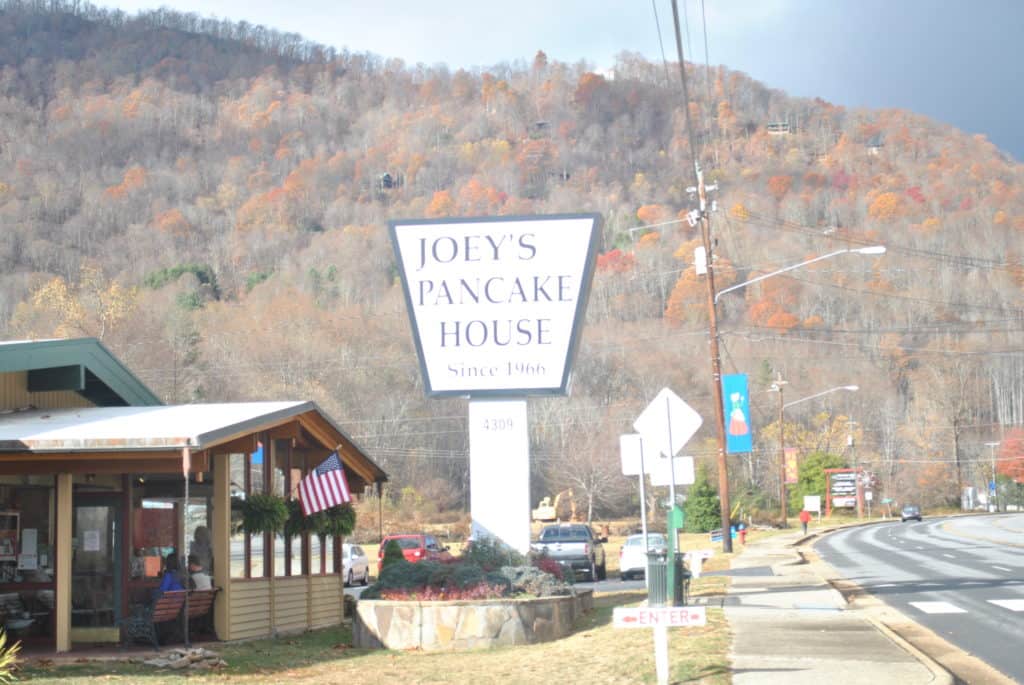
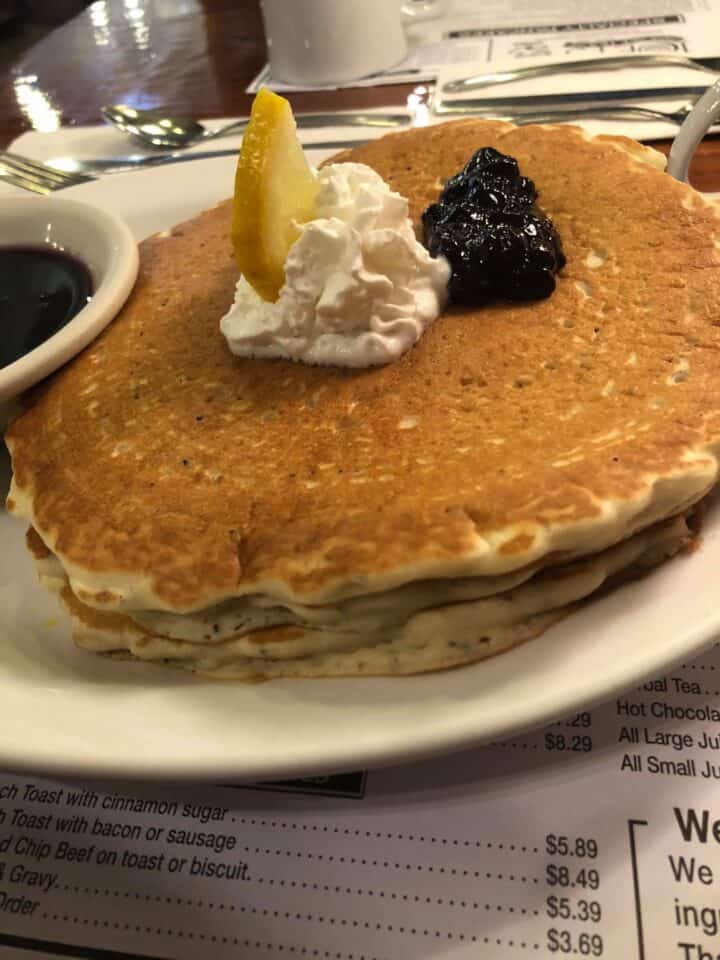
I also love to visit nearby Maggie Valley, North Carolina. Maggie Valley has one of my favorite breakfast spots to visit, Joey's Pancake House!
Thanks for stopping by Southern food Junkie. We truly hope you enjoyed reading about our visit to Travelers Rest, SC, and Core 450. If you ever visit, make sure you tell them you saw it here on Southern Food Junkie and remember, Let's Get Food Junked!
-Ronnie
While you are here, check out these other recipes and reviews!